//work in progress:
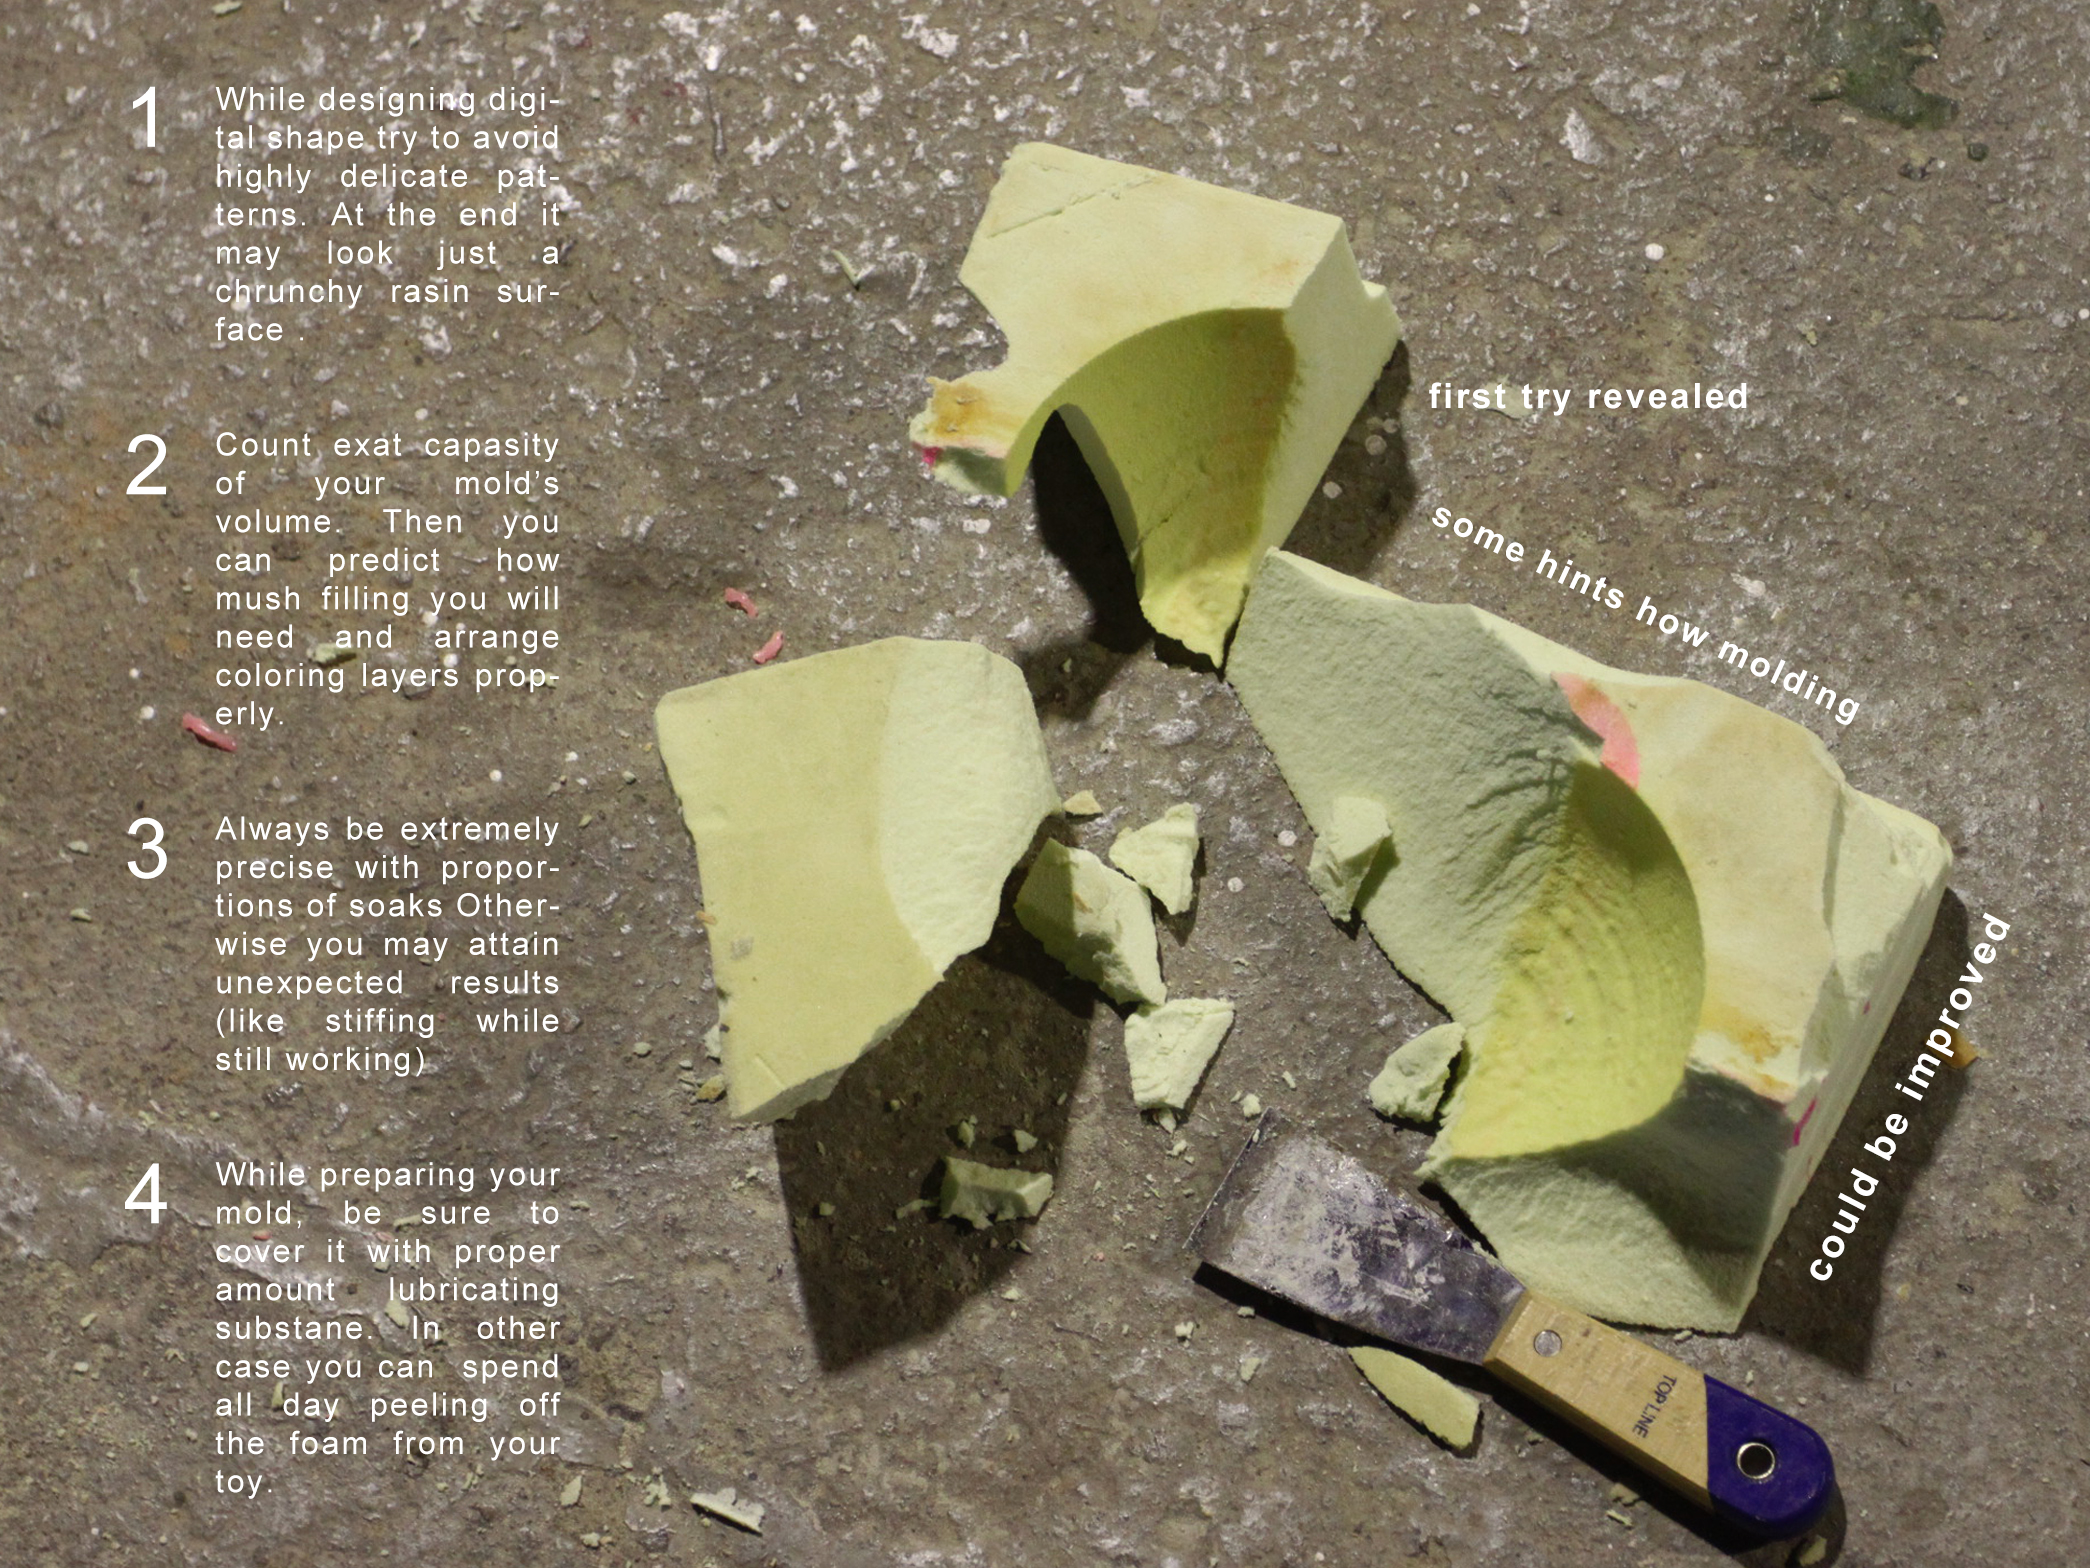
 ¡Hola – This is our second fabrication assignment which is about creating a mold for an objects that glows. My first round of the experiment wasn’t very successful, as the only thing that ended up glowing properly was probably me! However, let me give you brief hints on how to avoid what went wrong, and what I would like to do for take 2.
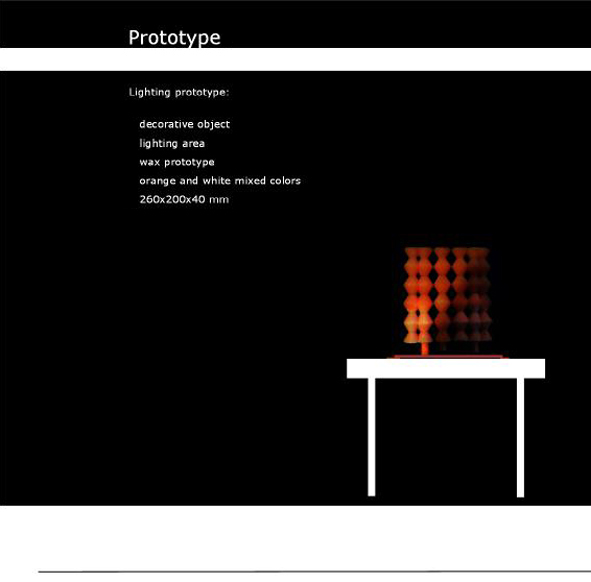
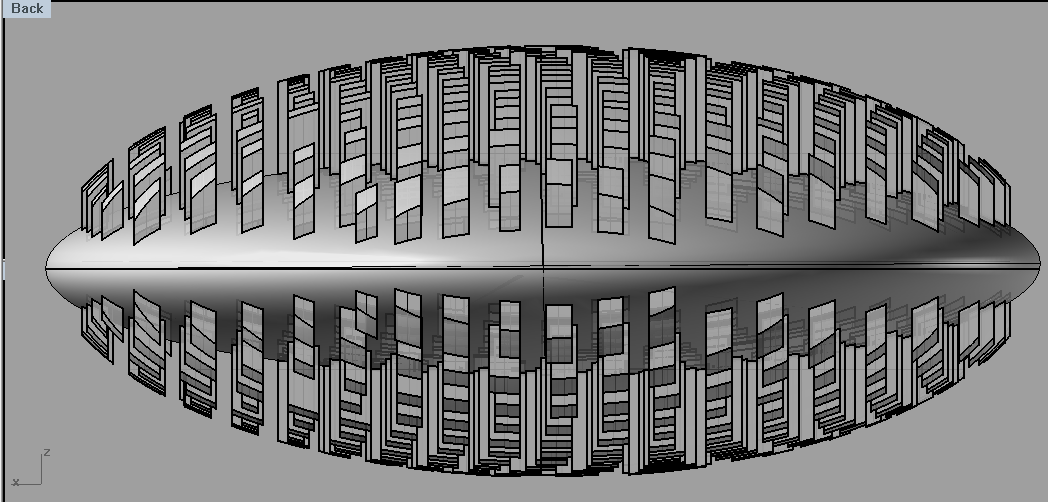
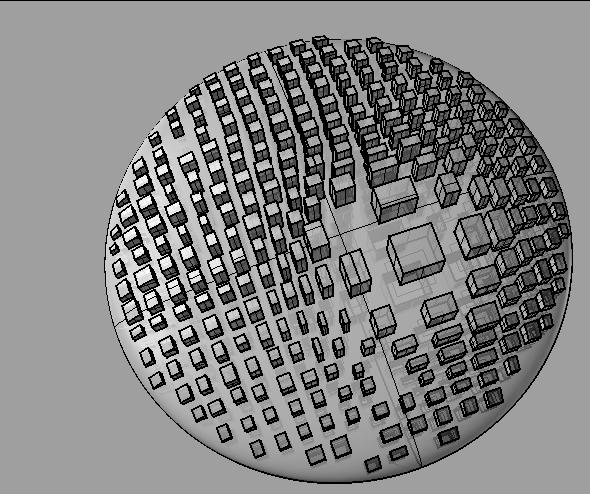
I made a very simple object that has a lens shape and a magnifier effect on it, so it literally, it is a “lens within a lens”. . You can easily find the lens effect on Mathematica and then you have multiple ways to do it, using a python script, grasshopper, or simple extrusion surface commands
 .
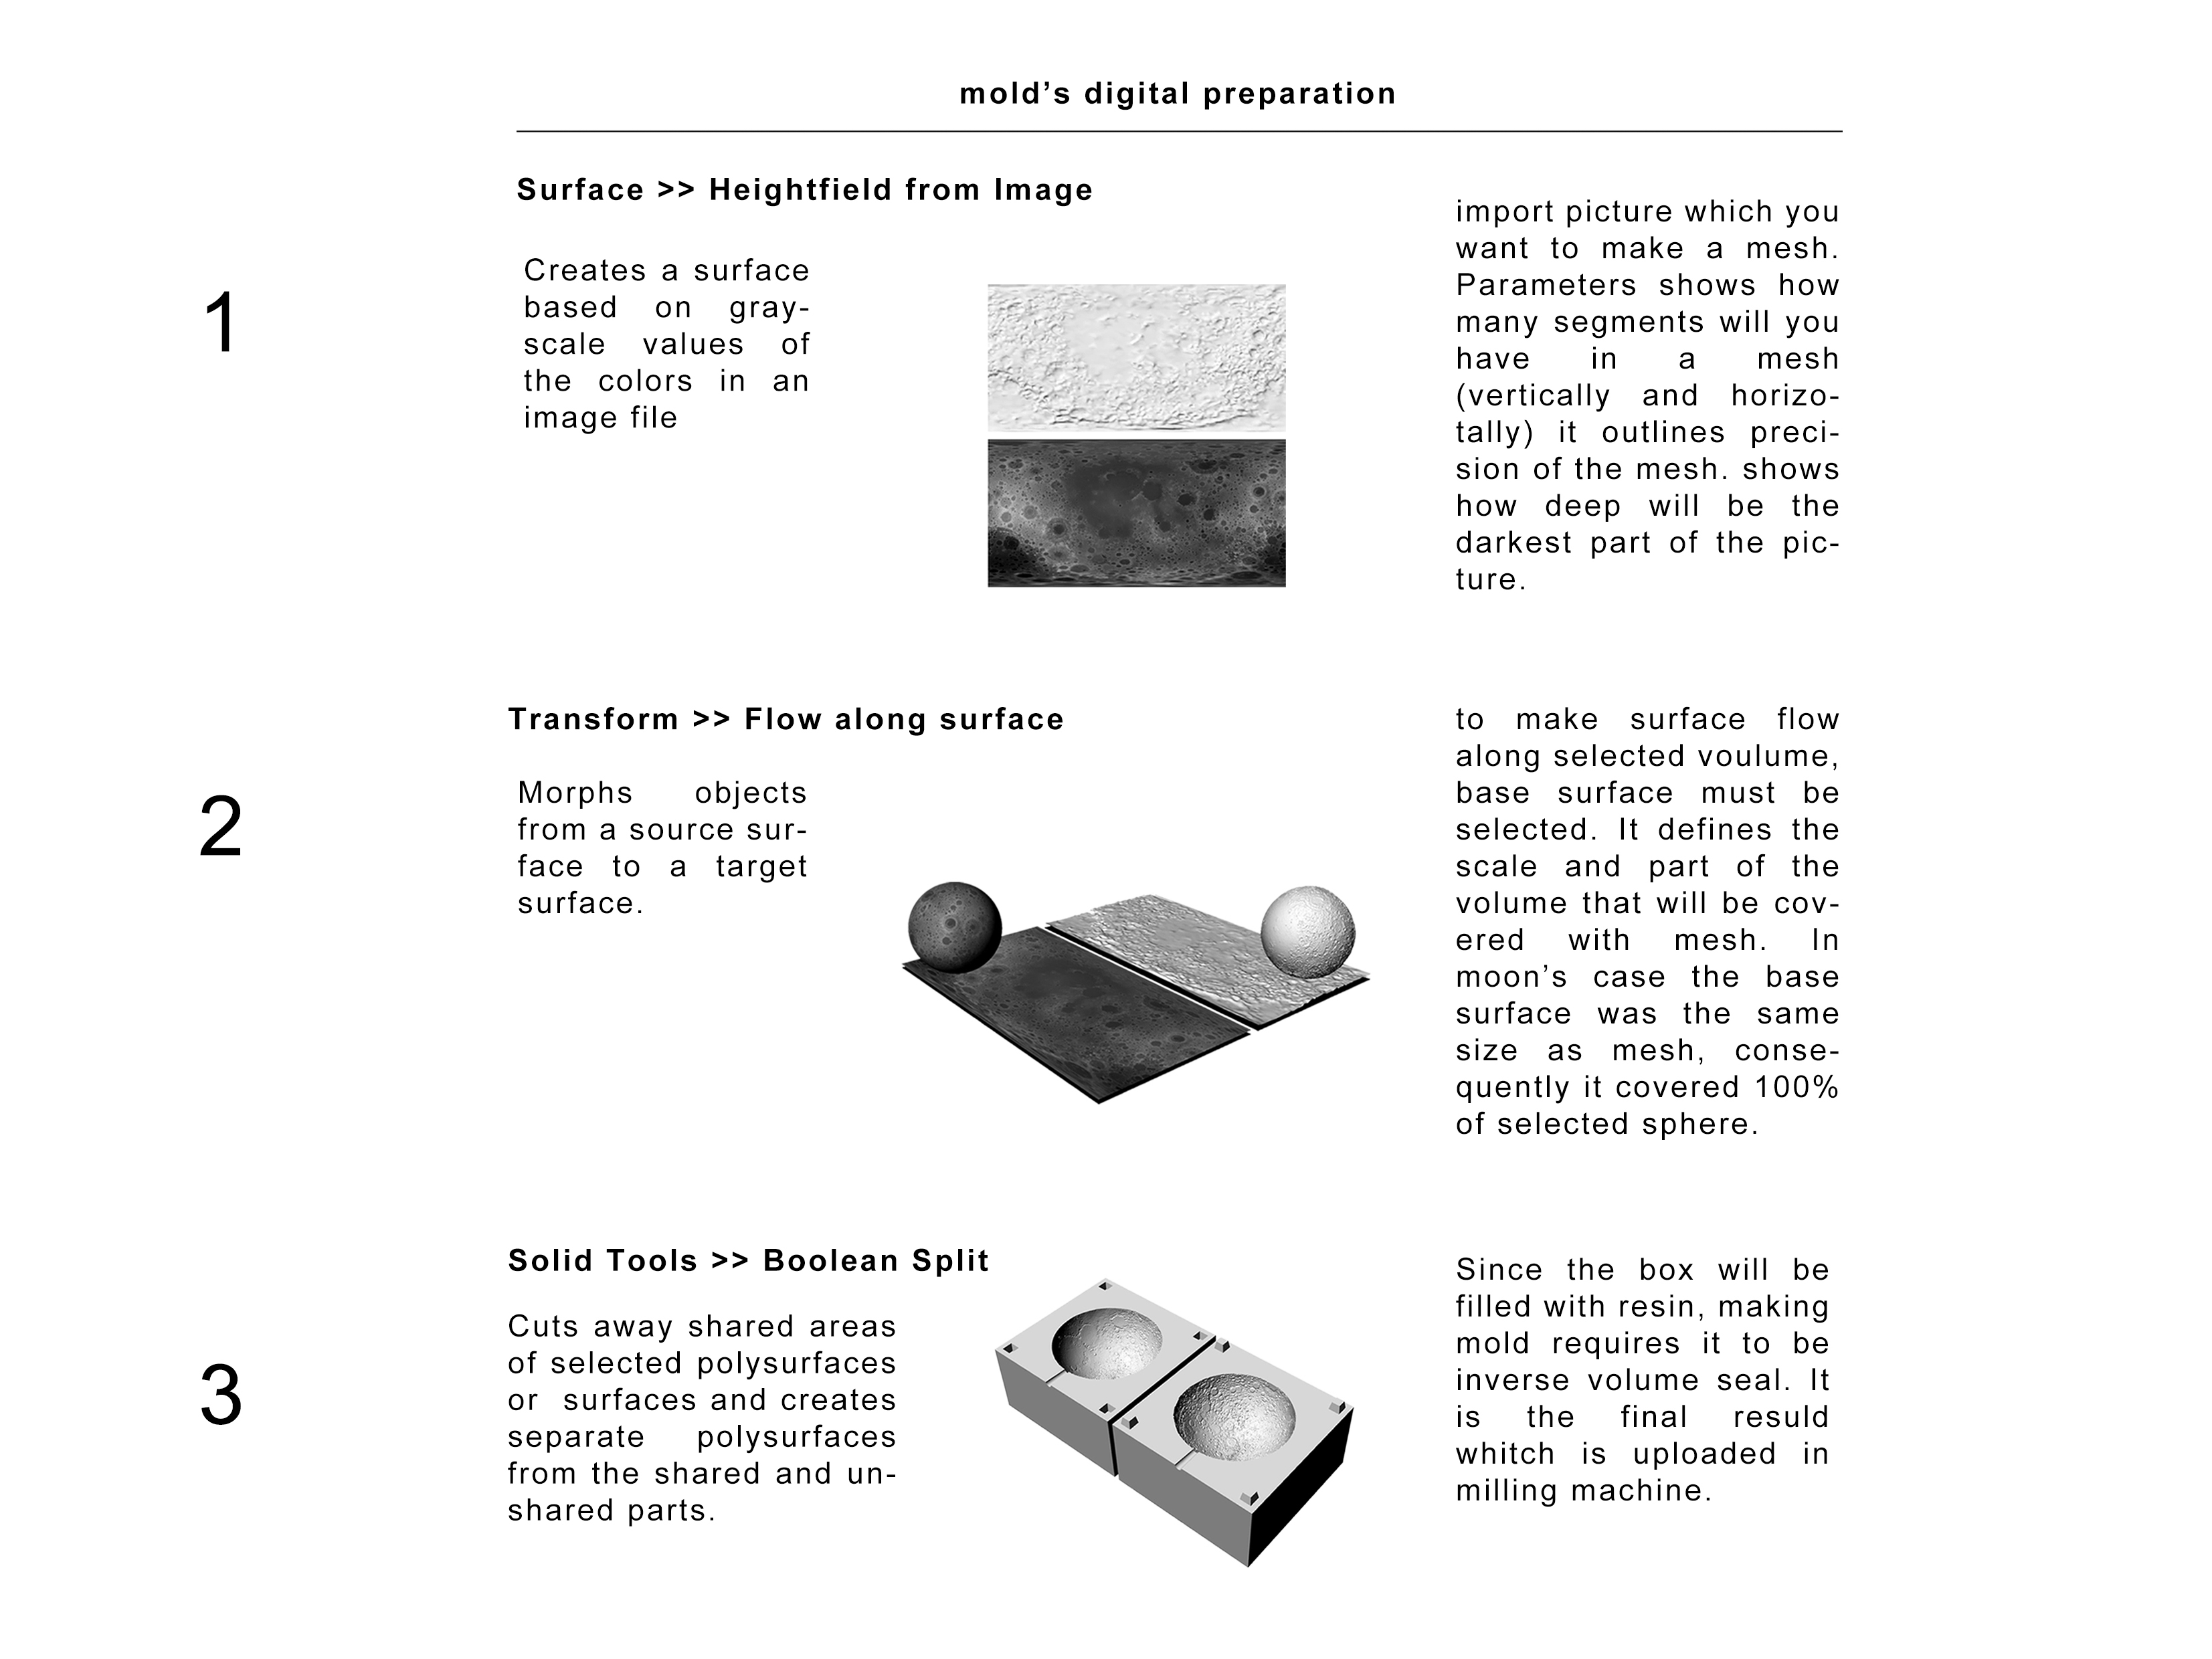
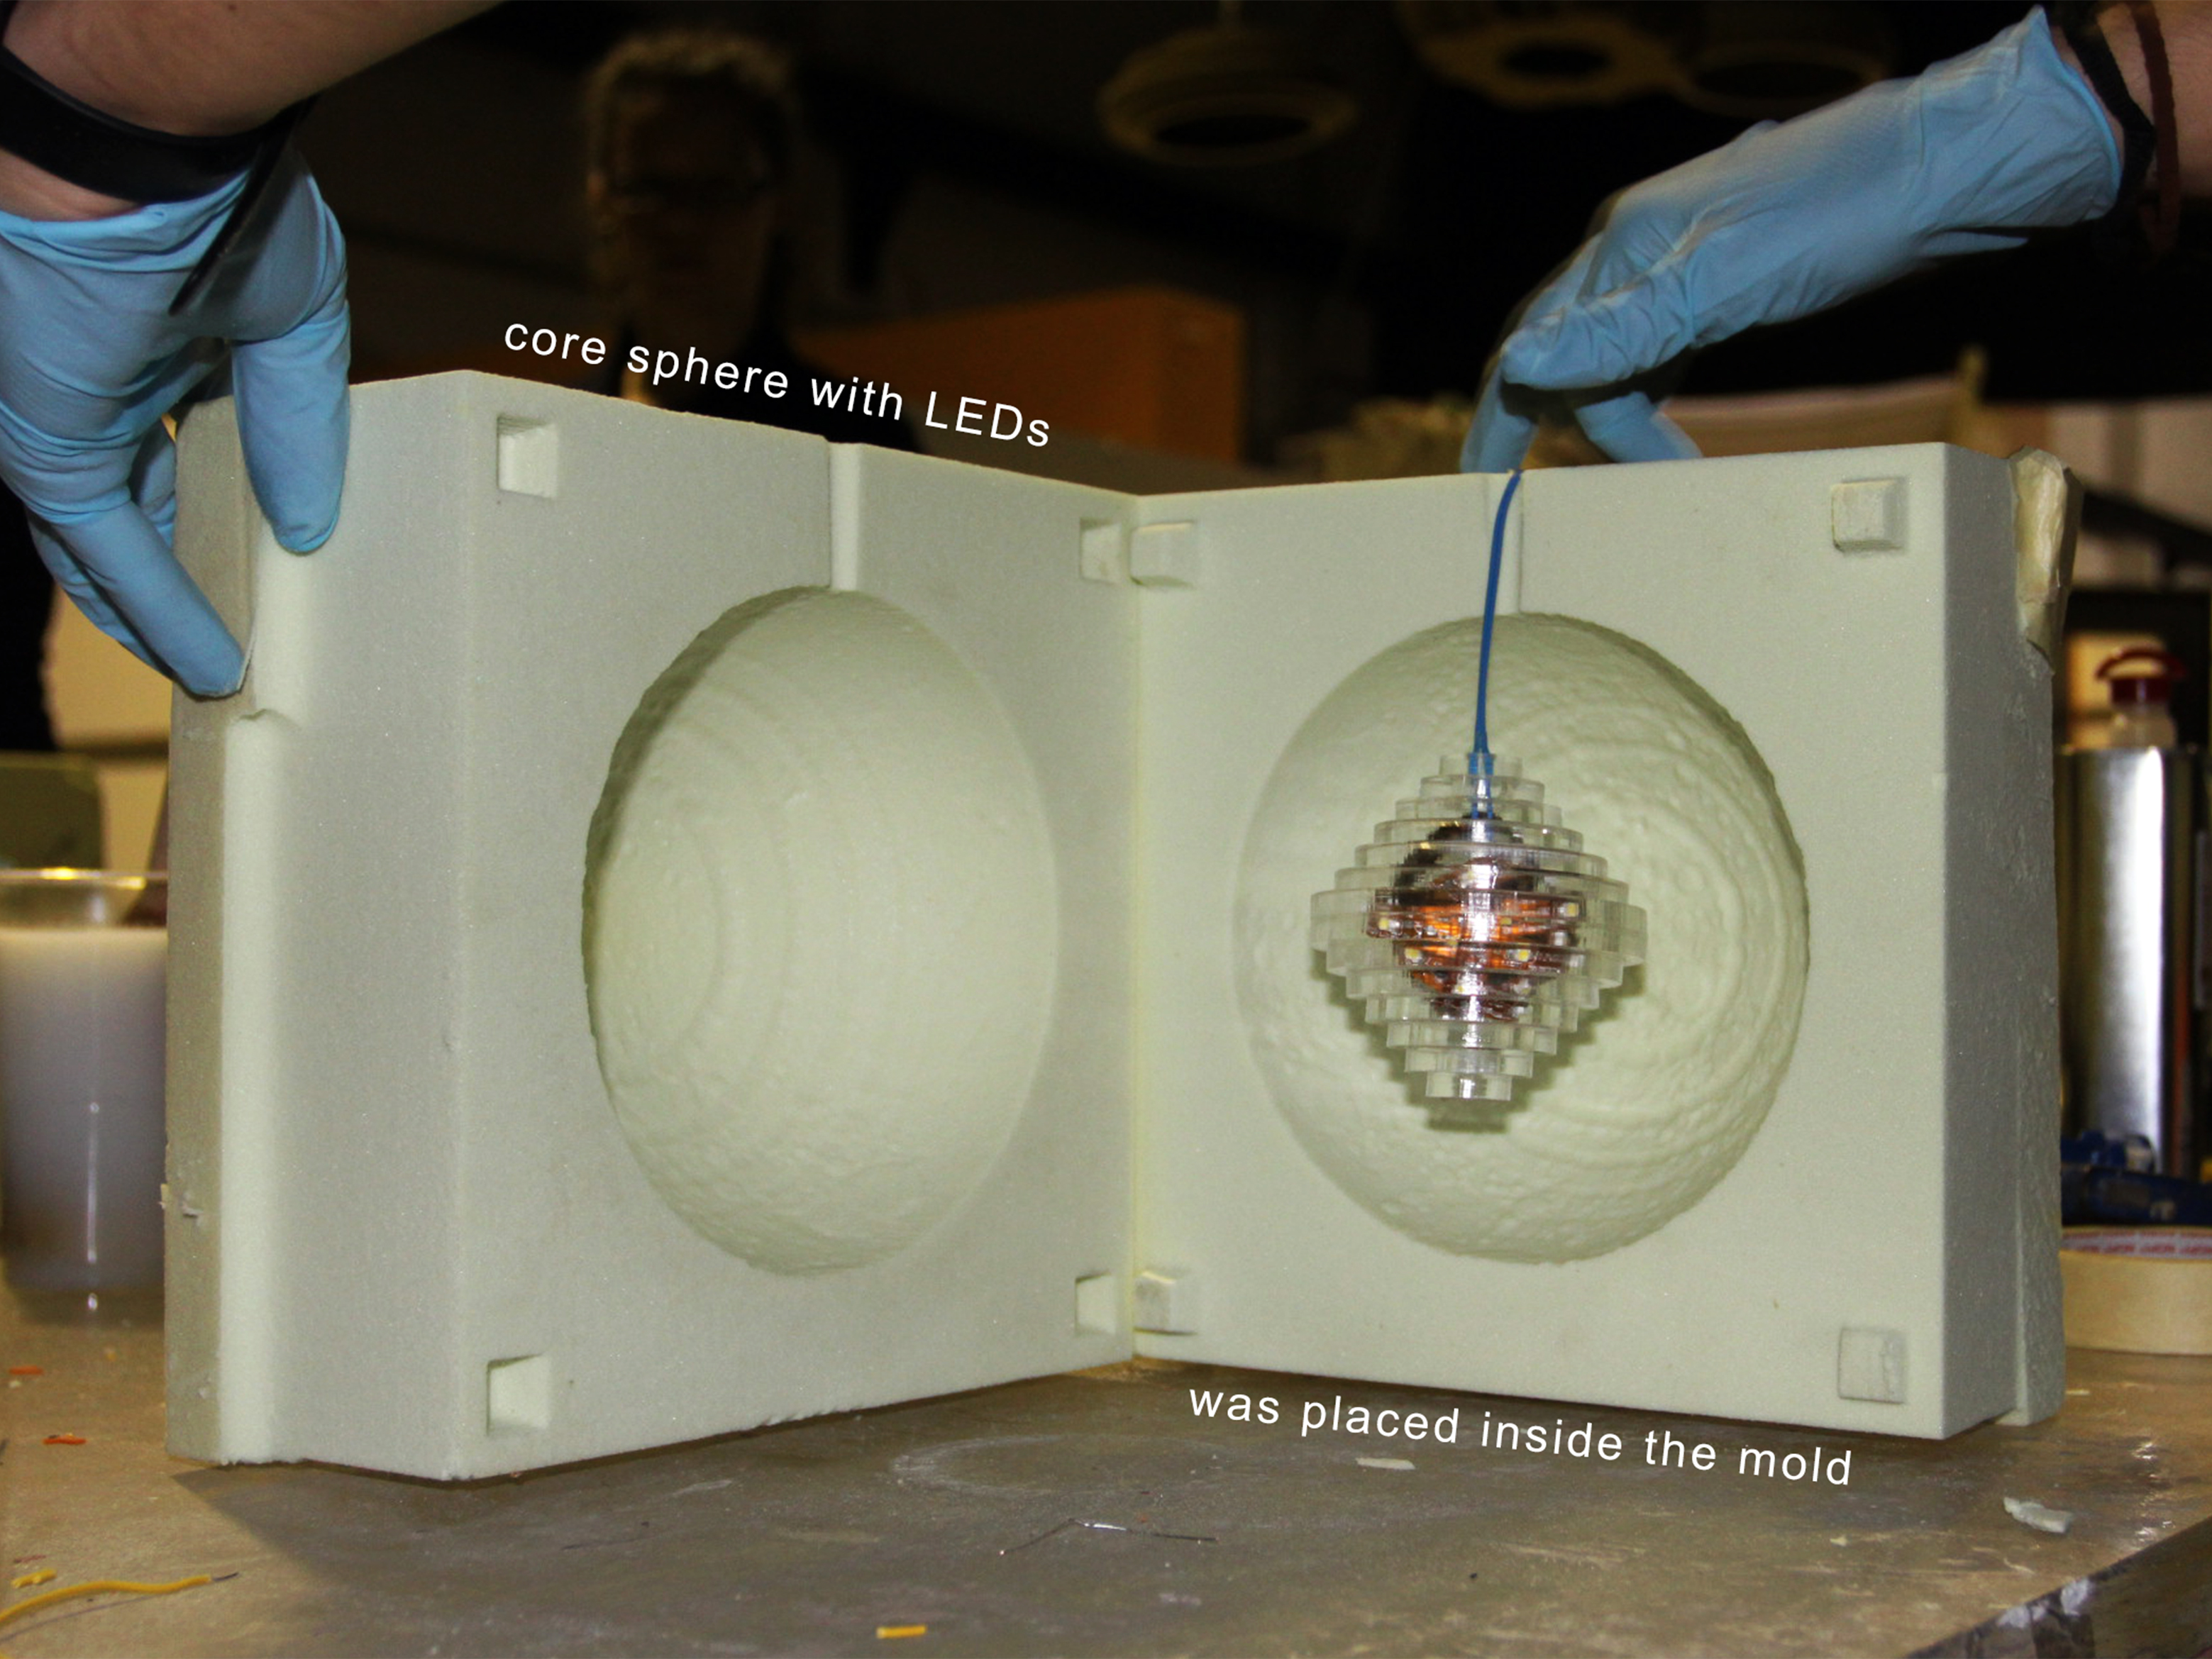
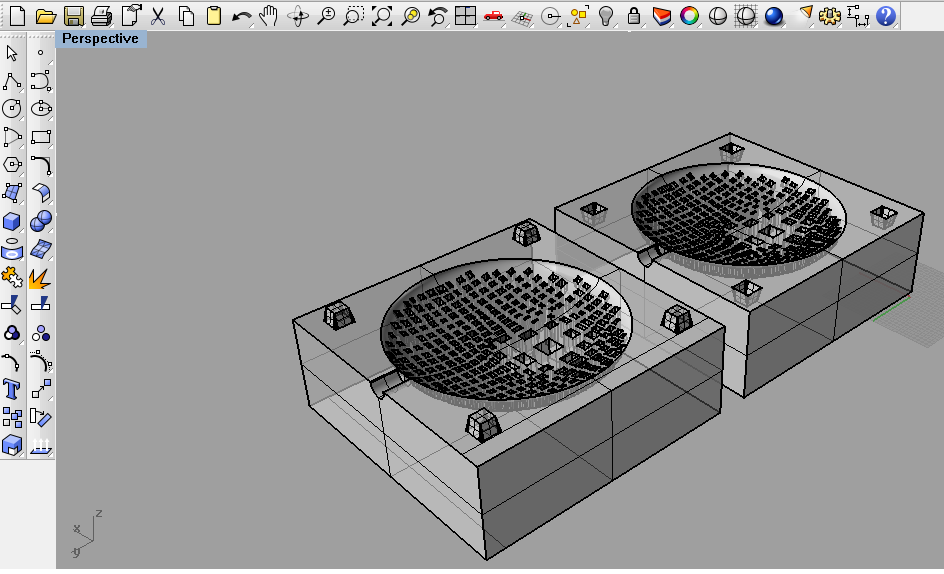
. 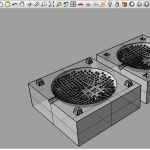 After creating the object, step 1: is to work on the mold, which is basically a negative of the object volume, split into two halves (make sure you have a hole that reaches all the way to your void).
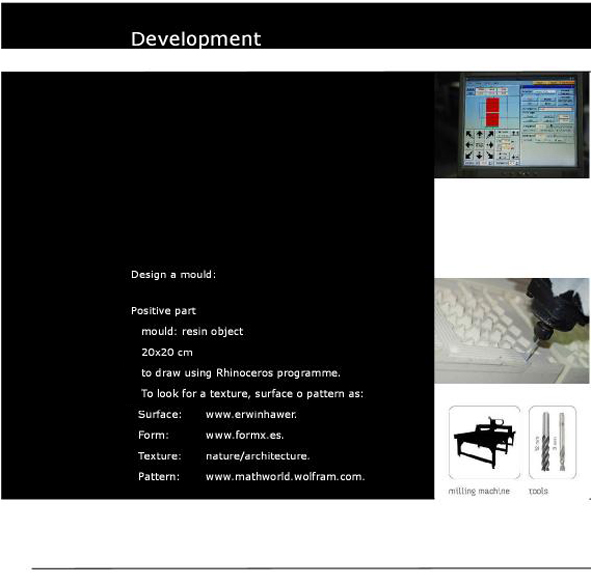
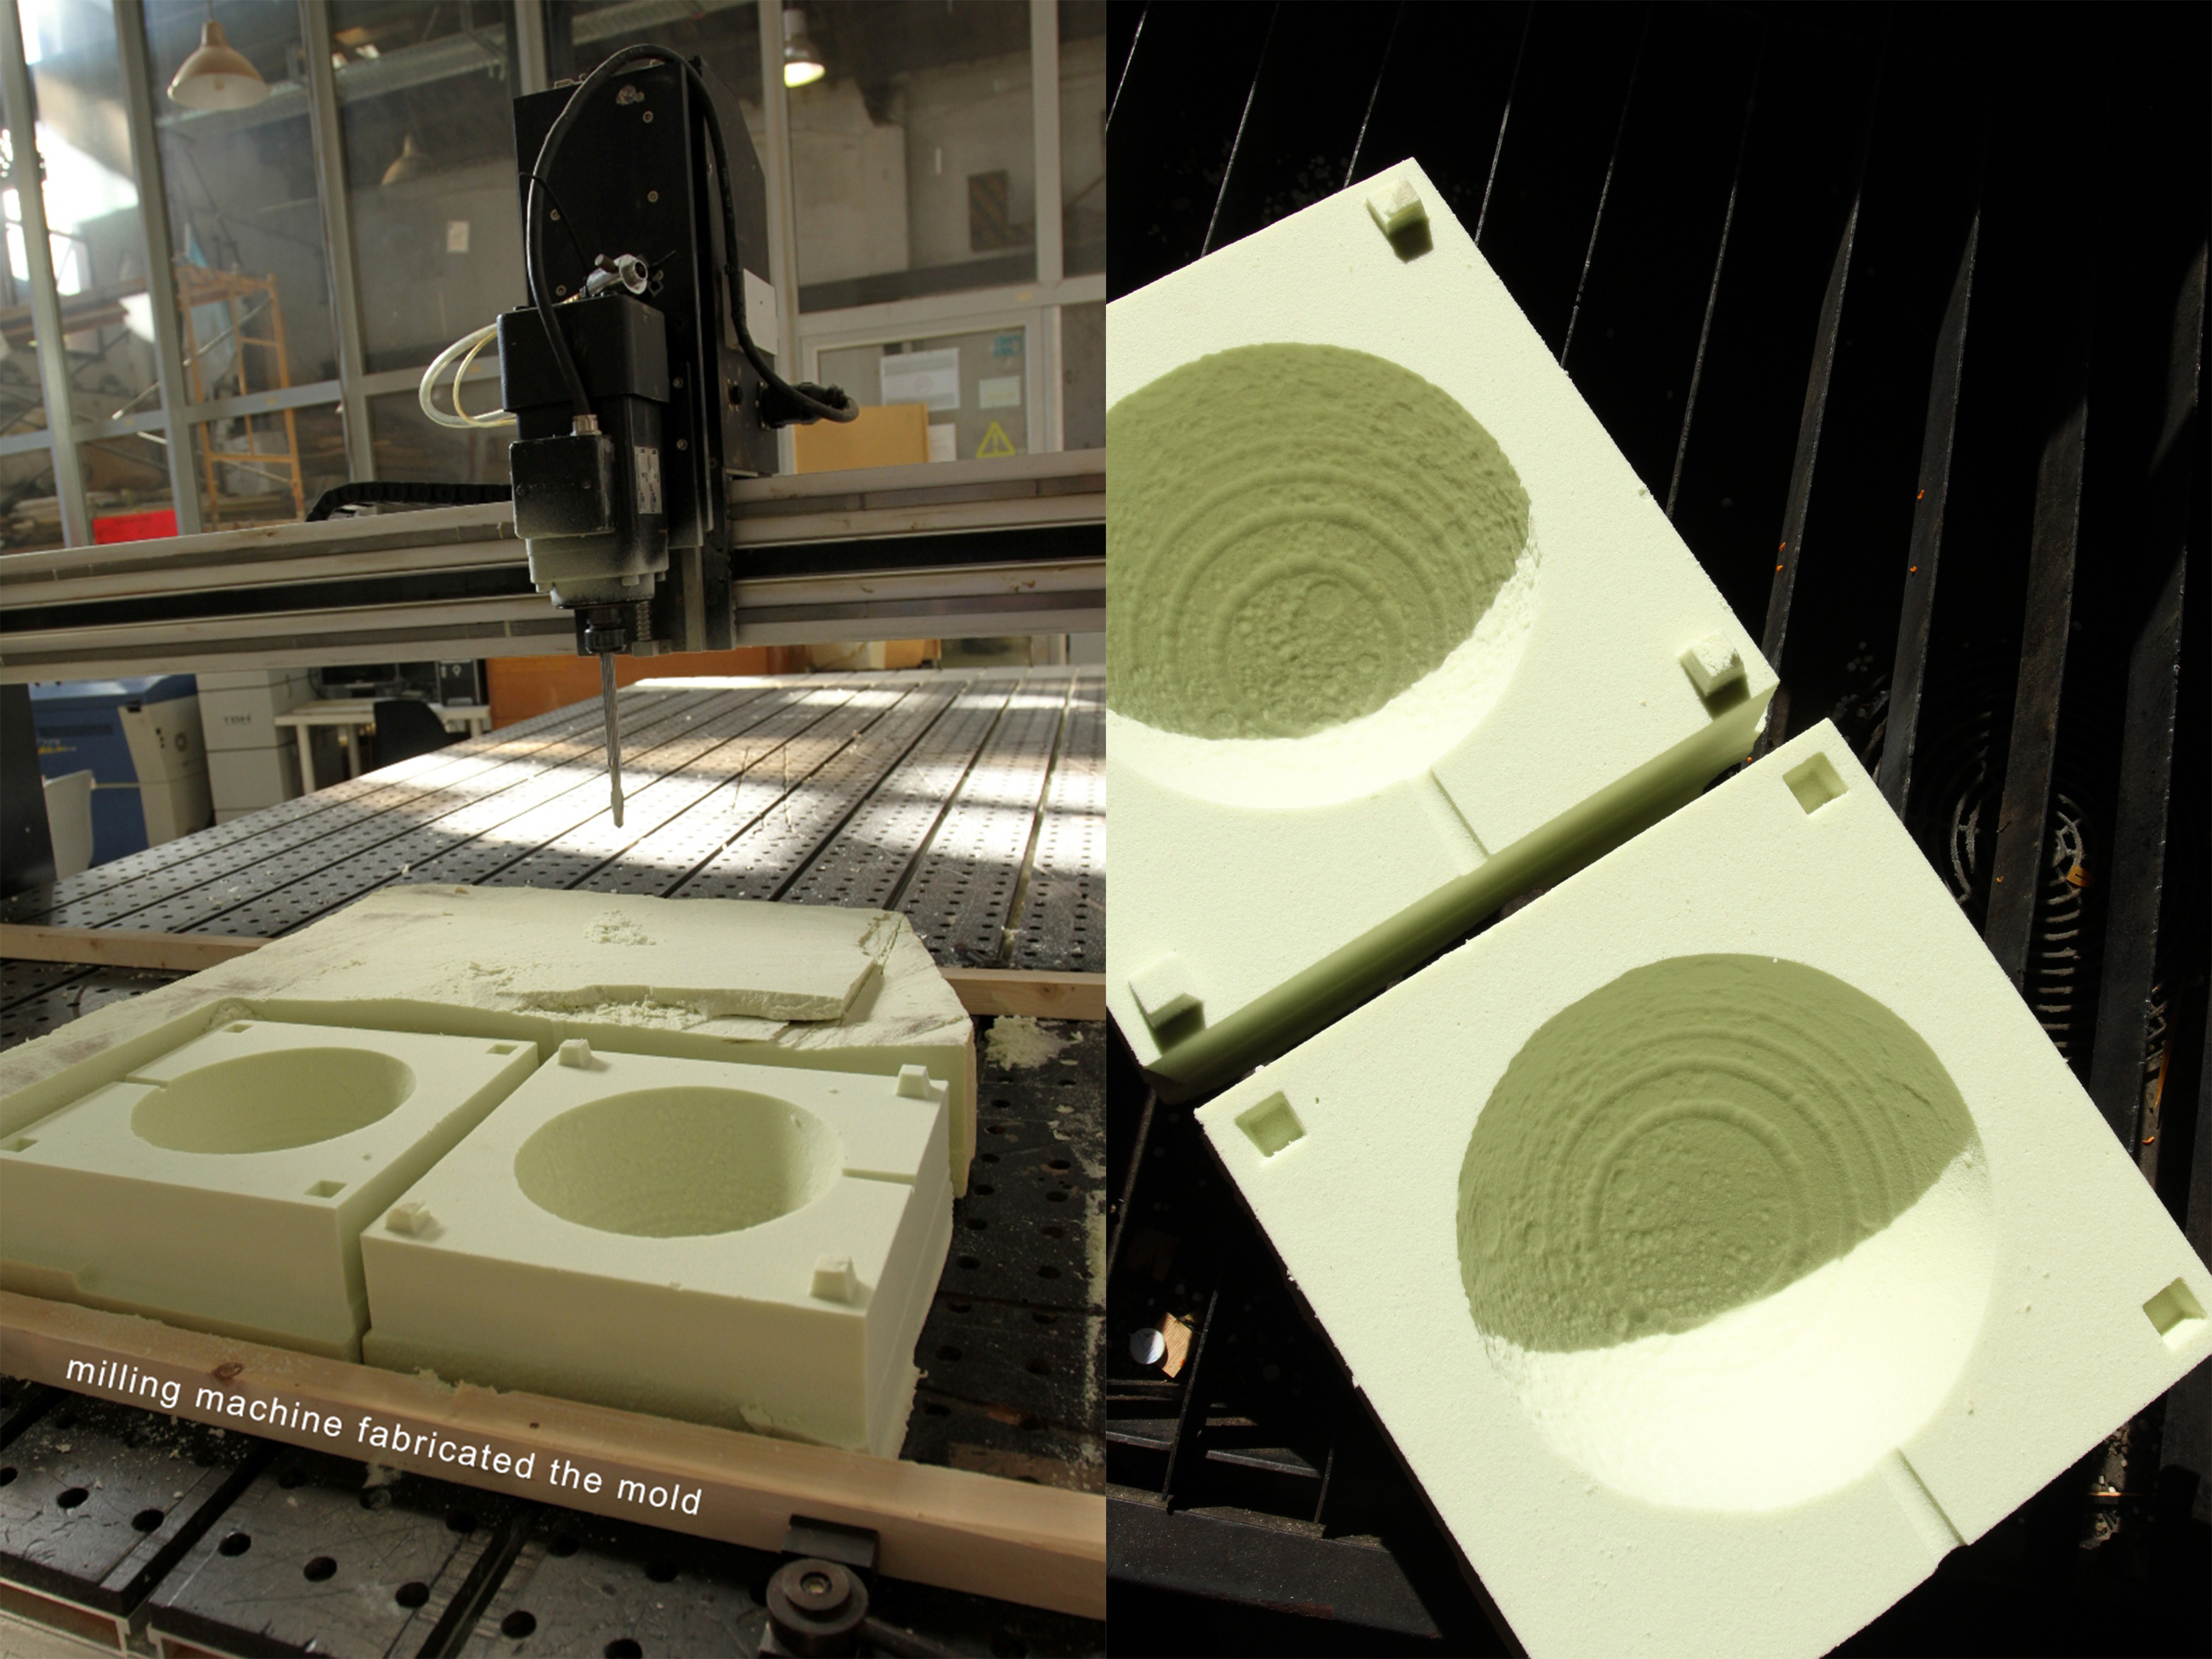
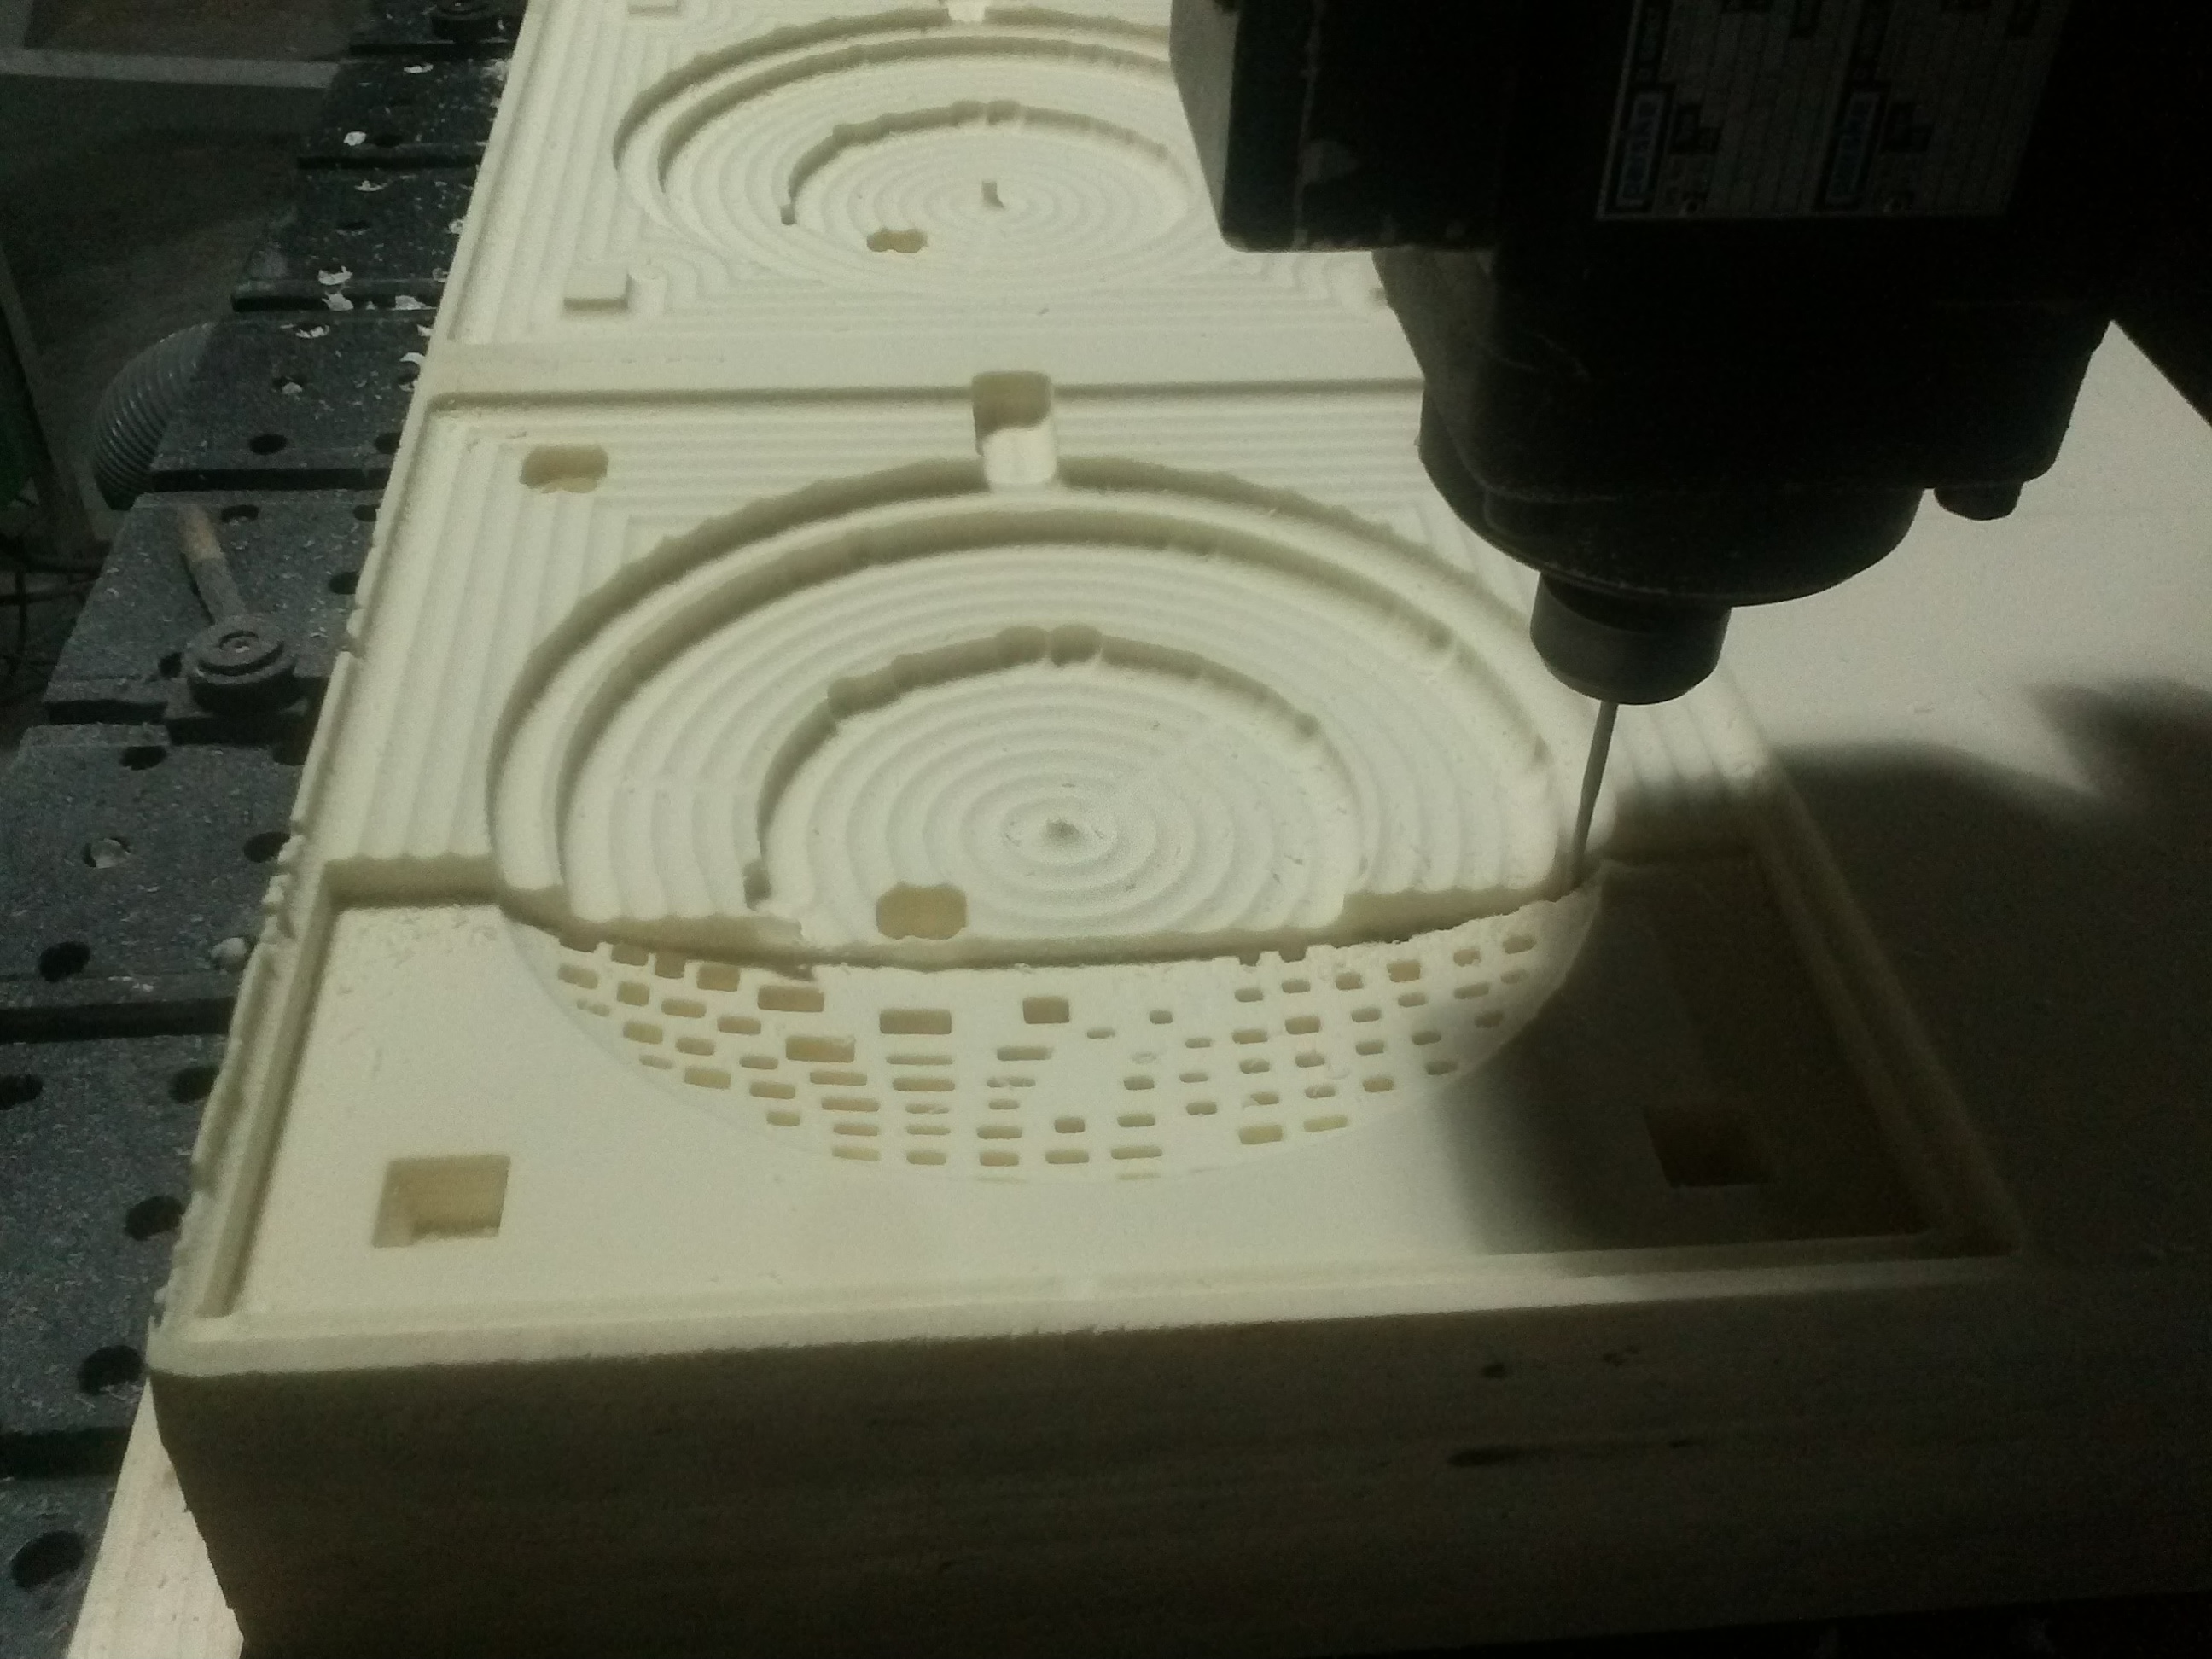
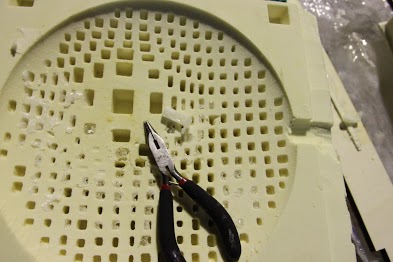
After the mold, step 2 is: you should prepare your object for machine milling, which starts by checking materials you will engrave, and exact measurements for tools. Communication to CNCs happens via G-codes, which could be generated using multiple tools. In our case we used RhinoCAM _which I am not interested in promoting how to use it_ the point is, you should be able to simulate the exact milling motion before you start milling.
Tip: It might help to run small test on the material before you actually start milling.

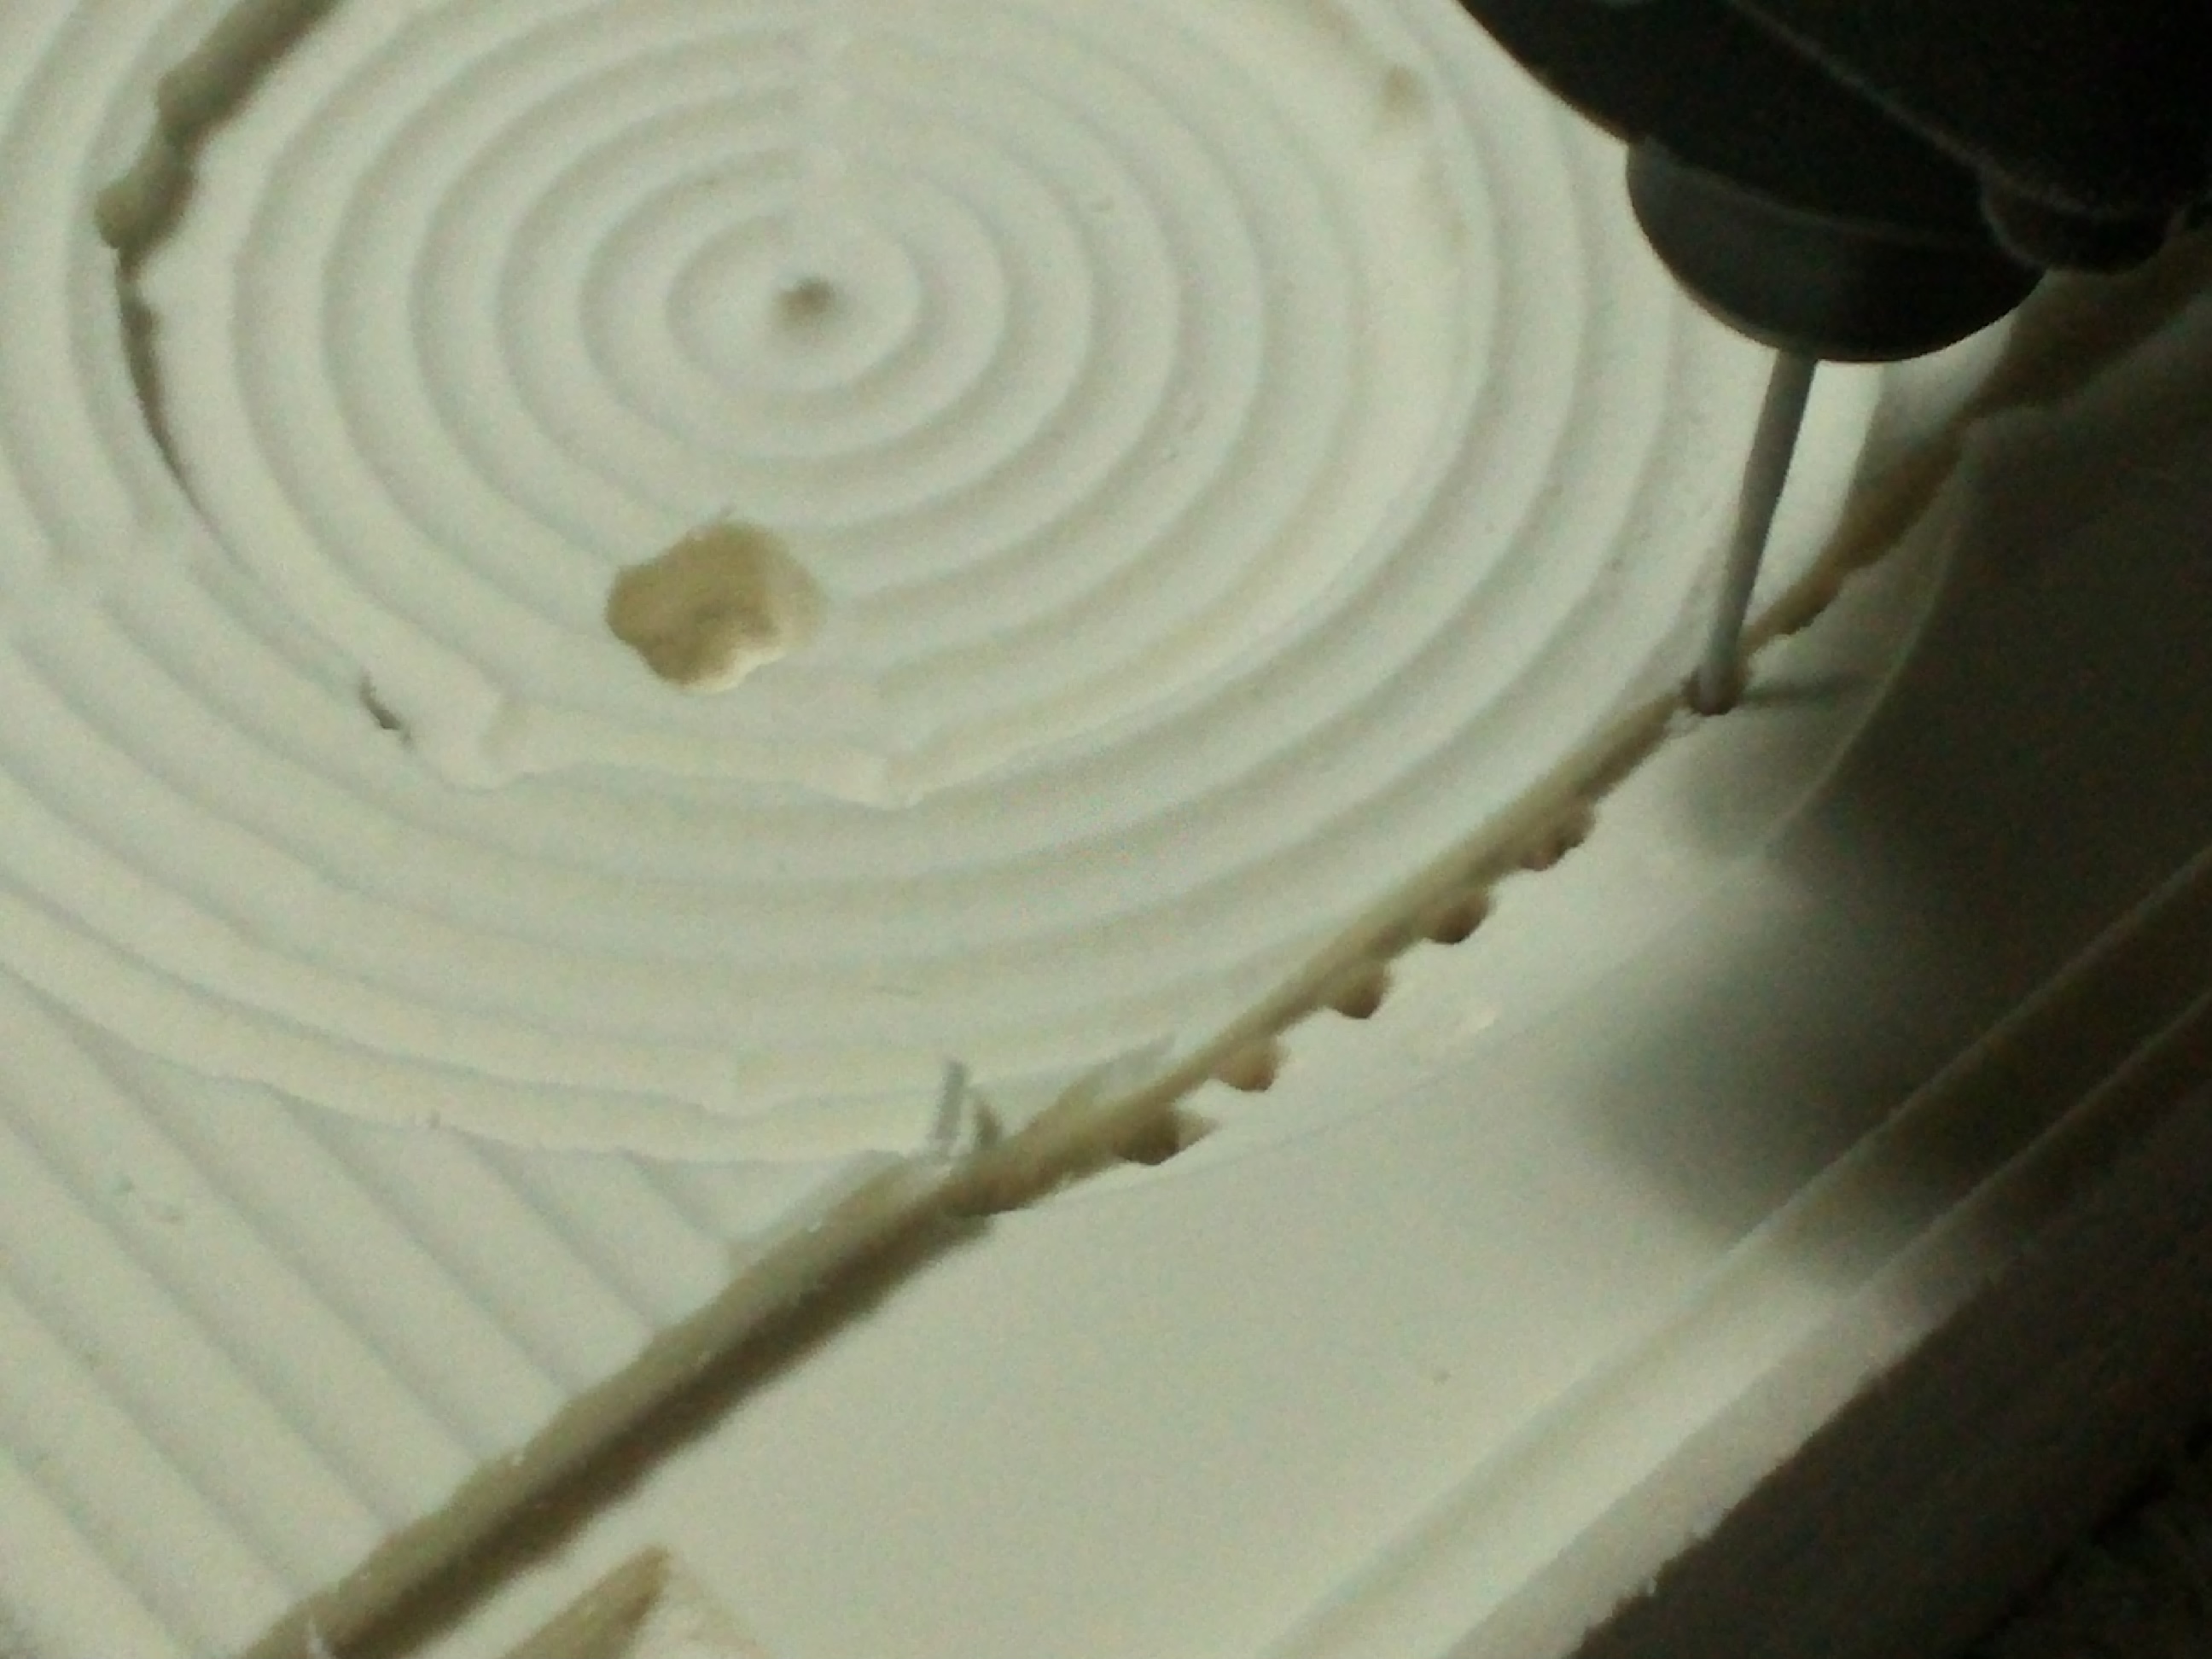
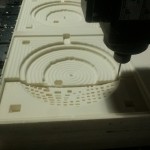 In my case, we used two leads a 12mm and a 3mm and it took nearly 20 hours. Tip: It helps to calculate the time required for milling before you start.
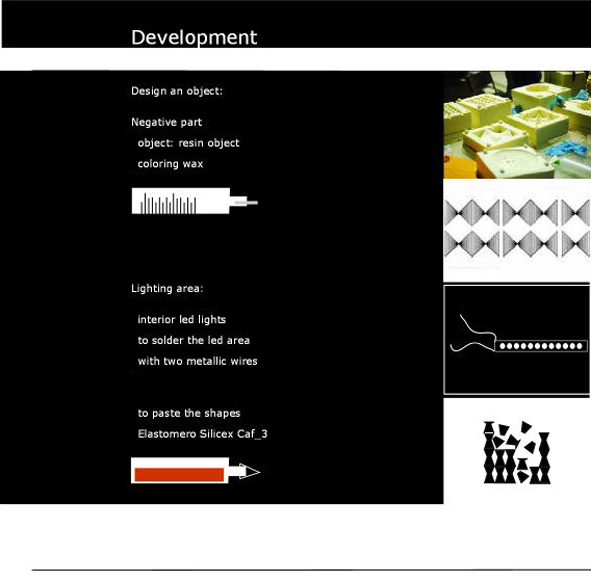
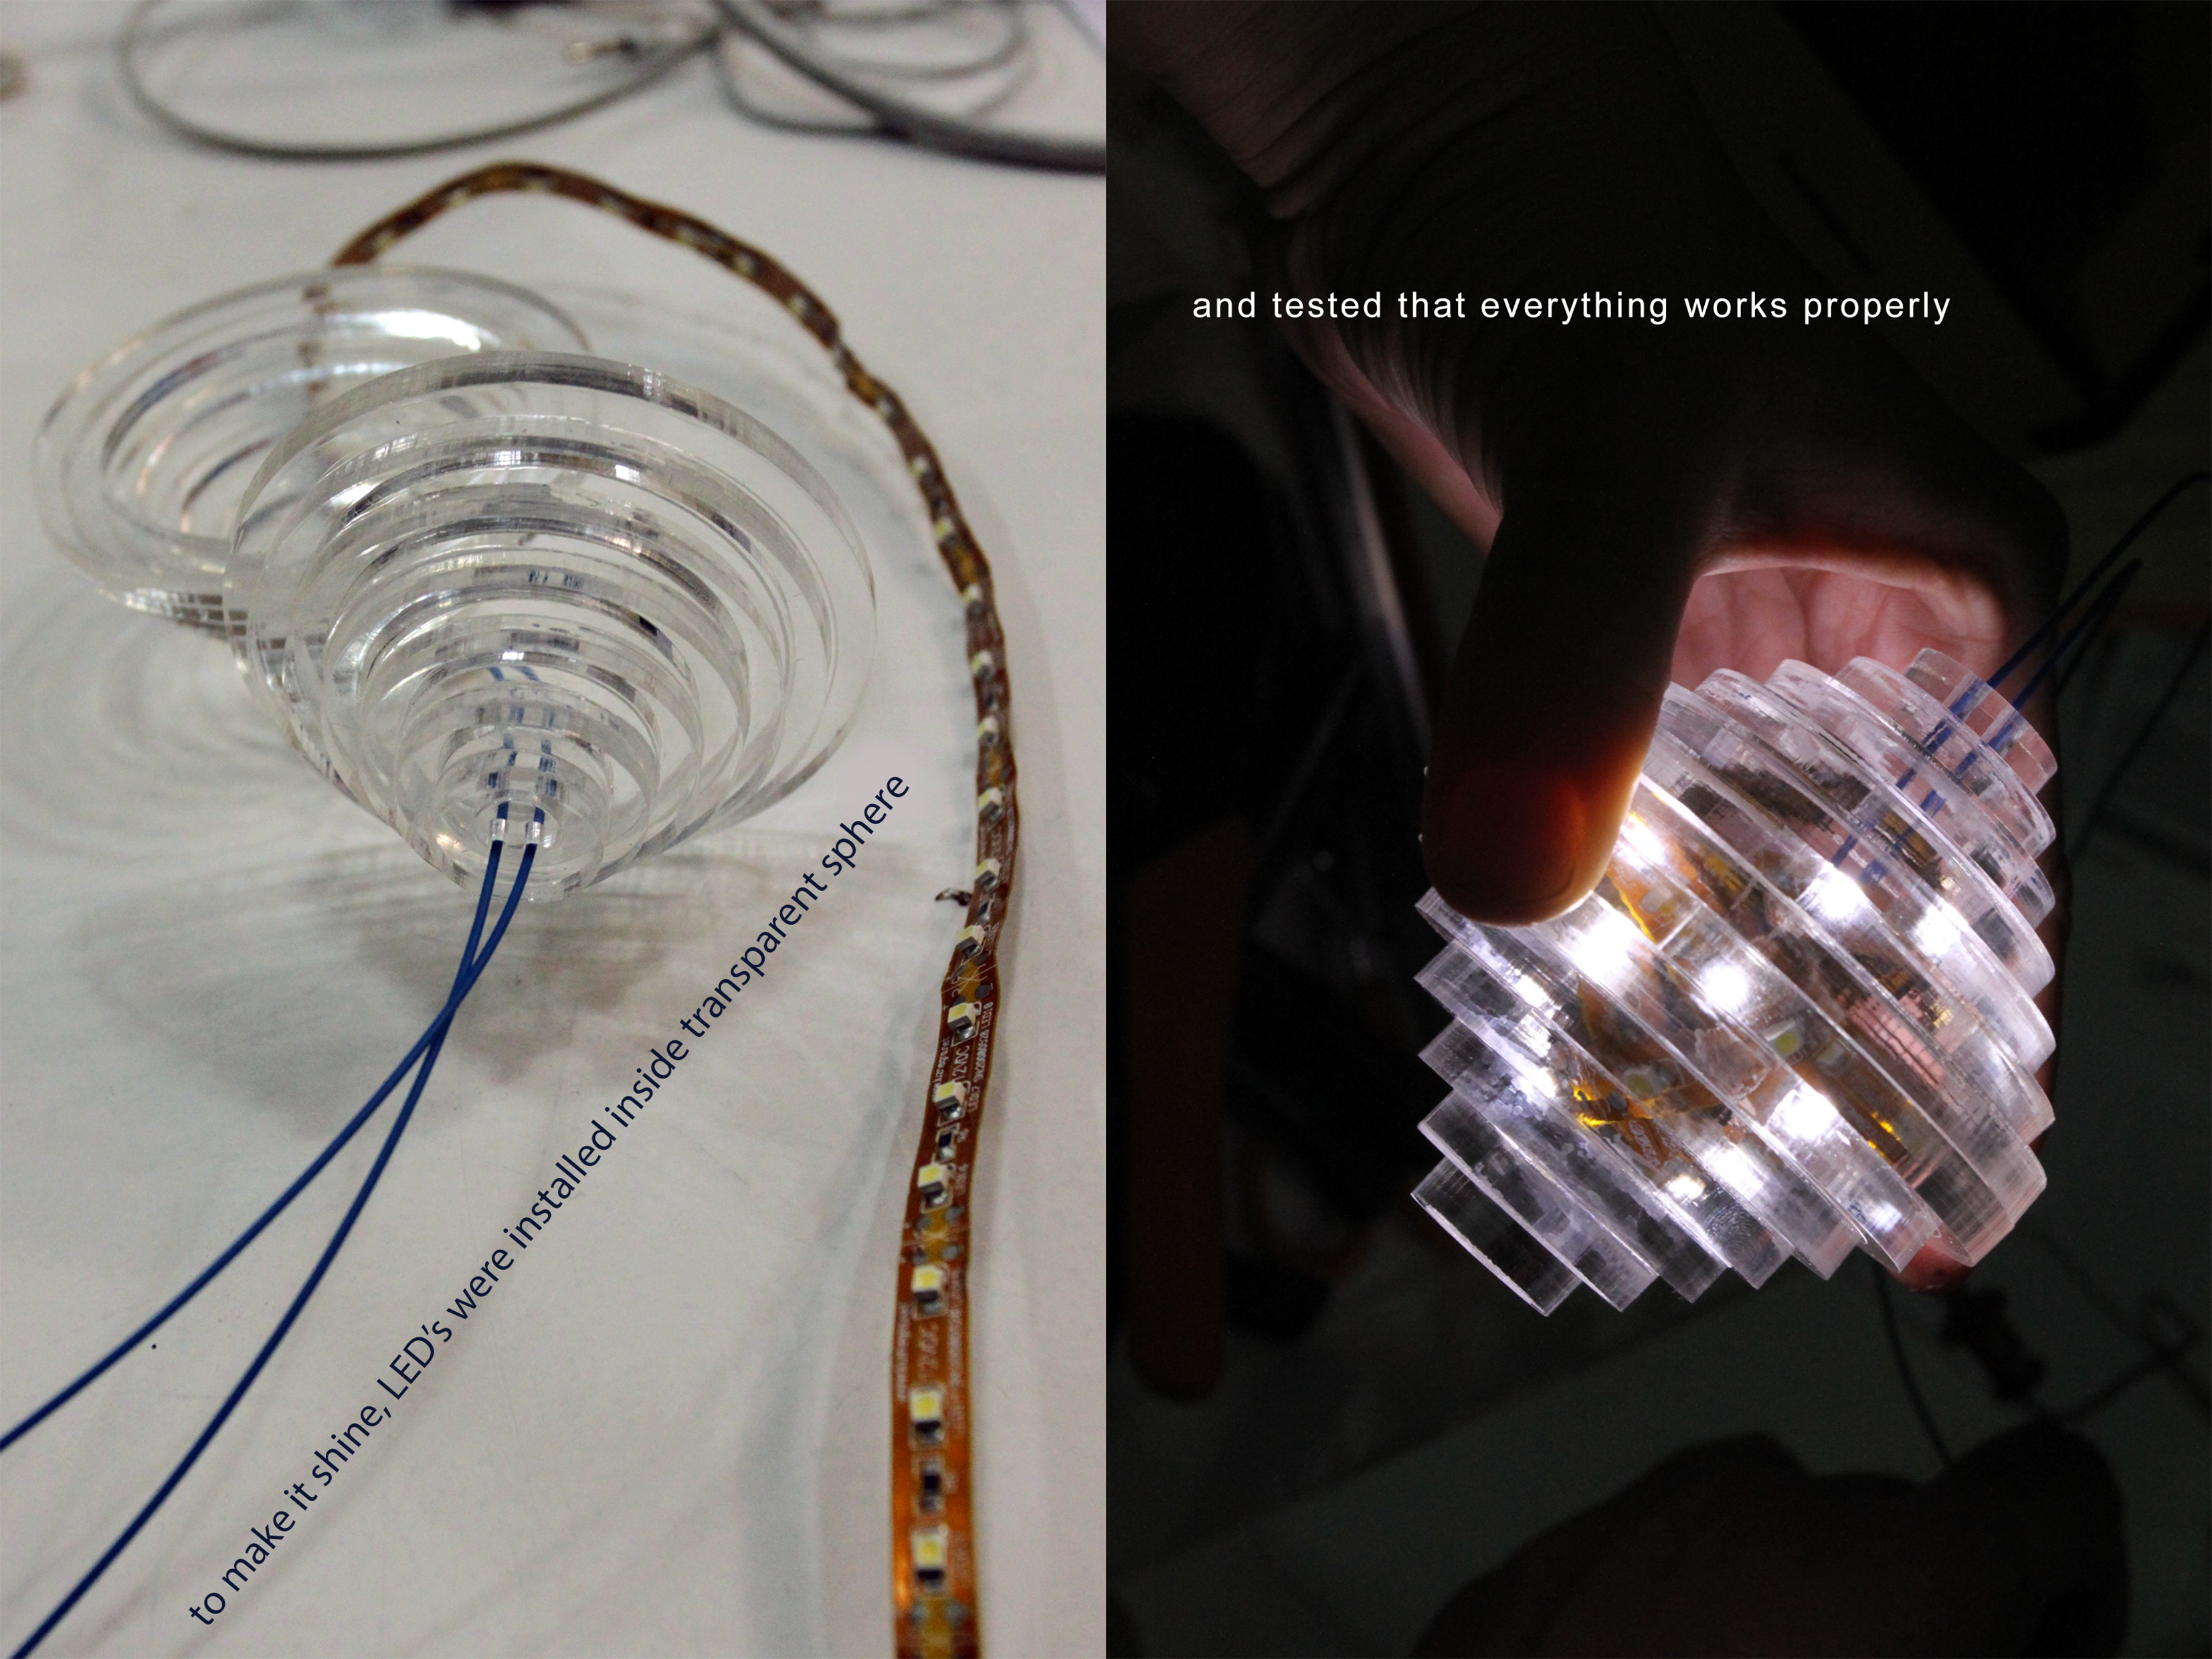
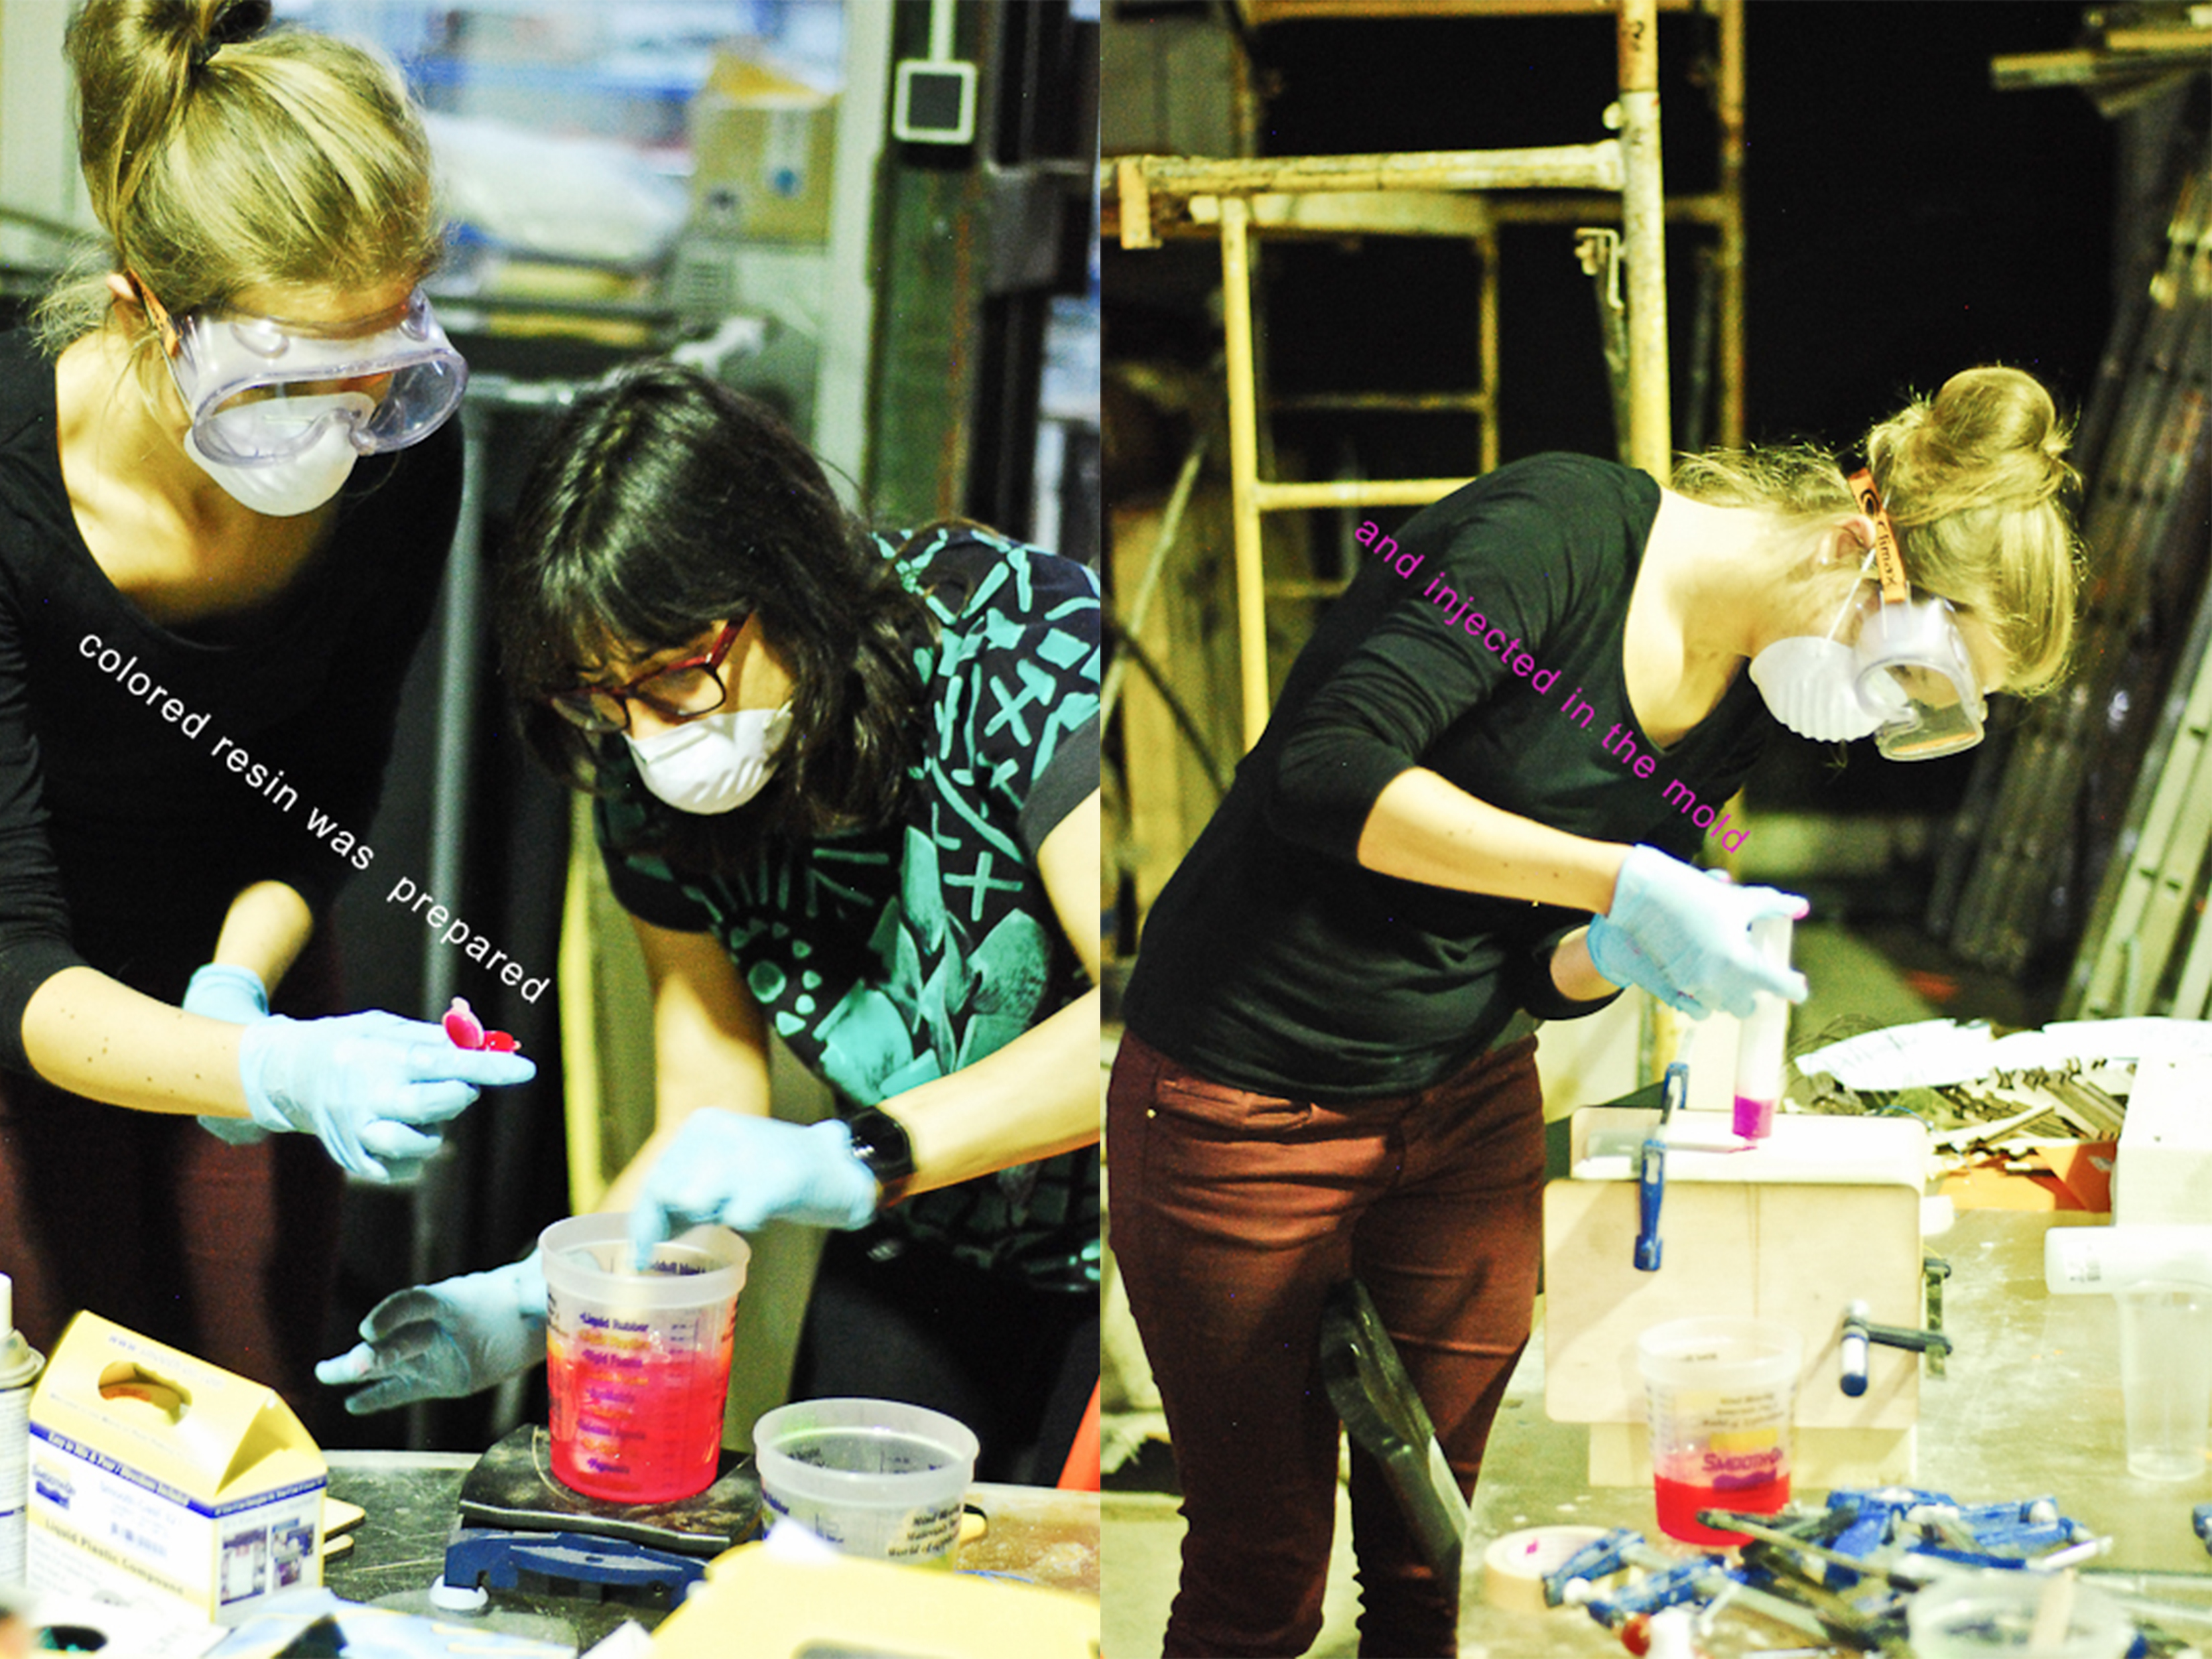
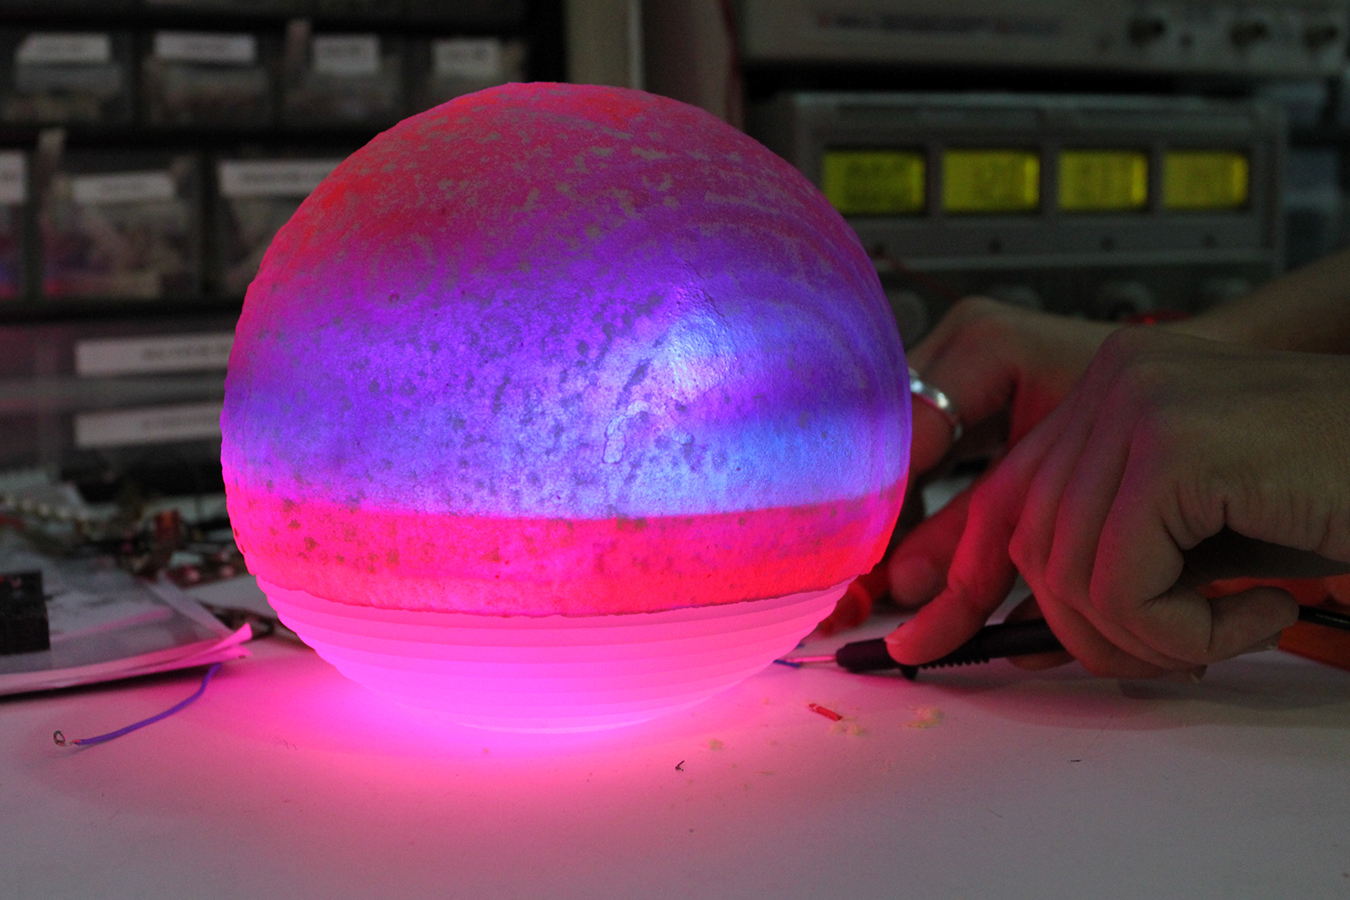
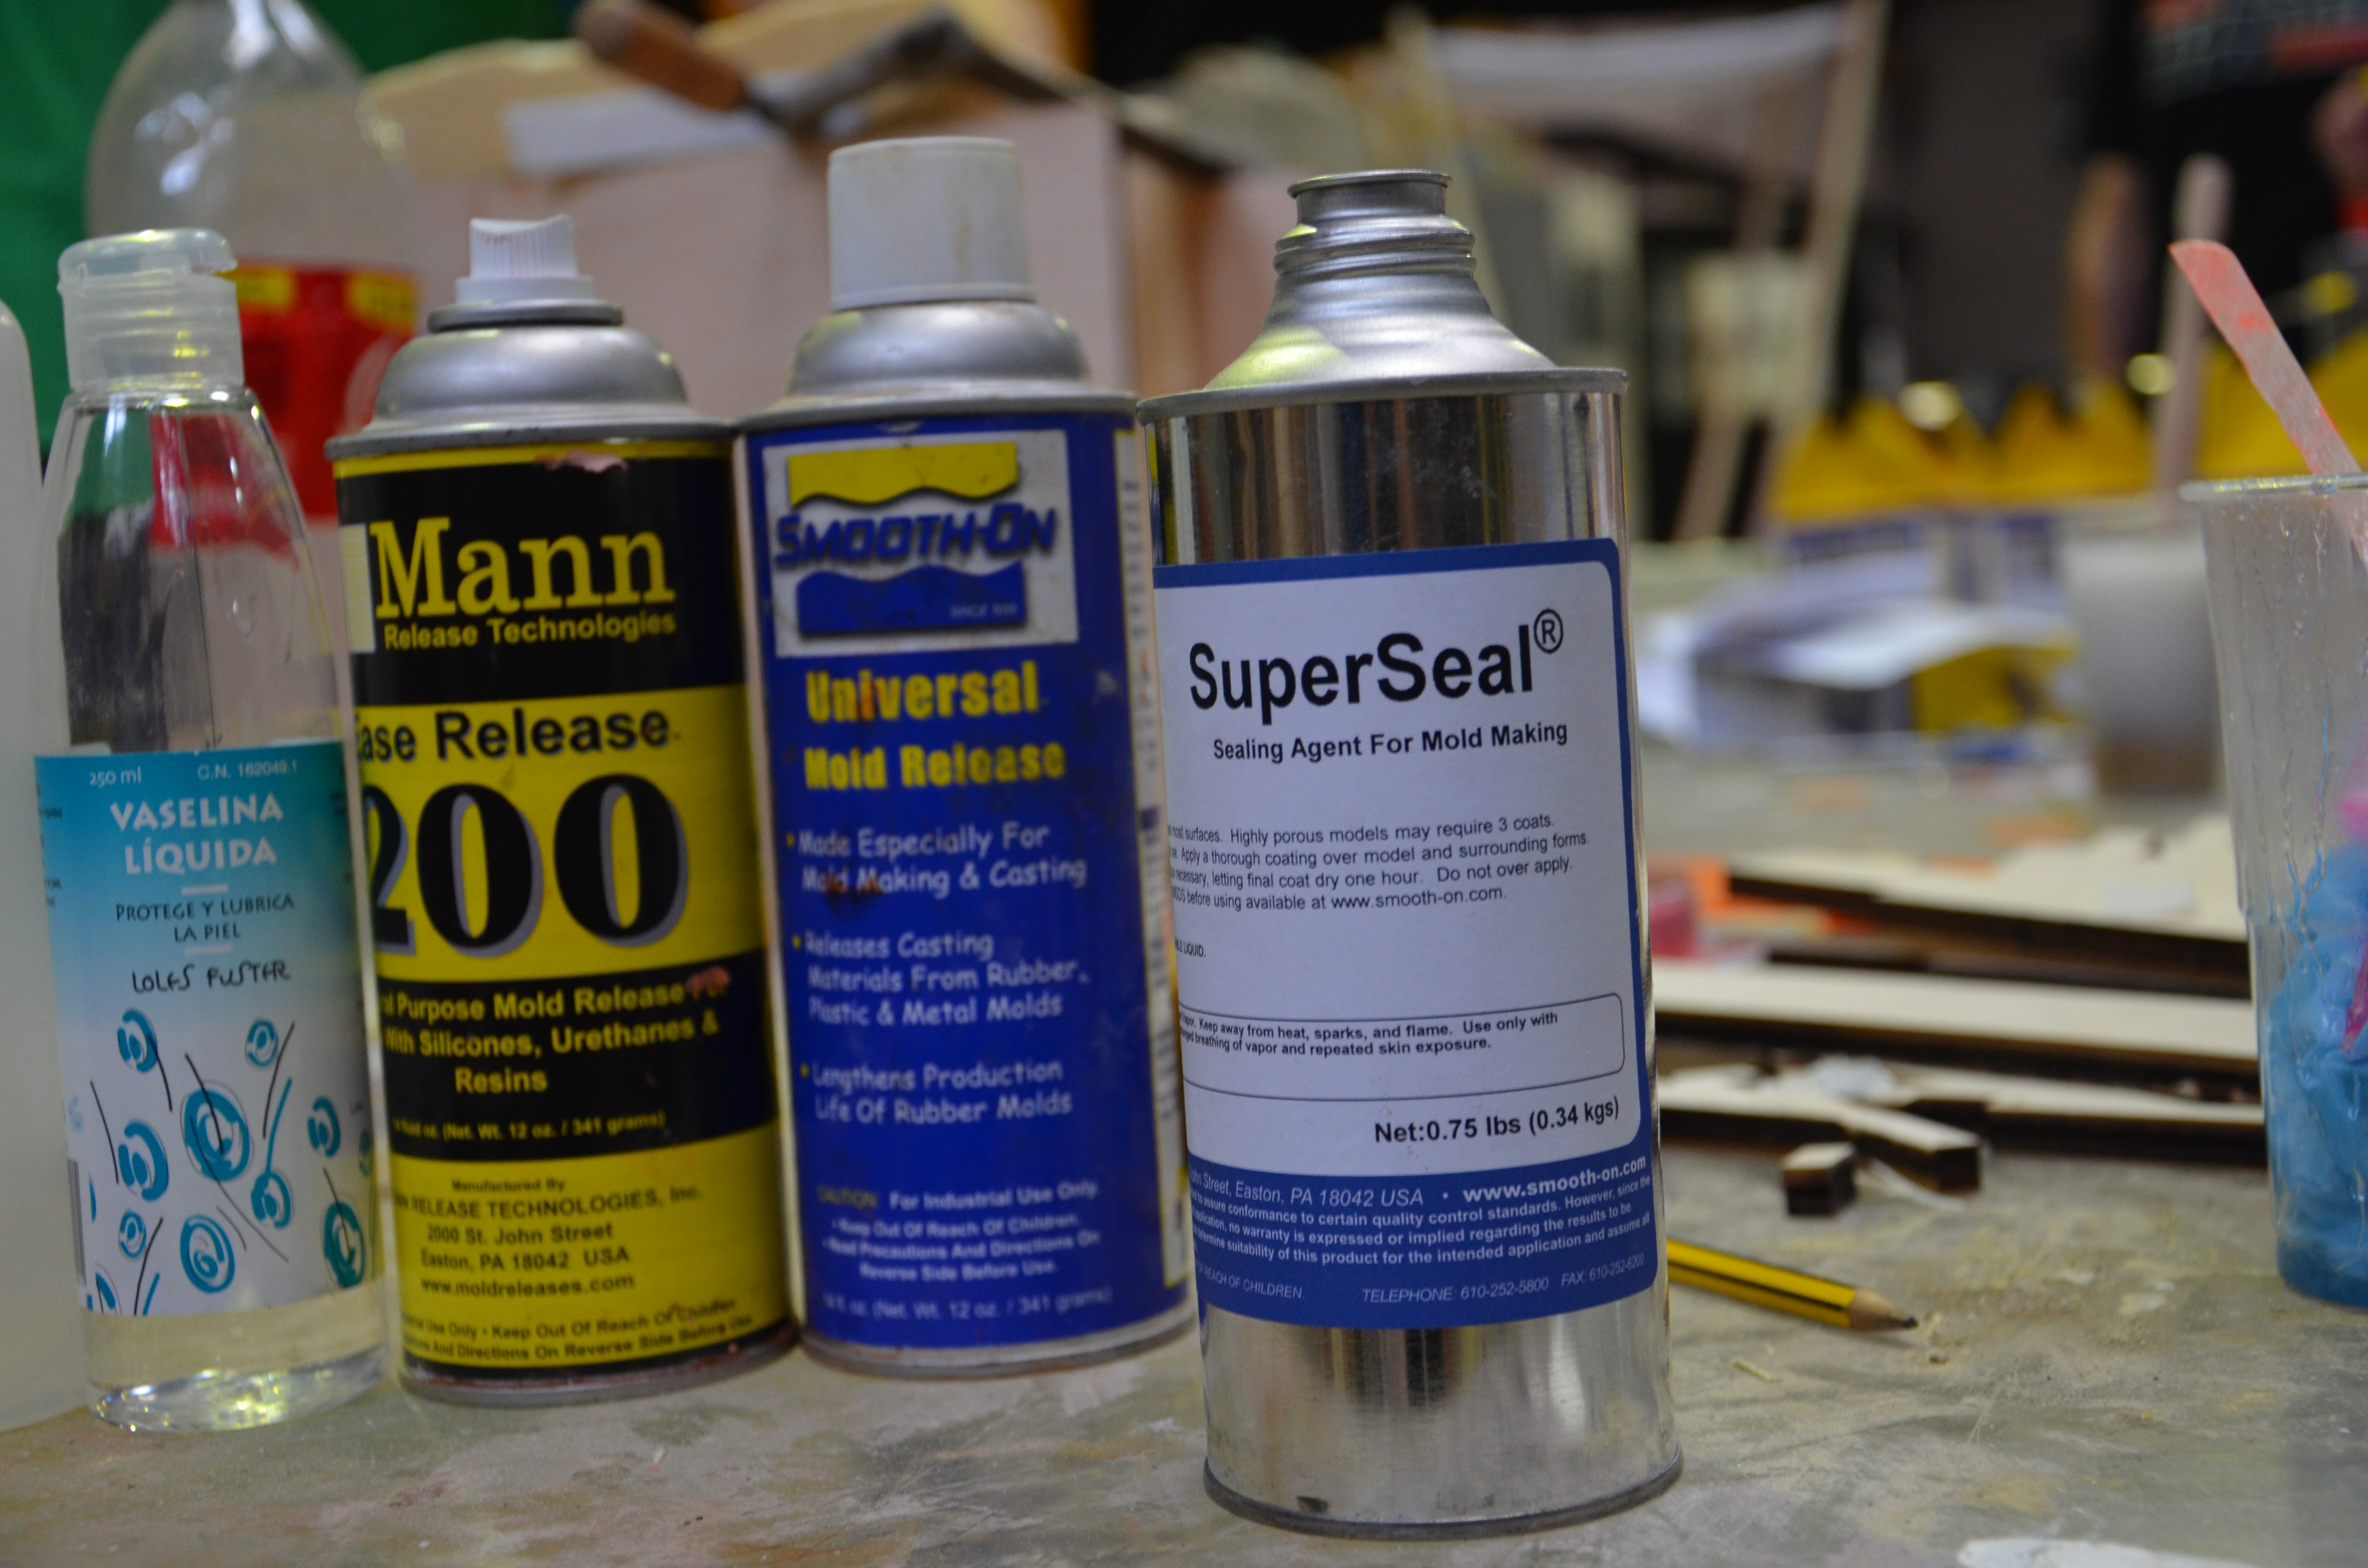
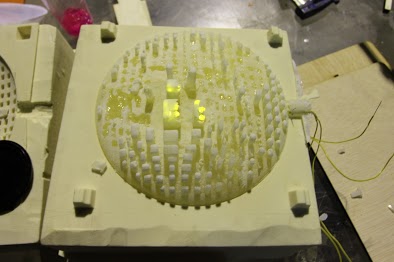
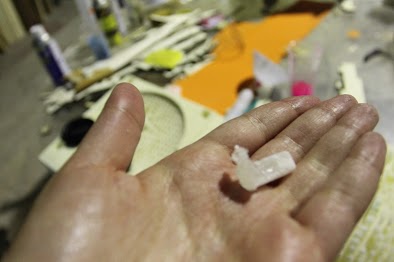
After milling, step 3 is to clean your object and work on the lights. I used simple LEDs connected in parallel and inserted then where the magnifier effect is. 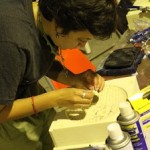 Tip: Test all your LEDs before using them, and keep testing after every step you finish. Just keep a battery in hand for quick testing. Now, step 4 is to get messy and work on the resin, in this case we used SmoothCast 327 which is supposed to dry in 2-4 hours. Before mixing, step 5 is to get your mold coated with anti adhesives, so that you can get your body out.
We used several seals in different layers 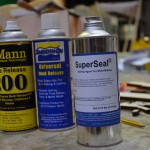 , however the absolute superstar of the process was, liquid vasilin (thanks to Natasha!)

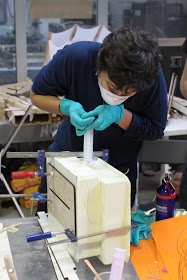
Follow the instructions on the package and start mixing. Tip: It helps to actually calculate how much you need before your start, and also to test a small sample. For allergic people like myself, make sure you put your gloves and masks (and glasses if needed on), otherwise the best case is that you will end up with headaches and rash! 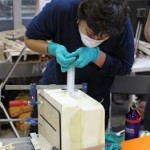
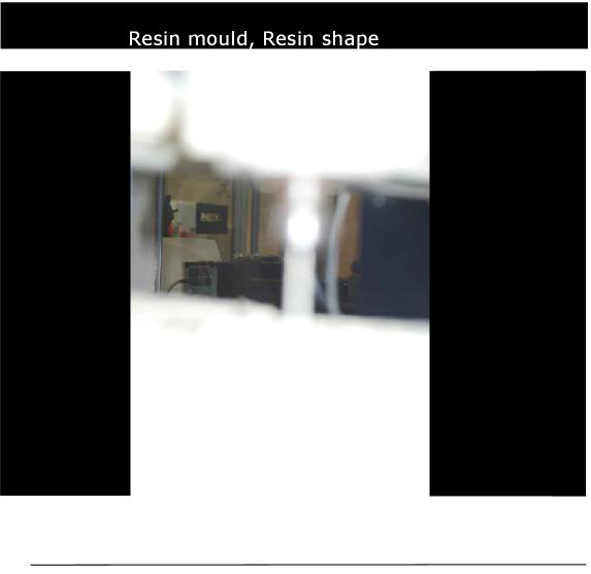
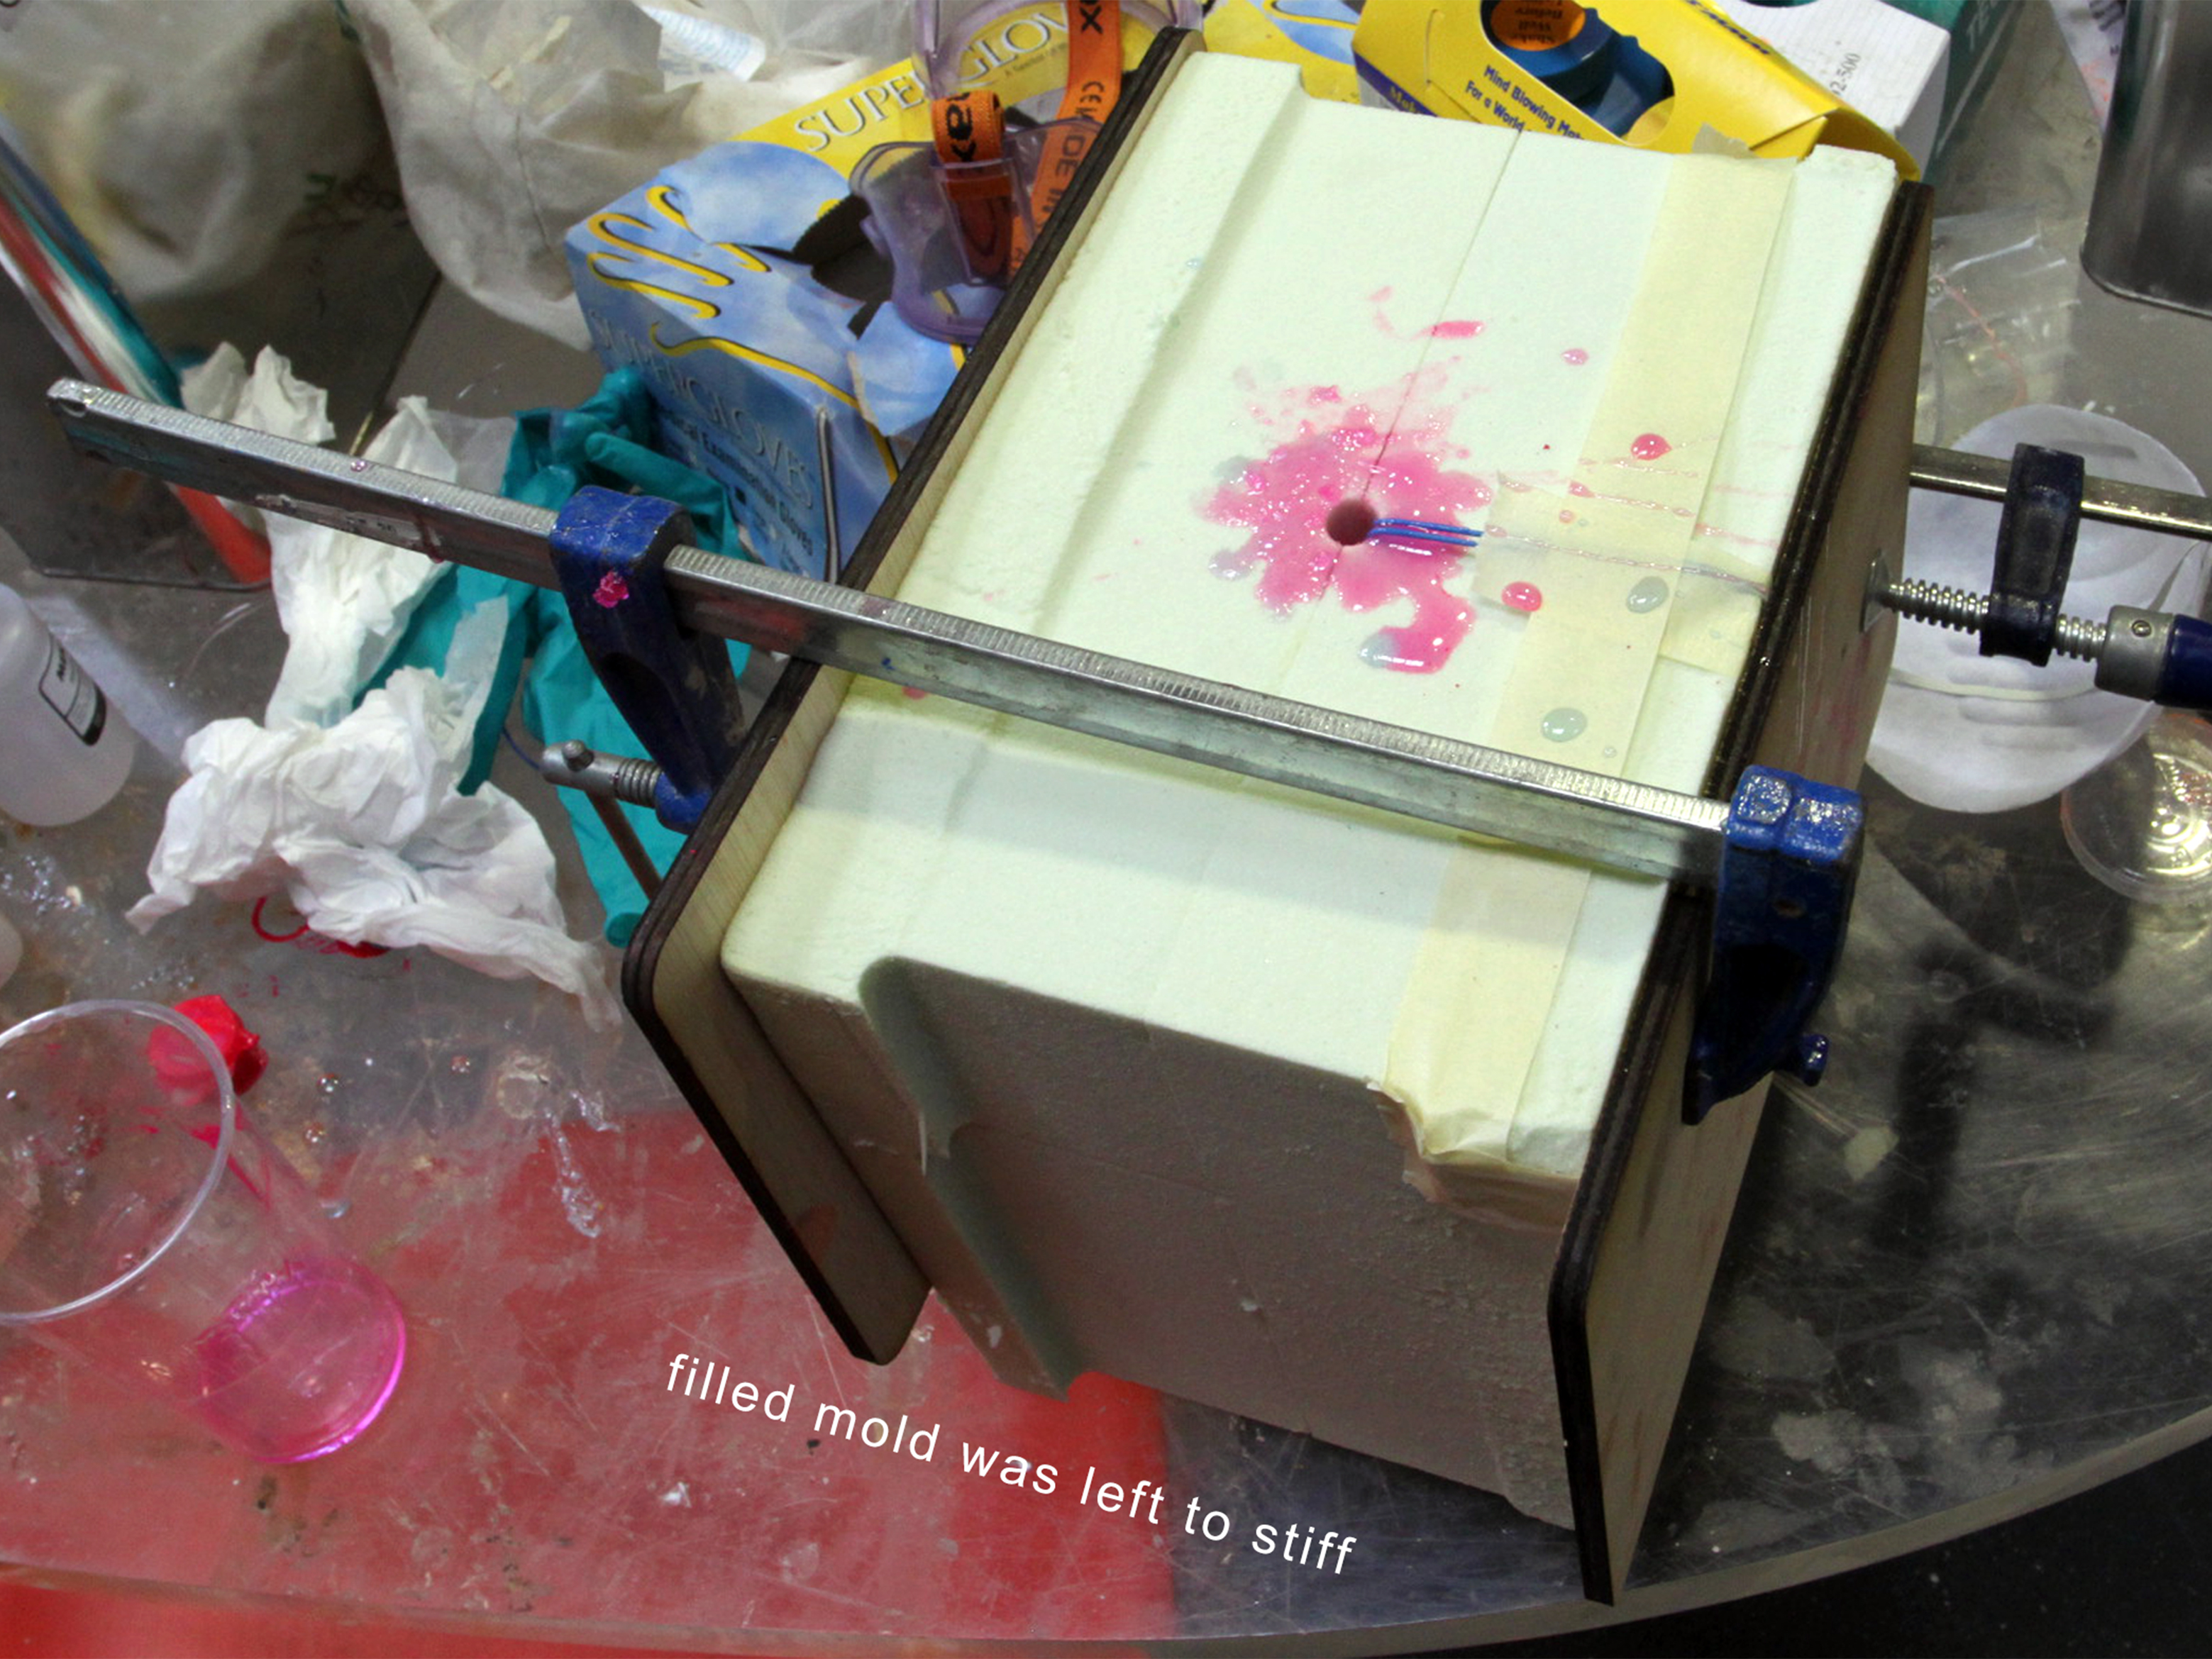
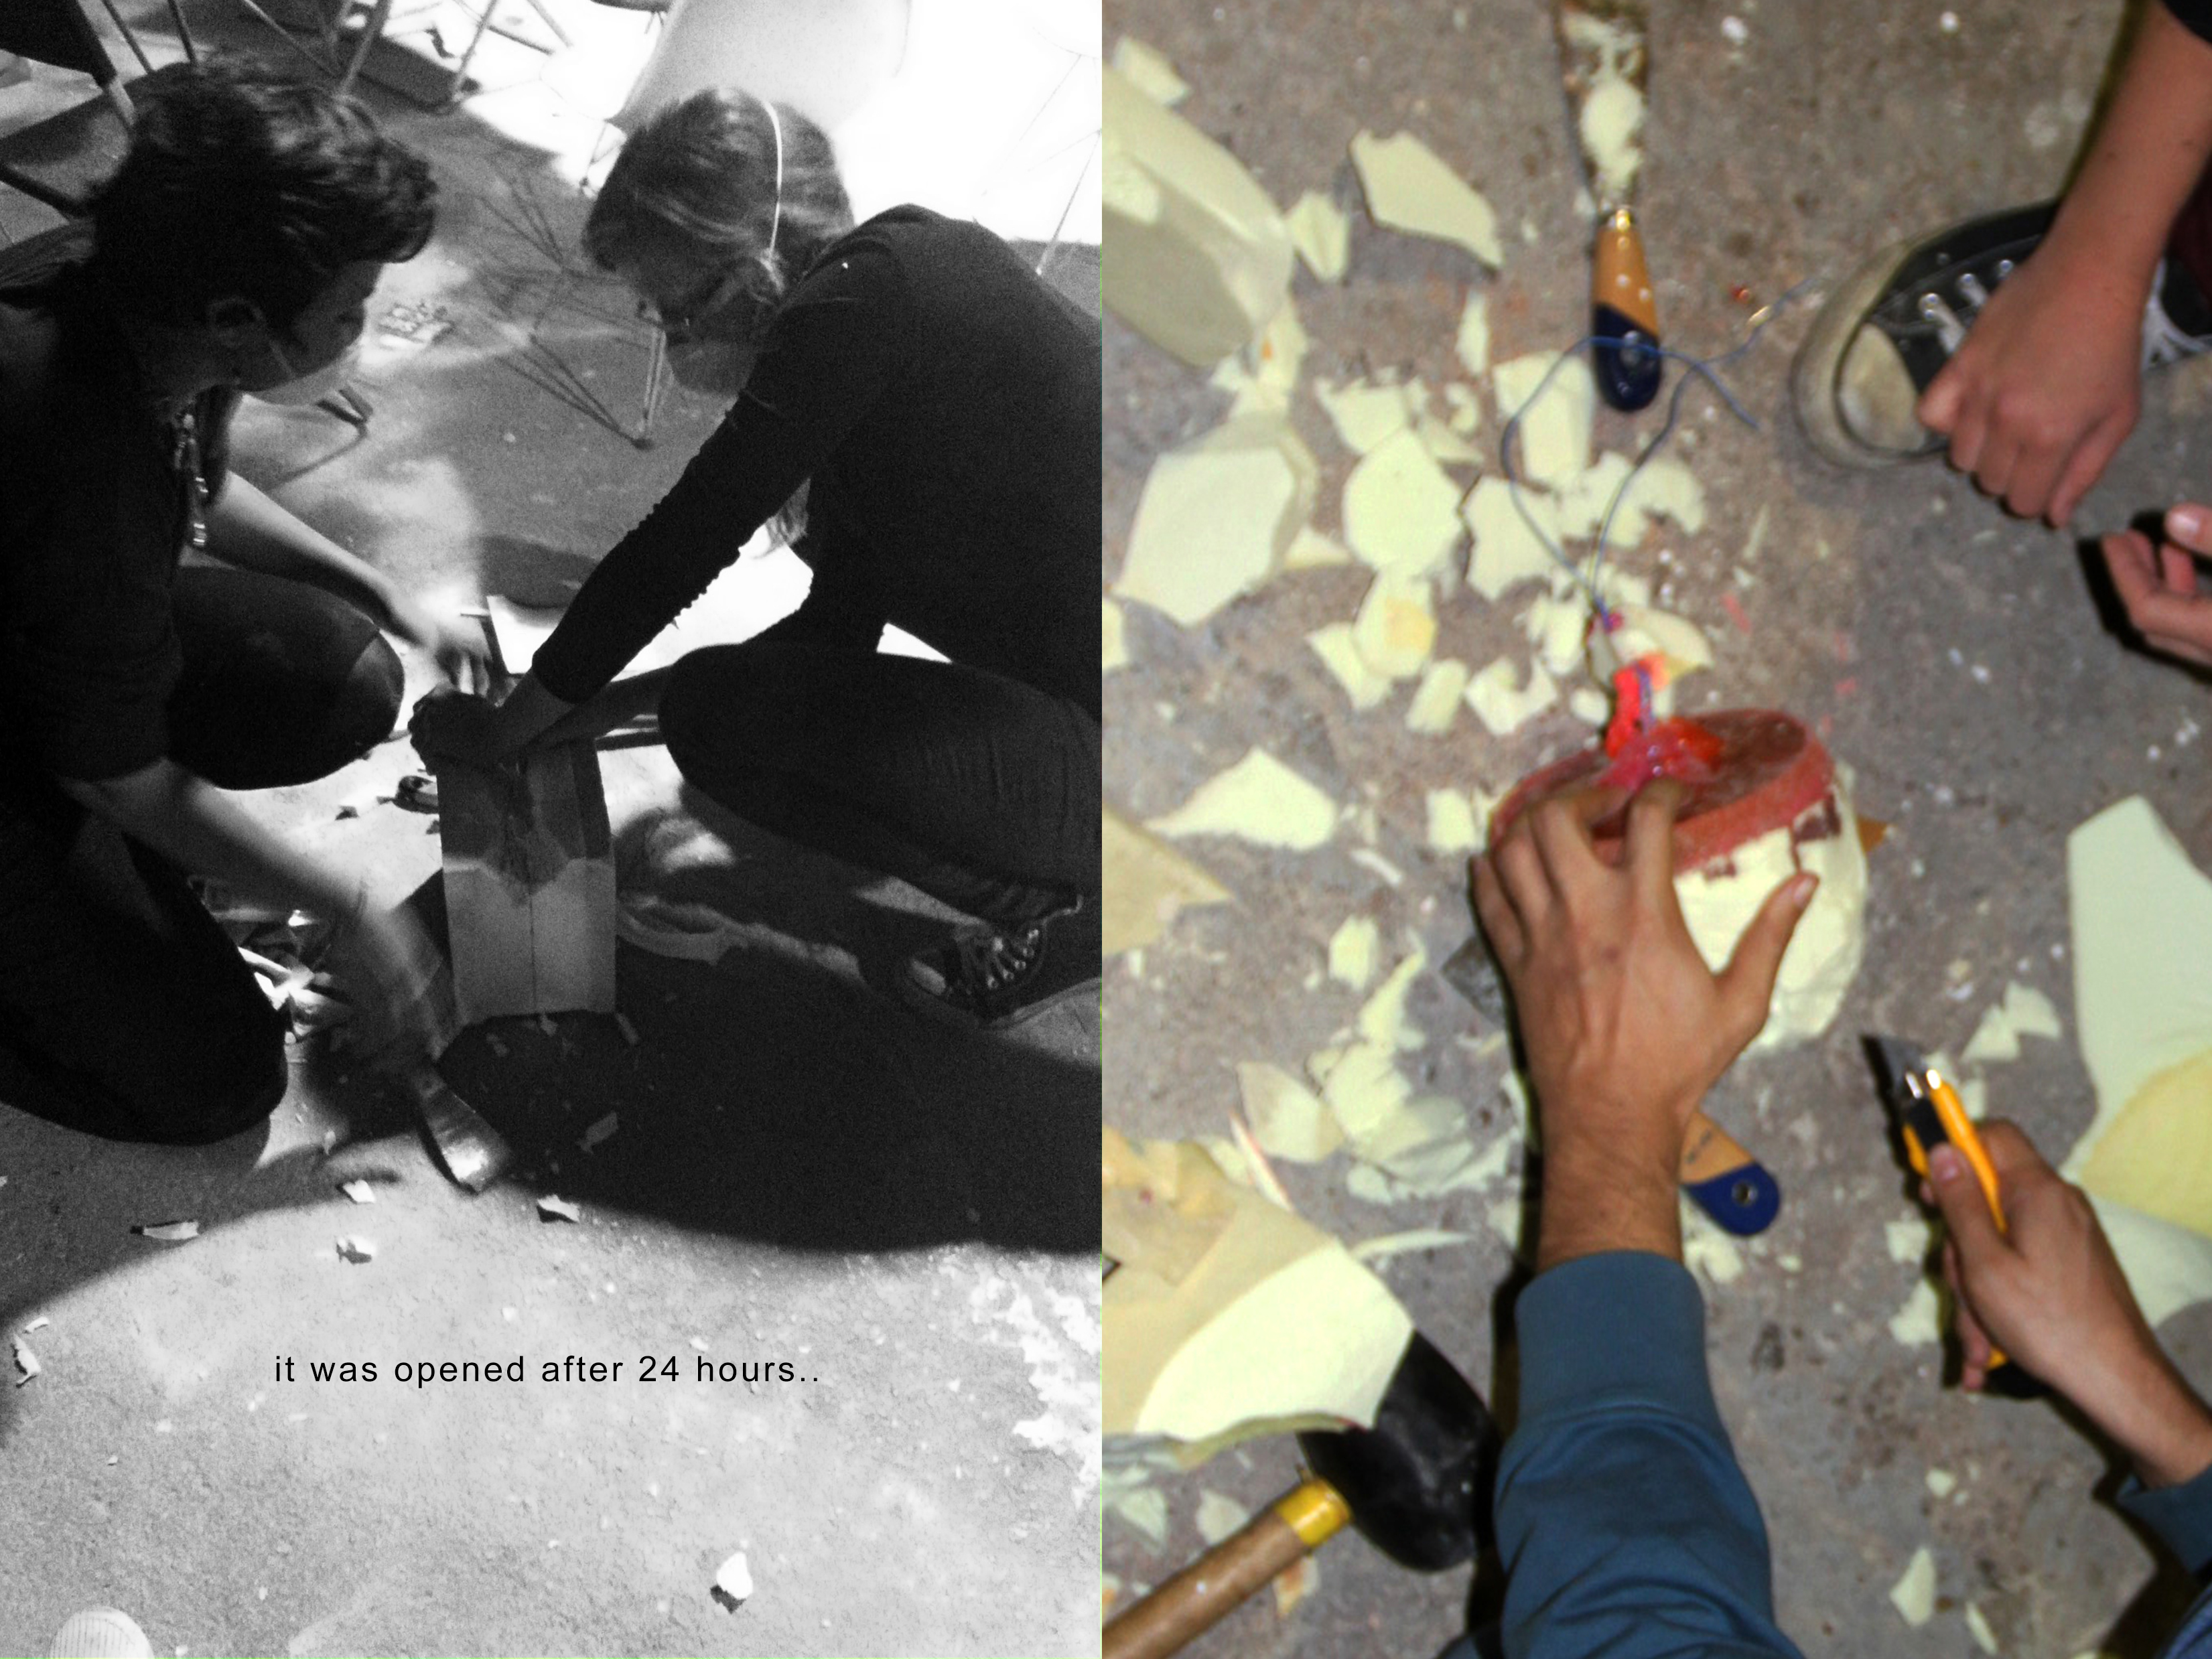
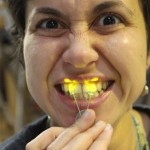
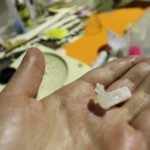
After you pour the resin, step 6 is to tight your formwork with clamps and wait for the right time to open it (4 hours in my case). Now take a deep breath in, and open your box.. . I had a bad surprise waiting for me: Apparently, the resin didn’t reach all the holes (because I stopped shaking the formwork once the resign started to flow outside it). Which ended up in the result you see. Now the final product looks more like a demonstration of a skin disease rather than a lens effect, but well, at least the lights still work .
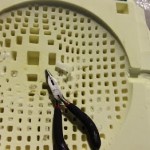
Take 2: I just found an opensource Gcode generator that runs on blender and has a simulator for milling. So, lets make a simple object and test it to see if this stuff actually works. It will be better to have a detailed Linux based tutorial, and maybe test different materials _more ecological_ for resins.
Hasta Luego!