I designed and fabricated a lamp using molding and resin casting. I’m sharing my experiences here: this is a step by step documentation of whole process. Along the way I’ll point out what I did well and where I made a mistake. Enjoy.
If you’re not that familiar with the hole digital fabrication project, then I recommend reading Neil Gershenfeld’s article where he explain why it’s important and where it’s heading.
The best resource for more info on these techniques is the Guerrilla guide to CNC machining, mold making, and resin casting.
1. Concept
I didn’t have very elaborated concept for this project. It was mainly an exploration of techniques. There were lots of things that were new for me here:
- designing 3D, physical objects
- a CNC machine
- milling a mold
- resin casting
My basic idea was a spherical object with lights in the center. In hindsight it turned out well that I didn’t spend that much time on perfecting concept and design, because the process involves many steps, and in each phase decisions have to be taken that influence the final outcome. My advice to those getting started with similar project would be to start with a simple idea and proceed fast from there, trying out different techniques and materials in the process. These are powerful techniques, but don’t expect to get the exact result you have in mind for your first project. Be prepared to improvise. Also be aware that this whole process took a couple of days to complete. Don’t expect to do this in one afternoon if you haven’t done it before.
2. Design
This project also was an excuse to try out He_Mesh, a Processing library by Frederik Vanhoutte. The He in He_Mesh stands for Half-Edge data structure, which is one of the many ways to store information about a mesh. I didn’t go to deep in the underlying logic because it seems rather esoteric knowledge. From what I understand, this is an computationally efficient way to work with meshes, enabling us to do all kinds of interesting manipulations without having to worry about how things work behind the scenes.
Here are a few interesting projects that make use of He_Mesh:
- Matthew Plummer-Fernandez is interested in remixing everyday objects and cultural icons such as Mickey Mouse. He raises all kinds of interesting questions related to originality and copyrights.
- HemeshGui is a graphical interface for He_Mesh, meaning you can experiment without writing code. It doesn’t expose all of the features of the library, but it is a good way to get a feeling for its possibilities. HemeshGui doesn’t seem the work perfectly with the latest He_Mesh version, but I’ve opened an issue with a possible solution.
- easySunflow is a software written in Processing that can used to create high quality images of He_Mesh objects with the Sunflow renderer.
It can be a bit hard to get started with He_Mesh, so here is what I recommend:
- Install HemeshGui and experiment with the parameters.
- Start with Jan Vantomme’s excellent introductory series of blog posts.
- Have a look at the tutorial folder in the library, especially the 1-4 are a good general intro.
- Then it’s best to start playing around. If you get stuck, head for the reference folder in the distribution and check the Java docs in the doc folder.
I created a Github repository for the Processing source code. The code is short and simple to understand. It feels very similar to what you would do in a 3D software package. These are the basic steps in a He_Mesh program:
- Creating a mesh using a ‘creator’. This can be a geometric primitive such as a box or a sphere, or something more complex like a torus. Or you can provide it a list of vertices.
- Manipulating the mesh with ‘modifiers’ and ‘subdividors’. Examples include: skewing, smoothing, slicing, and so on.
- Rendering and/or saving.
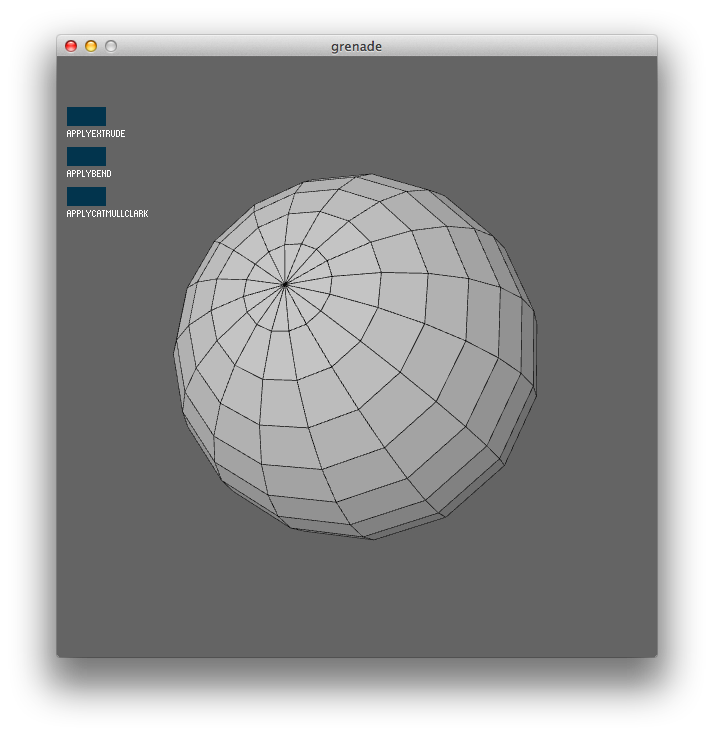
Let’s see how that applies to my case. I started from a sphere:
HEC_Sphere creator = new HEC_Sphere();

creator.setRadius(200);

creator.setUFacets(16);

creator.setVFacets(16);

HE_Mesh = new HE_Mesh(creator);
Note that we set a few options, such as the radius and the number facets. Here is how that looks:
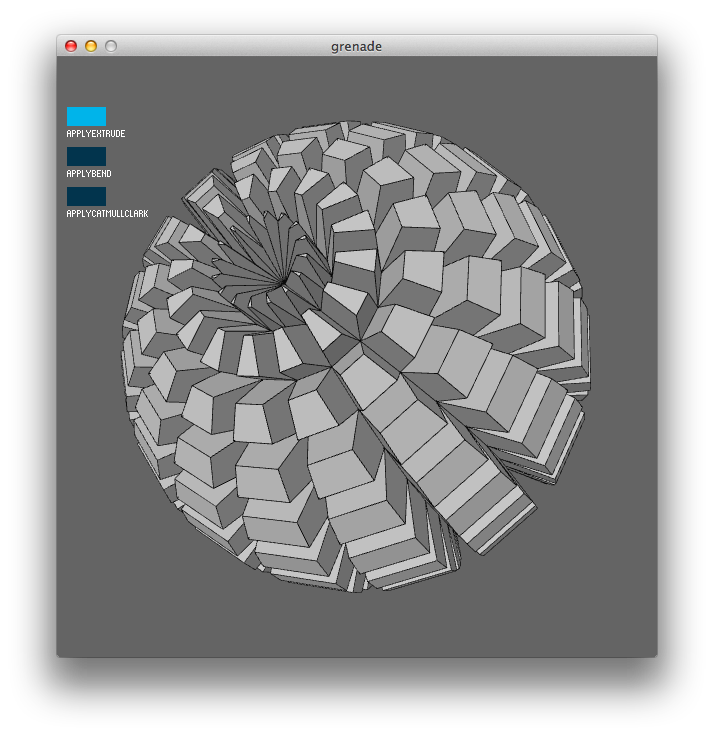
Then I applied the extrude modifier:
HEM_Extrude extrude = new HEM_Extrude();

extrude.setDistance(50);

extrude.setRelative(false);

extrude.setChamfer(5);

mesh.modify(extrude);
The chamfer option cuts of the edges of the extruded faces. I’ve disabled relative here, so the number 5 for the chamfer is absolute, not relative to the face size. This is the result:
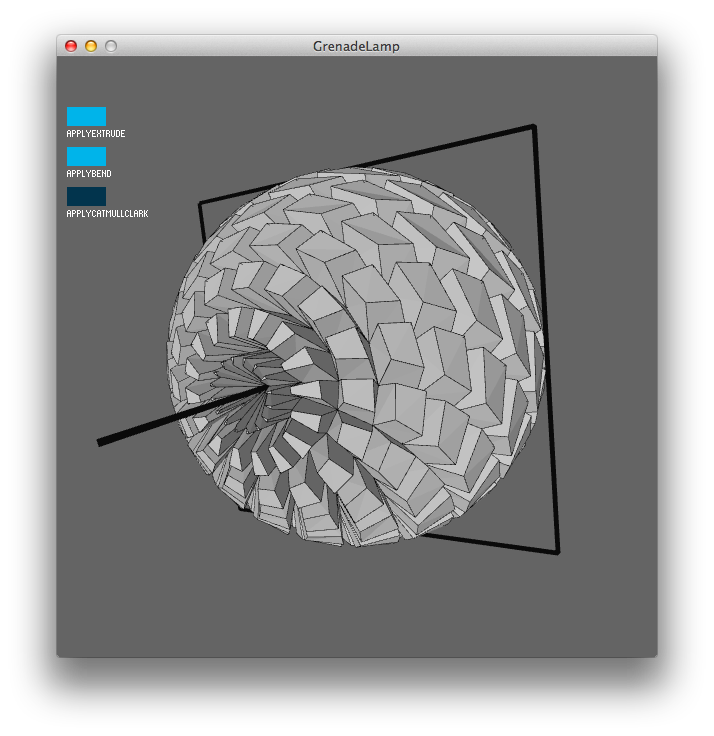
Modifiers can be chained together. Here’s how we apply the bend modifier to the extrusions:
HEM_Bend bend =  new HEM_Bend();

P = new WB_Plane(0, 0, 0, 0, 0, 1);

bend.setGroundPlane(P);

L = new WB_Line(0, 0, 1, 0, 0, -1);

bend.setBendAxis(L);

bend.setAngleFactor(0.25);

bend.setPosOnly(false);

mesh.modify(bend);
This one is a bit more complicated, because He_Mesh gives us a lot of control over how we bend the mesh. We need to give this modifier a plane. I’ve used the XY plane here. The part of the mesh that will be above the ground plane will be bent in one way, and what is under it in the other direction. We also have to specify the axis around which we will bend, which is the Z-axis here. The following image should make it more clear:
The angle factor determines how much bending is applied. I’ve disabled ‘positive only’ because I also want the modifier to be applied on the negative side, which is the part of the sphere under the ground plane.
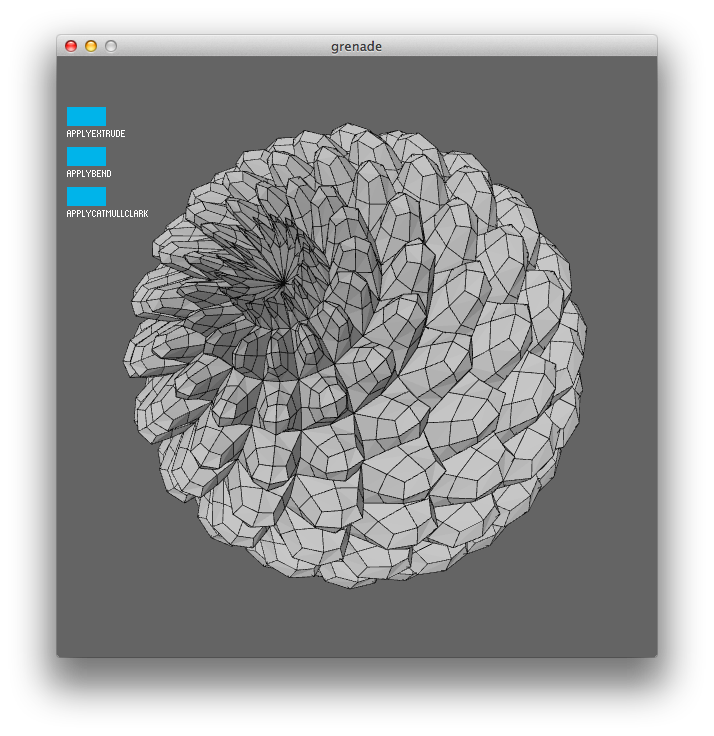
And finally, I applied the Catmull-Clark subdividor, which smoothens the extrusions. This is the code:
HES_CatmullClark catmullClark = new HES_CatmullClark();

mesh.subdivide(catmullClark);
And this is the result:
Rendering can be done like this:
WB_Render render = render = new WB_Render(this);
fill(200);
noStroke();
render.drawFaces(mesh);
noFill();
stroke(10);
render.drawEdges(mesh);
Exporting to a OBJ format is simple:
HET_Export.saveToOBJ(mesh, sketchPath("lamp.obj"));
3. Preparing the mold
This part of the process is largely depends on the Rhino 3D package. I wasn’t familiar with it, so it took me some time to get used to it. I also wouldn’t have made without the help from skilled people like Anastasia, Moushira and Martin. Thank you!
If you haven’t used Rhino before, I’d suggest taking a few hours to get comfortable with the software. The most important things to understand for projects like these are:
- Using the Rhino command line
- Moving around
- Making selections
- Showing and hiding objects
- Drawing primitives
- Positioning objects
- Boolean operations
For me this dependency on relatively expensive piece of software is a bit strange. I’m also not such a big fan of the interface, it feels kind of awkward and 90s. It would interesting to see if this part of the process can be done with cheaper/nicer/open-source tools. There’s two main reasons to use Rhino:
- Boolean operations. I couldn’t find a way to do this with Processing, but Frederik mentions that he plans to support this in He_Mesh. That would be awesome because that would mean that one more step of the process could be automated.
- Preparing the instructions for the CNC machine. This is actually not handled by Rhino itself, but by a very expensive plugin. I can’t imagine that it wouldn’t be that easy to find a replacement for that tool.
Rhino is also still mostly a Windows affair. I’ve used the Mac beta (of September 2012), which seems to work well. It is available for free as long until the final release version will come out, which is unknown at this time. Biggest disadvantage is that most plugins don’t work, including the one we used to create the instructions for the milling machine.
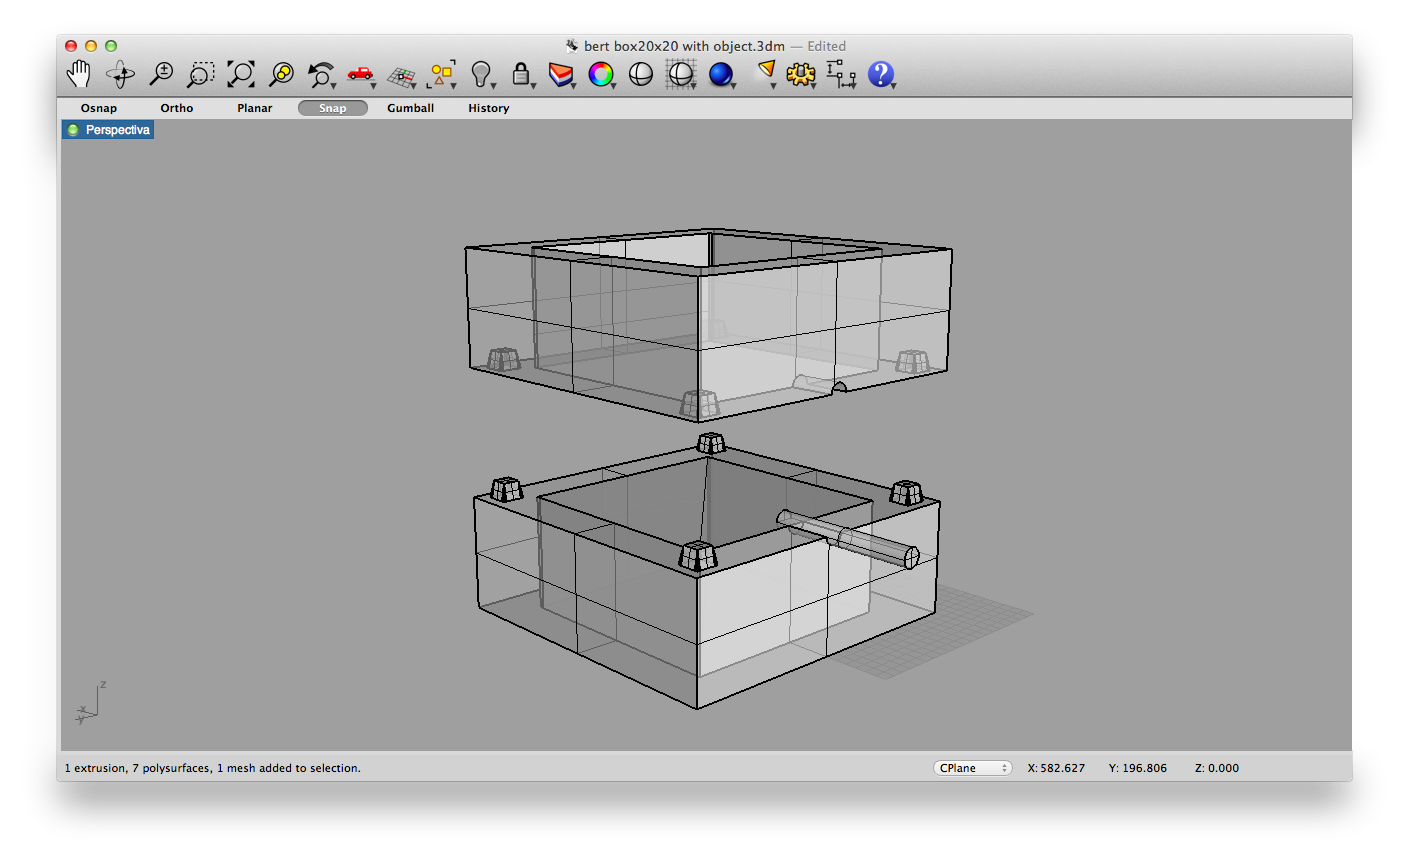
But why do we need a 3D package anyway? Can’t we just send the file to a machine as it is and have it figure out what to do with it? We should actually take a step back here and look at what we want to do. We’re going to create a mold here, which we will fill with resin later. The mold consists of two halves that form a box together. Here’s how we modelled that box in Rhino:
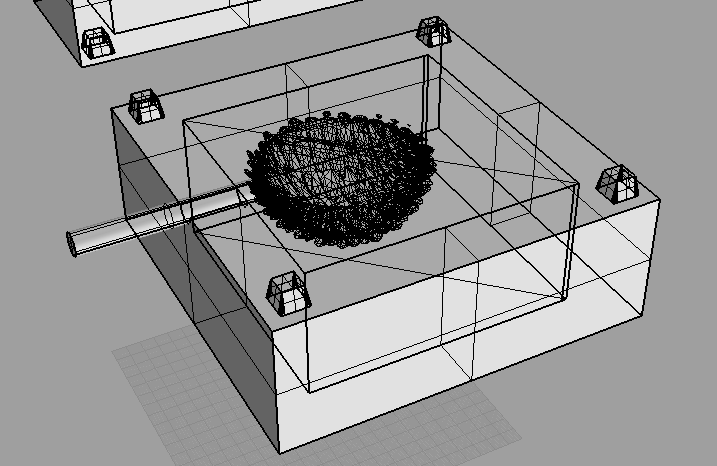
Then we imported the OBJ output of the Processing sketch. Using Rhino’s boolean tools, we hollowed out the surface of the lamp from the box. The trick here is to make sure that the box and the object you want to make are of the same type. 3D software packages either prefer meshes (like Rhino) or solids (like Maya). The difference has to with the way a 3D geometry is stored. Since we drew the box in Rhino, it’s a mesh. The imported OBJ file is a mesh. If you want the boolean operation to succeed, both should be of the same type. We converted the box to a solid with the MeshtoNURB command. Then both the lamp and the box can be selected and the BooleanIntersection command can be applied. Here is a screenshot of one half of the box:
4. Fabricating the mold
Then it’s time to create the instructions for the CNC machine. I did this project at the FabLab Barcelona, where we have a Precix machine:

CNC machines are controlled with G-code instructions – similar to 3D-printers. An example of such an instruction is: “move to x 500 y 700, and drill a hole of 5 millimeters deep”.
We used RhinoCAM to create G-code. It takes a bit of trial and error to get things right, so you’ll need to go back and forward between the settings and the simulation. This honestly felt a little like a black art to me, something you can only learn by doing it many times.
Generally you’ll want two different stages:
- roughing: first take away large portions of material quickly with a large drill
- finishing: then do the finer work with a smaller drill
This is the roughing stage:
This process took about half an hour in my case. This second stage, the “parallel finishing” took a few hours:
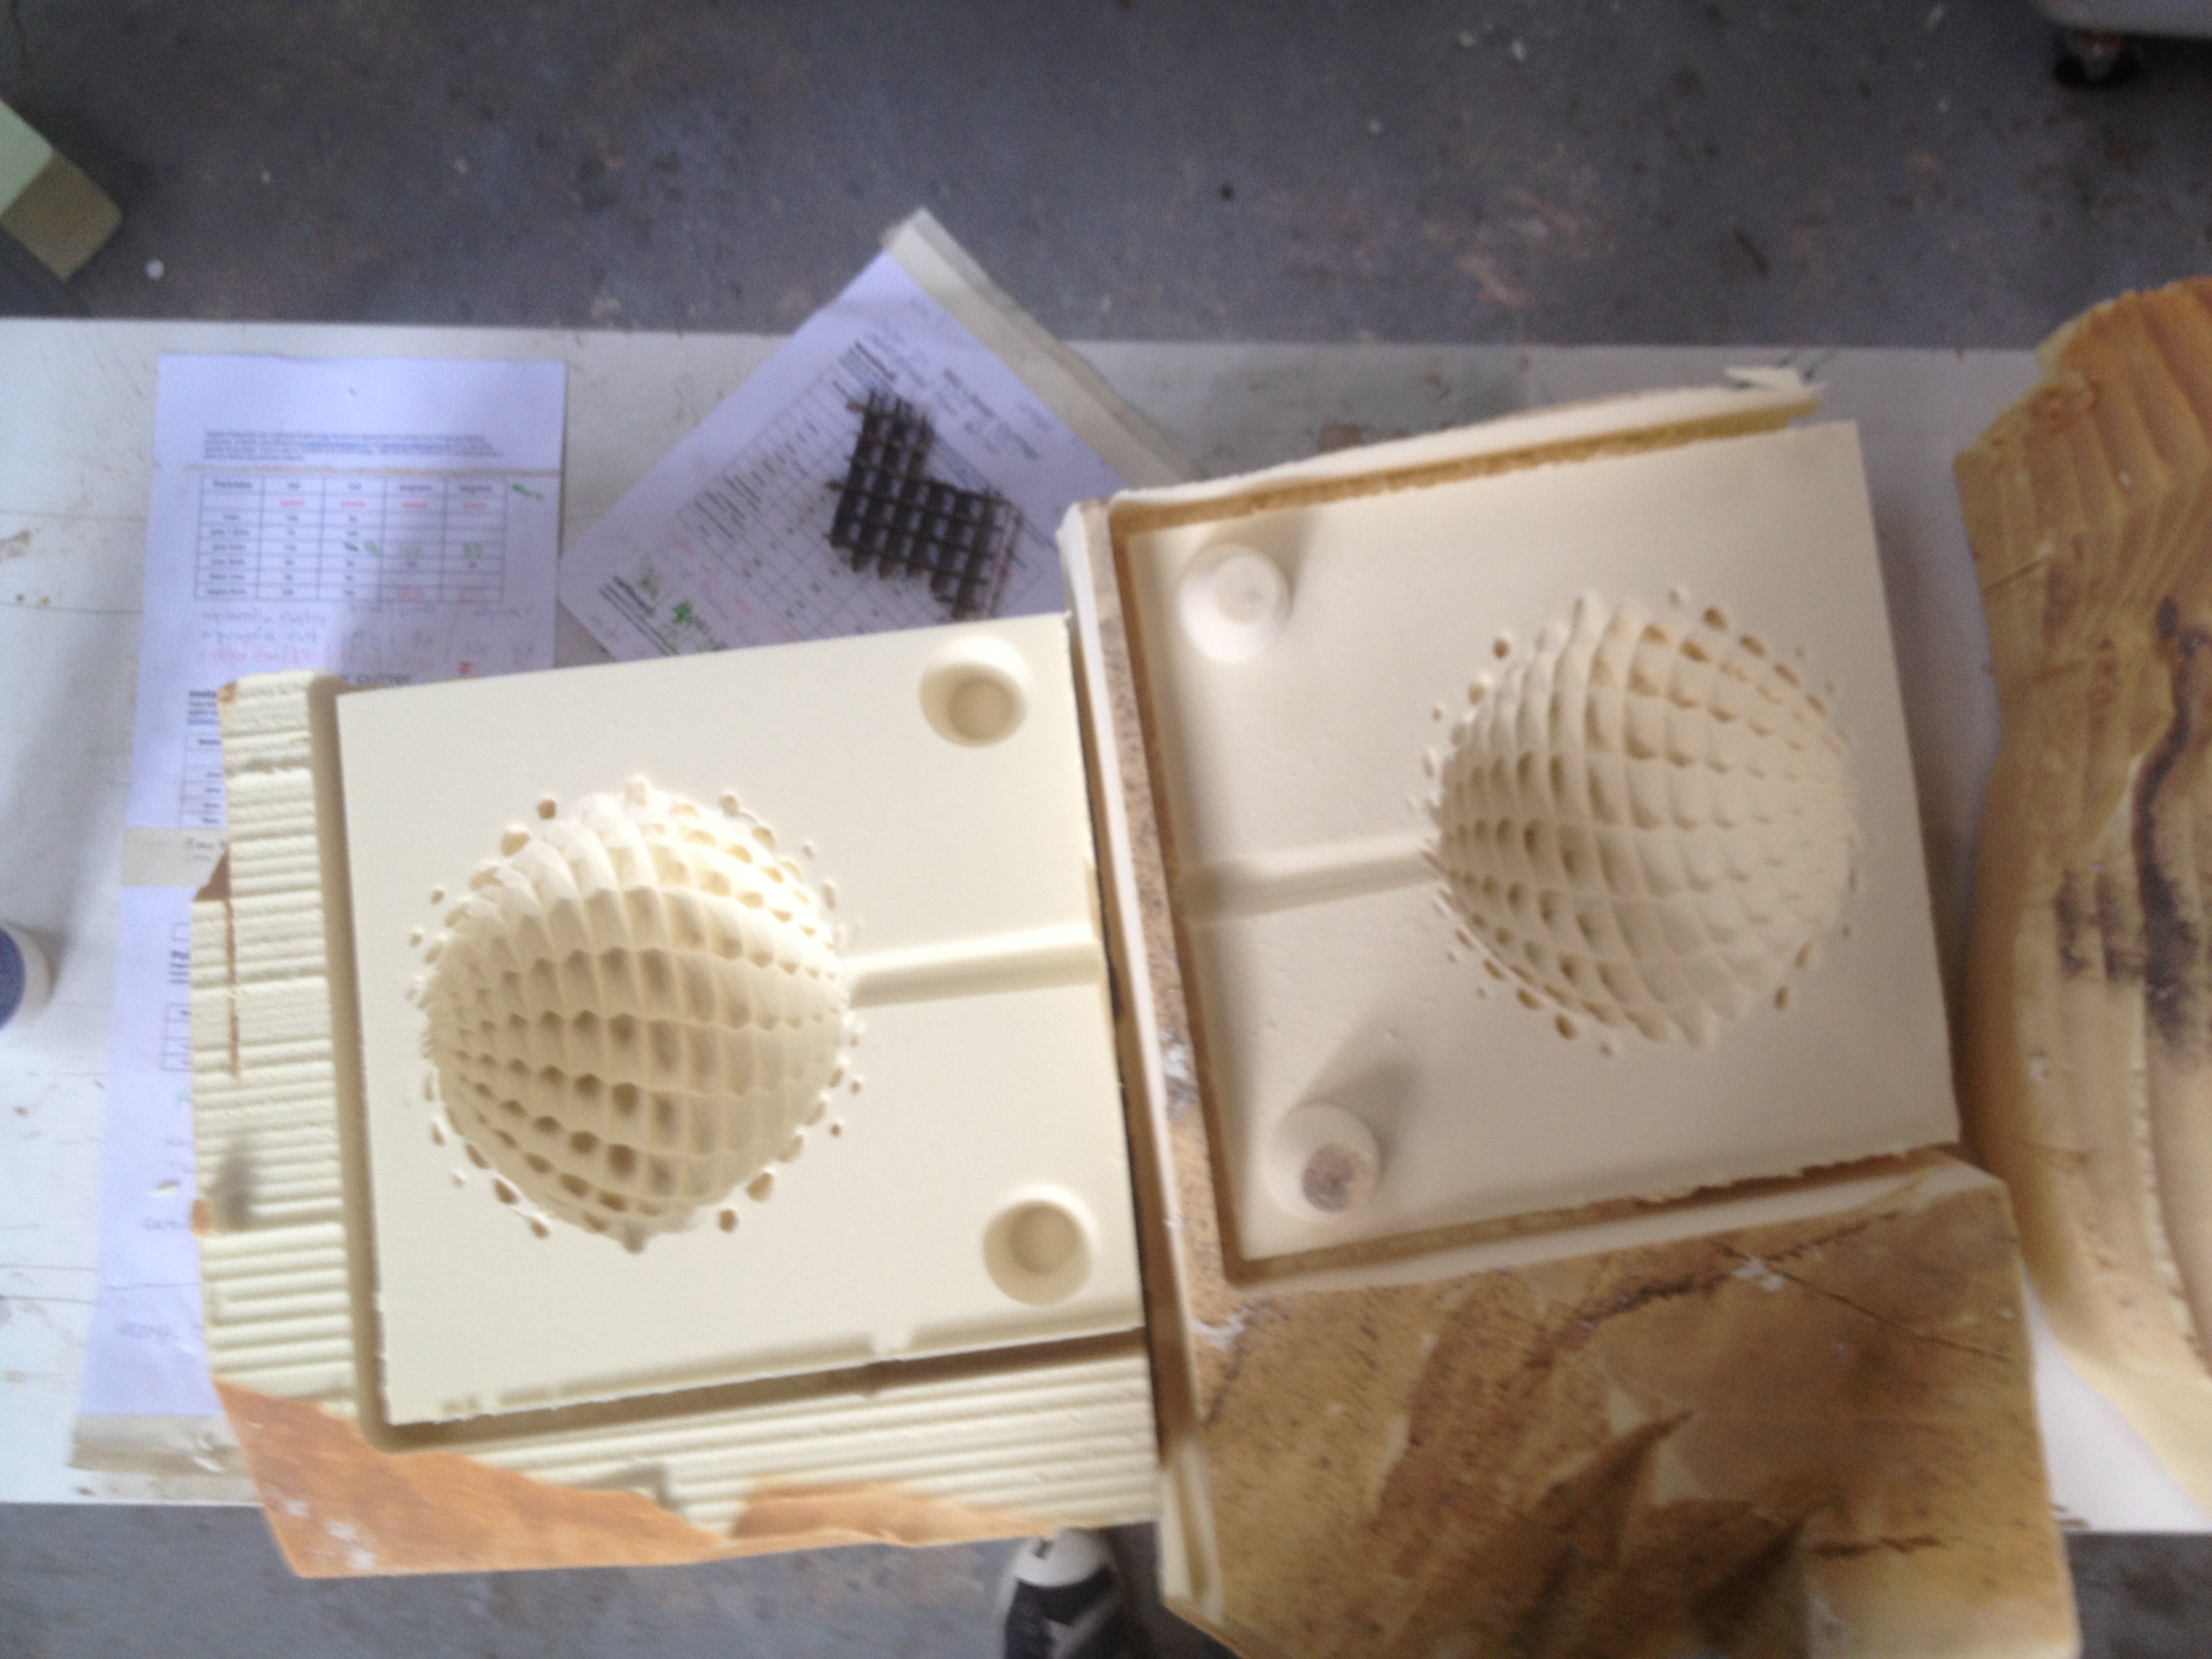
You can clearly see the difference between the left and right side. This is how both sides look before cleaning:
5. Preparing for casting
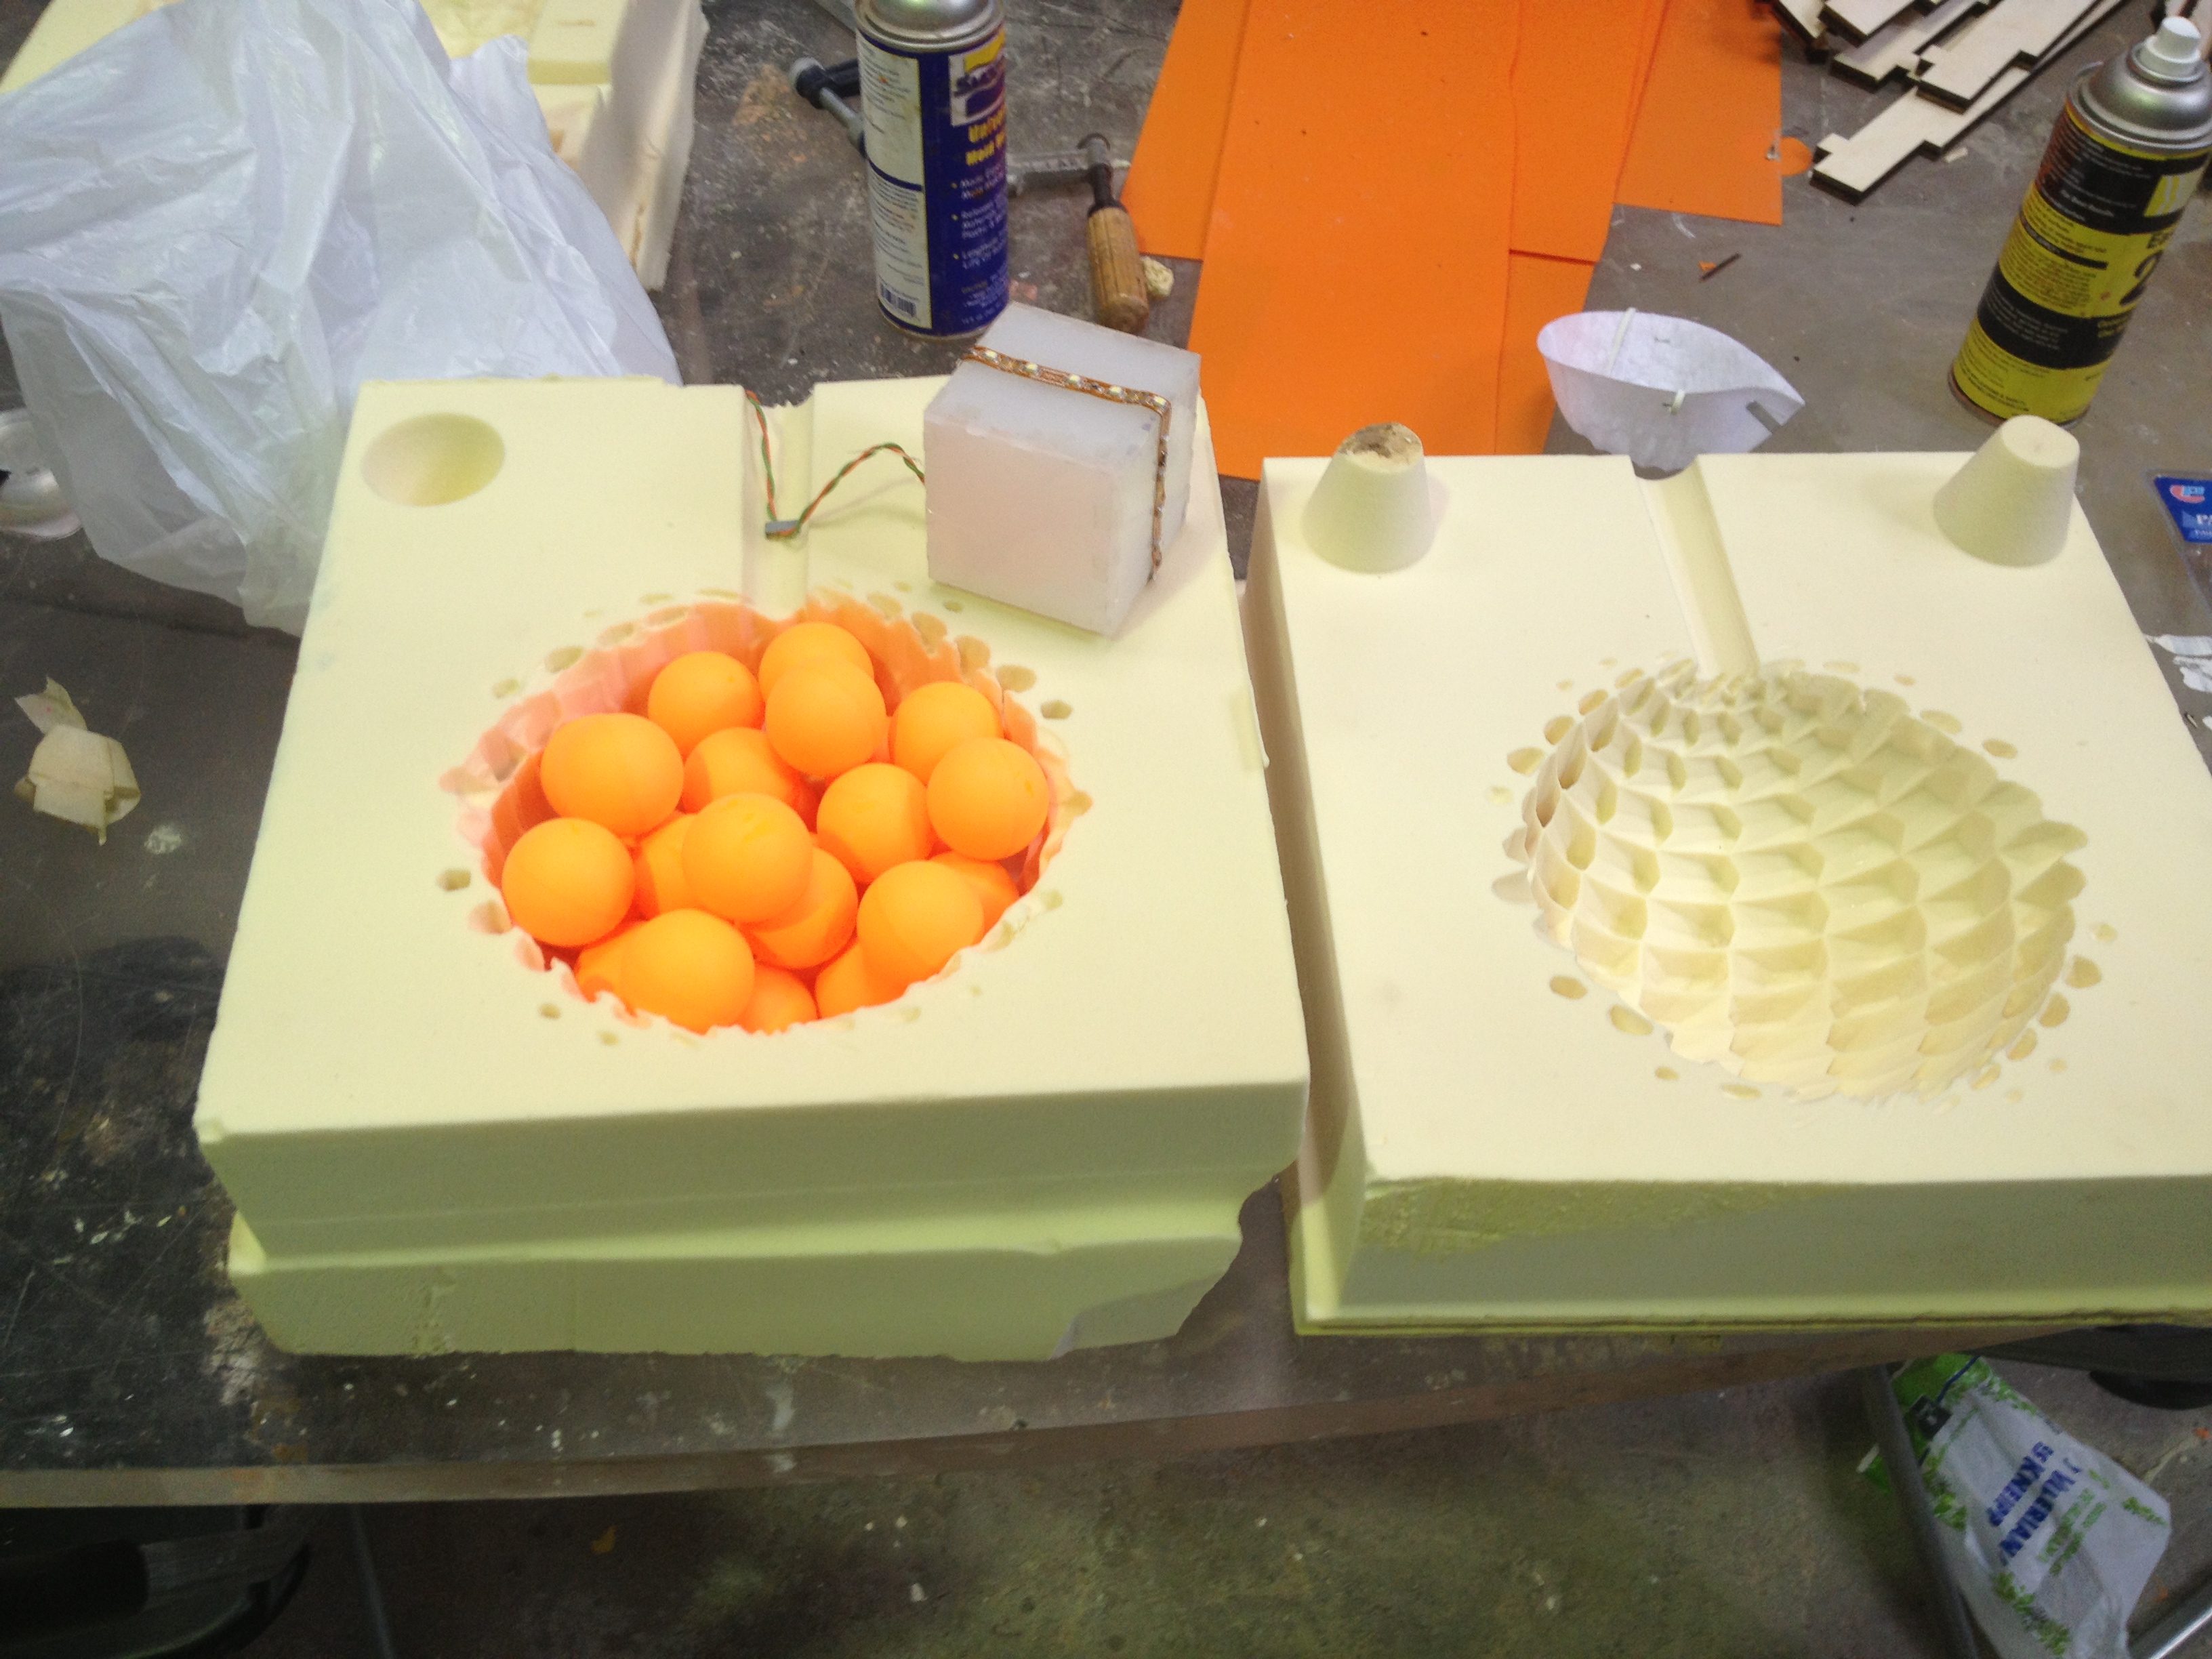
After some initial tests, it was clear that I would need a huge amount of resin to cover the volume of the sphere. My first solution was to lasercut a box from plexiglass. I used BoxMaker, a little webapp that makes it easy to create a PDF with the necessary shapes for a box. The is how the box looks after glueing:
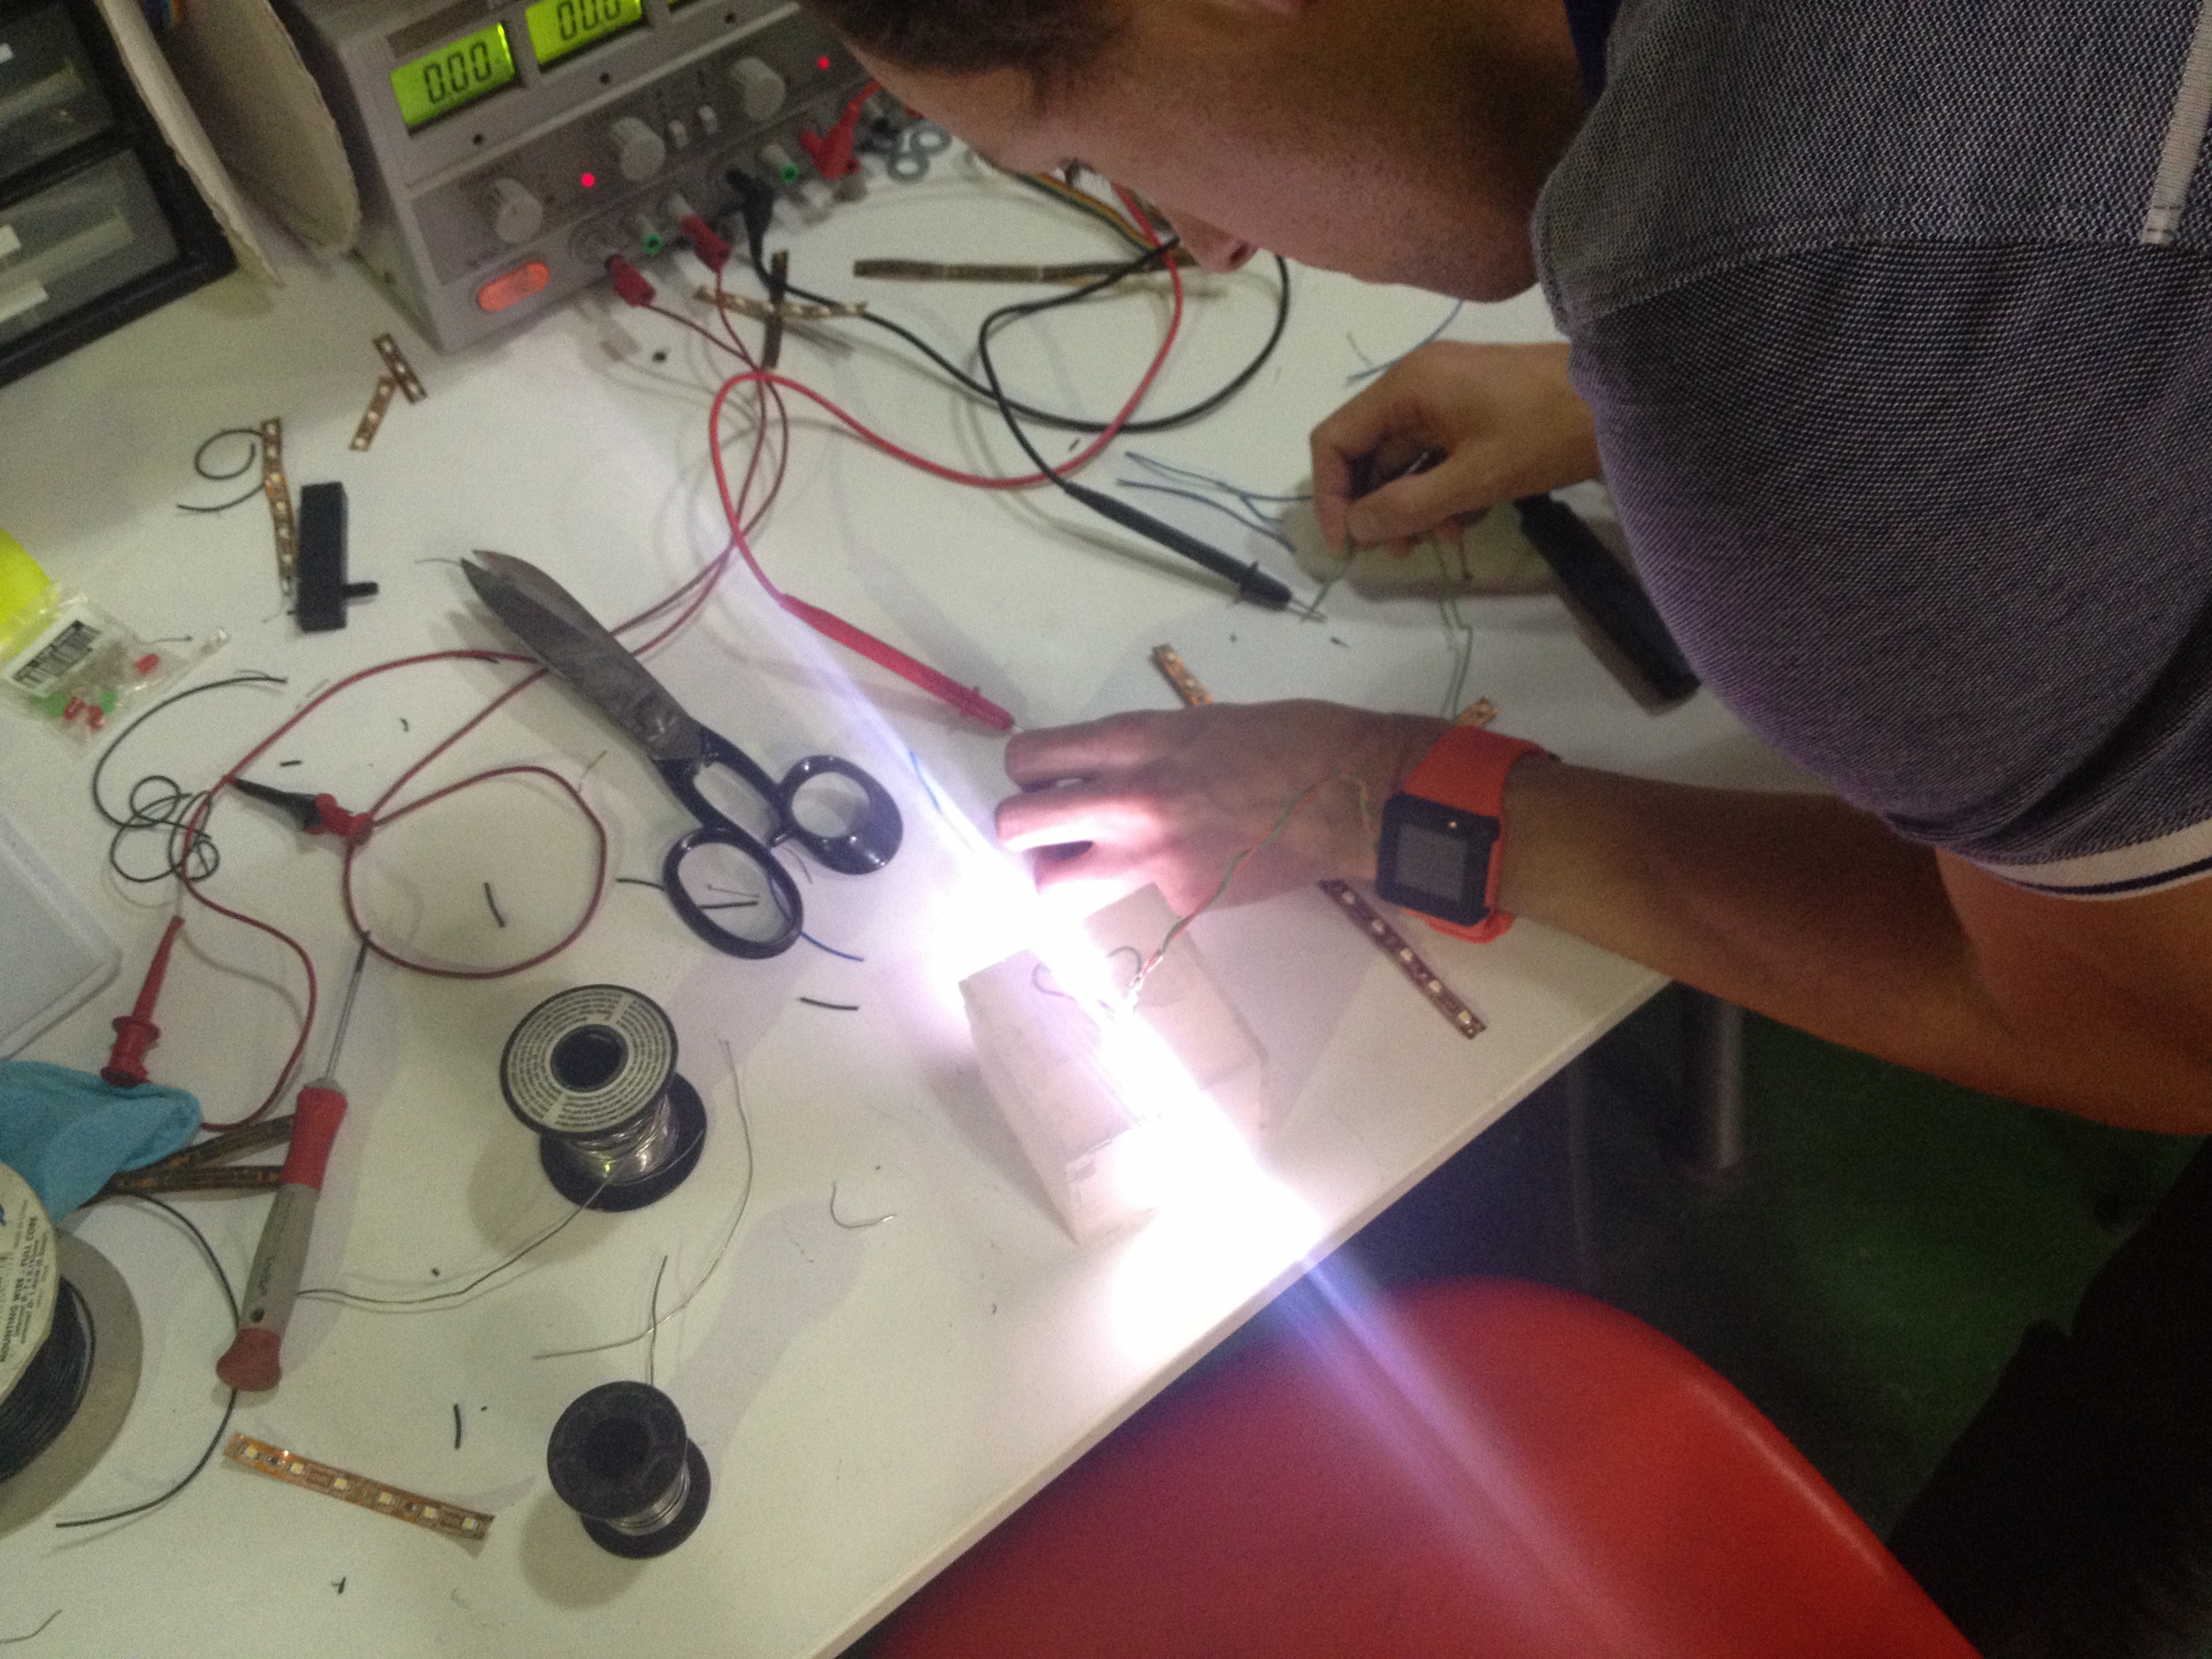
My plan was to hang it in the center and glue the LED’s on it:
And then I added ping pong balls to fill the rest of the volume:
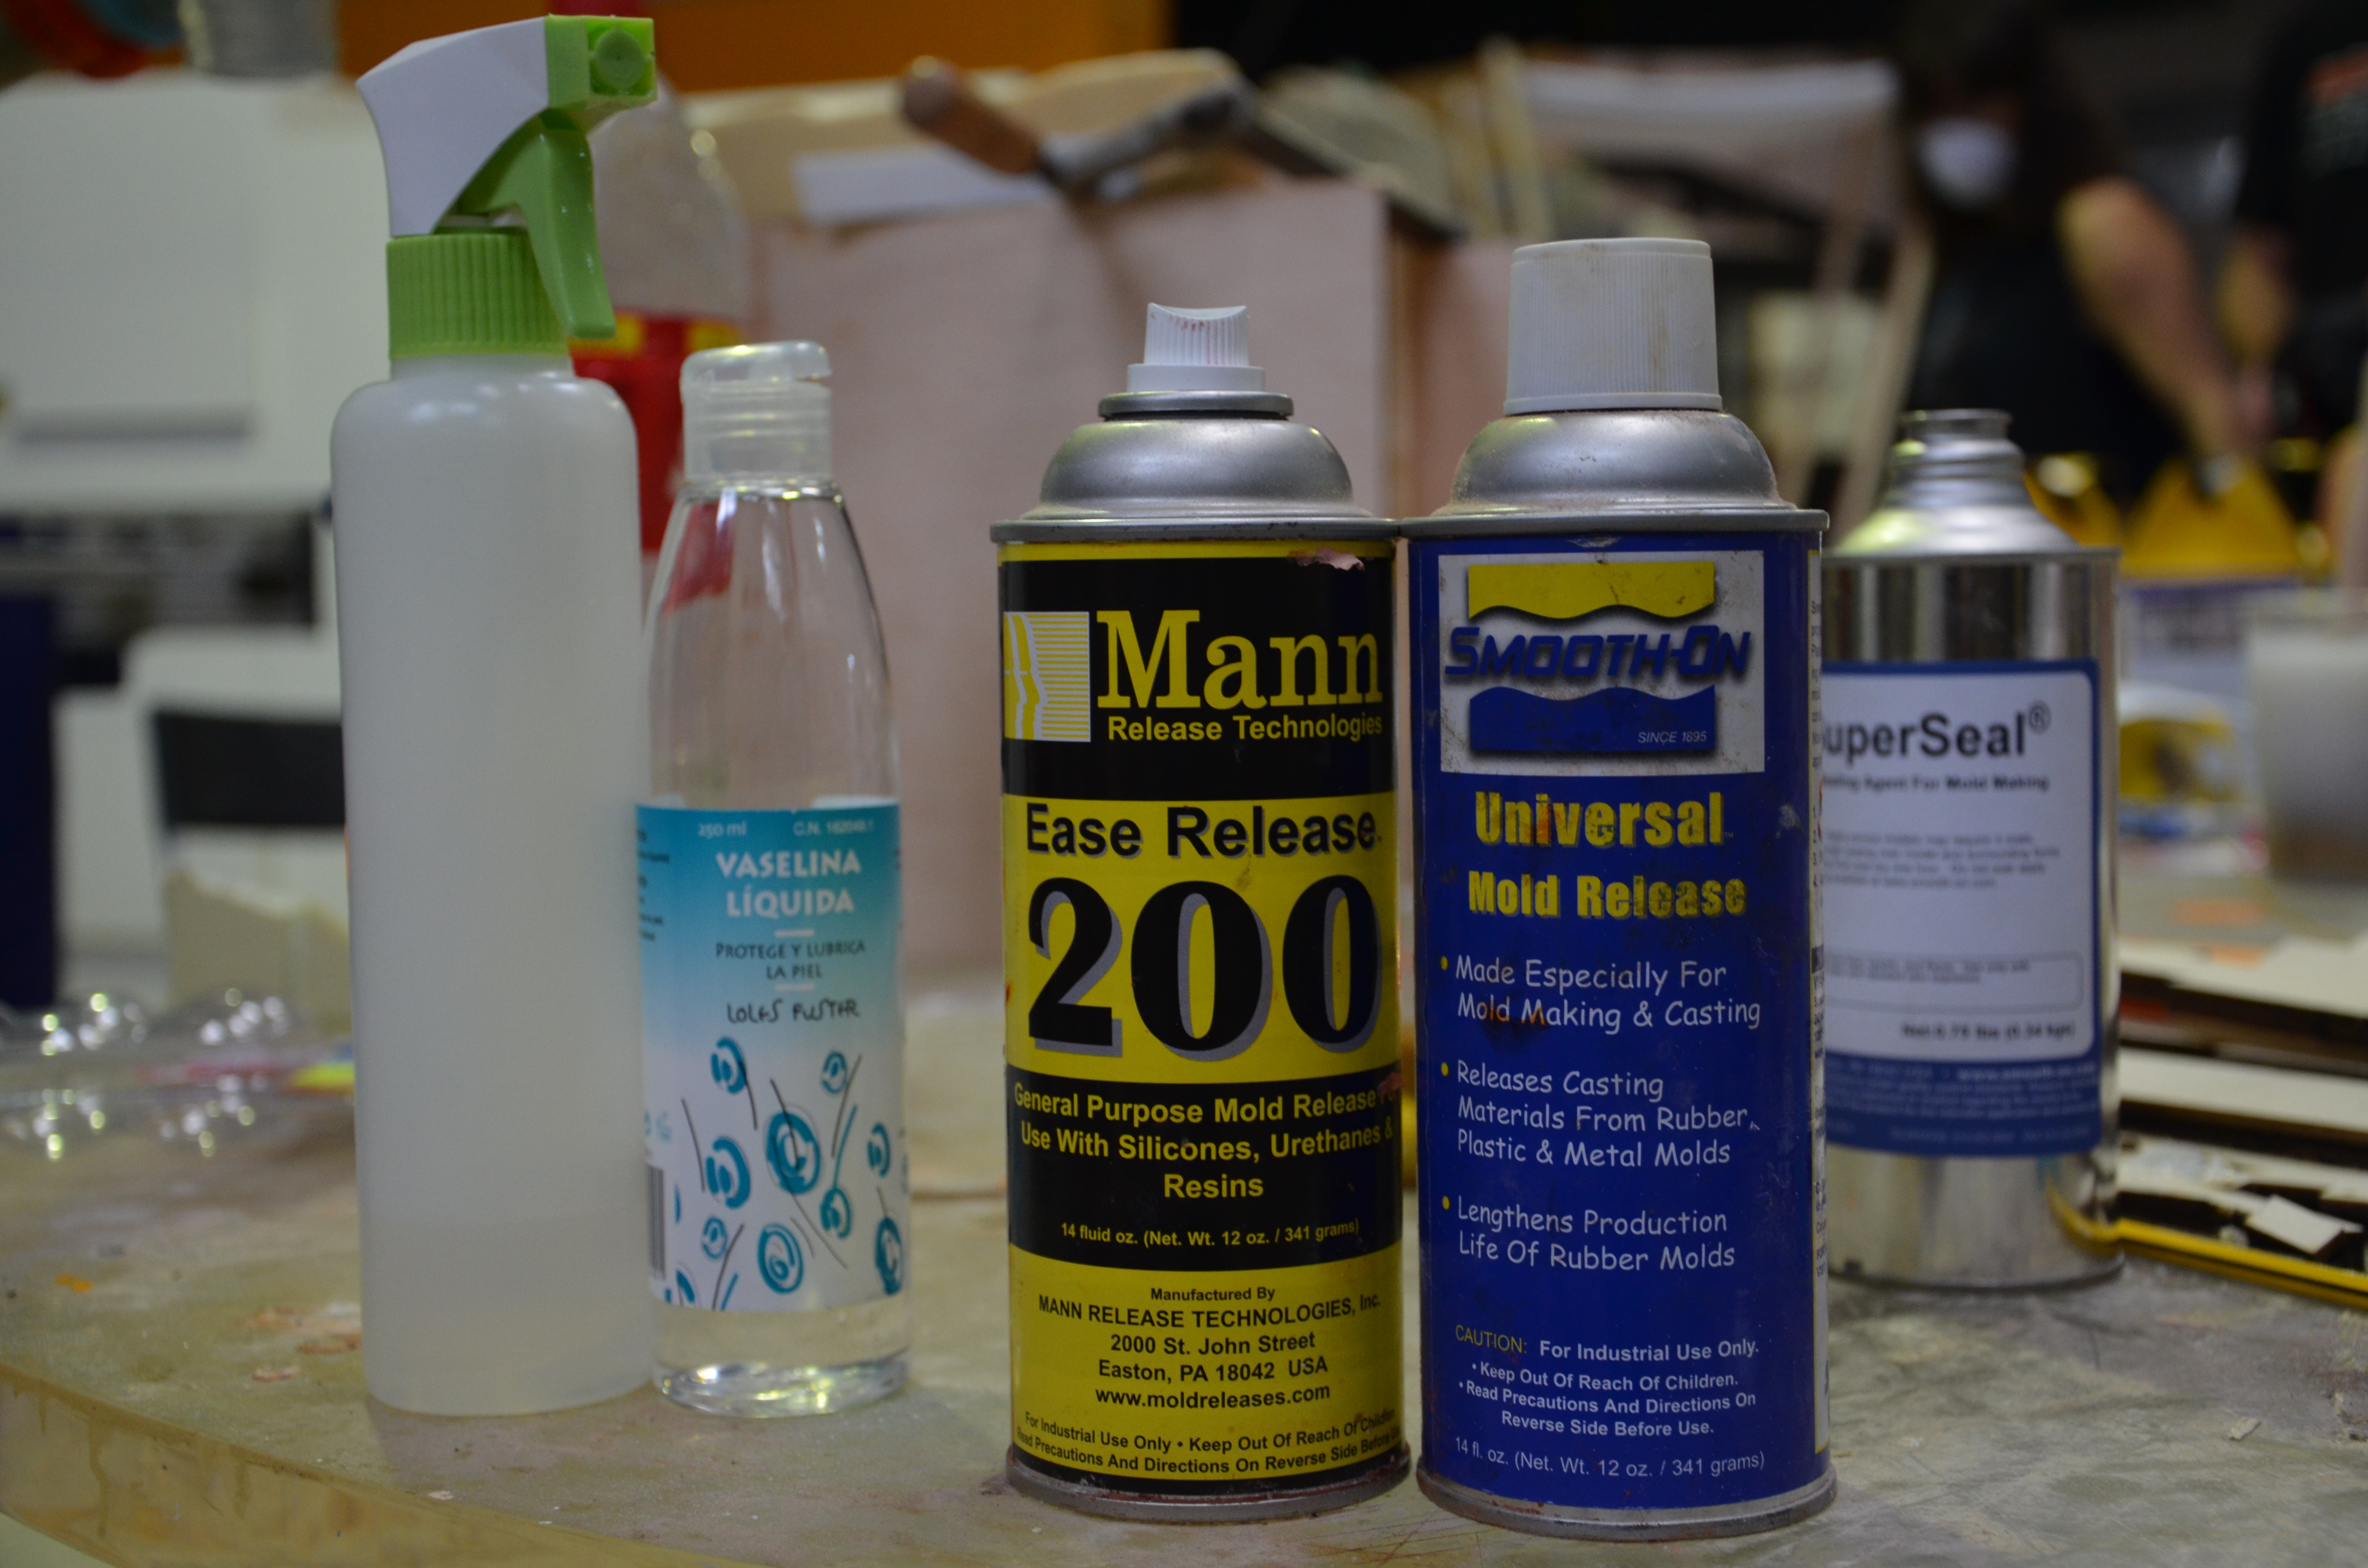
Then it was time to prepare the mold for the resin. First, the foam mold needs to be covered with a product to seal all holes. After a 2 or 3 layers of this, another product needs to be applied that should make it easier to get the shape out of the mold.
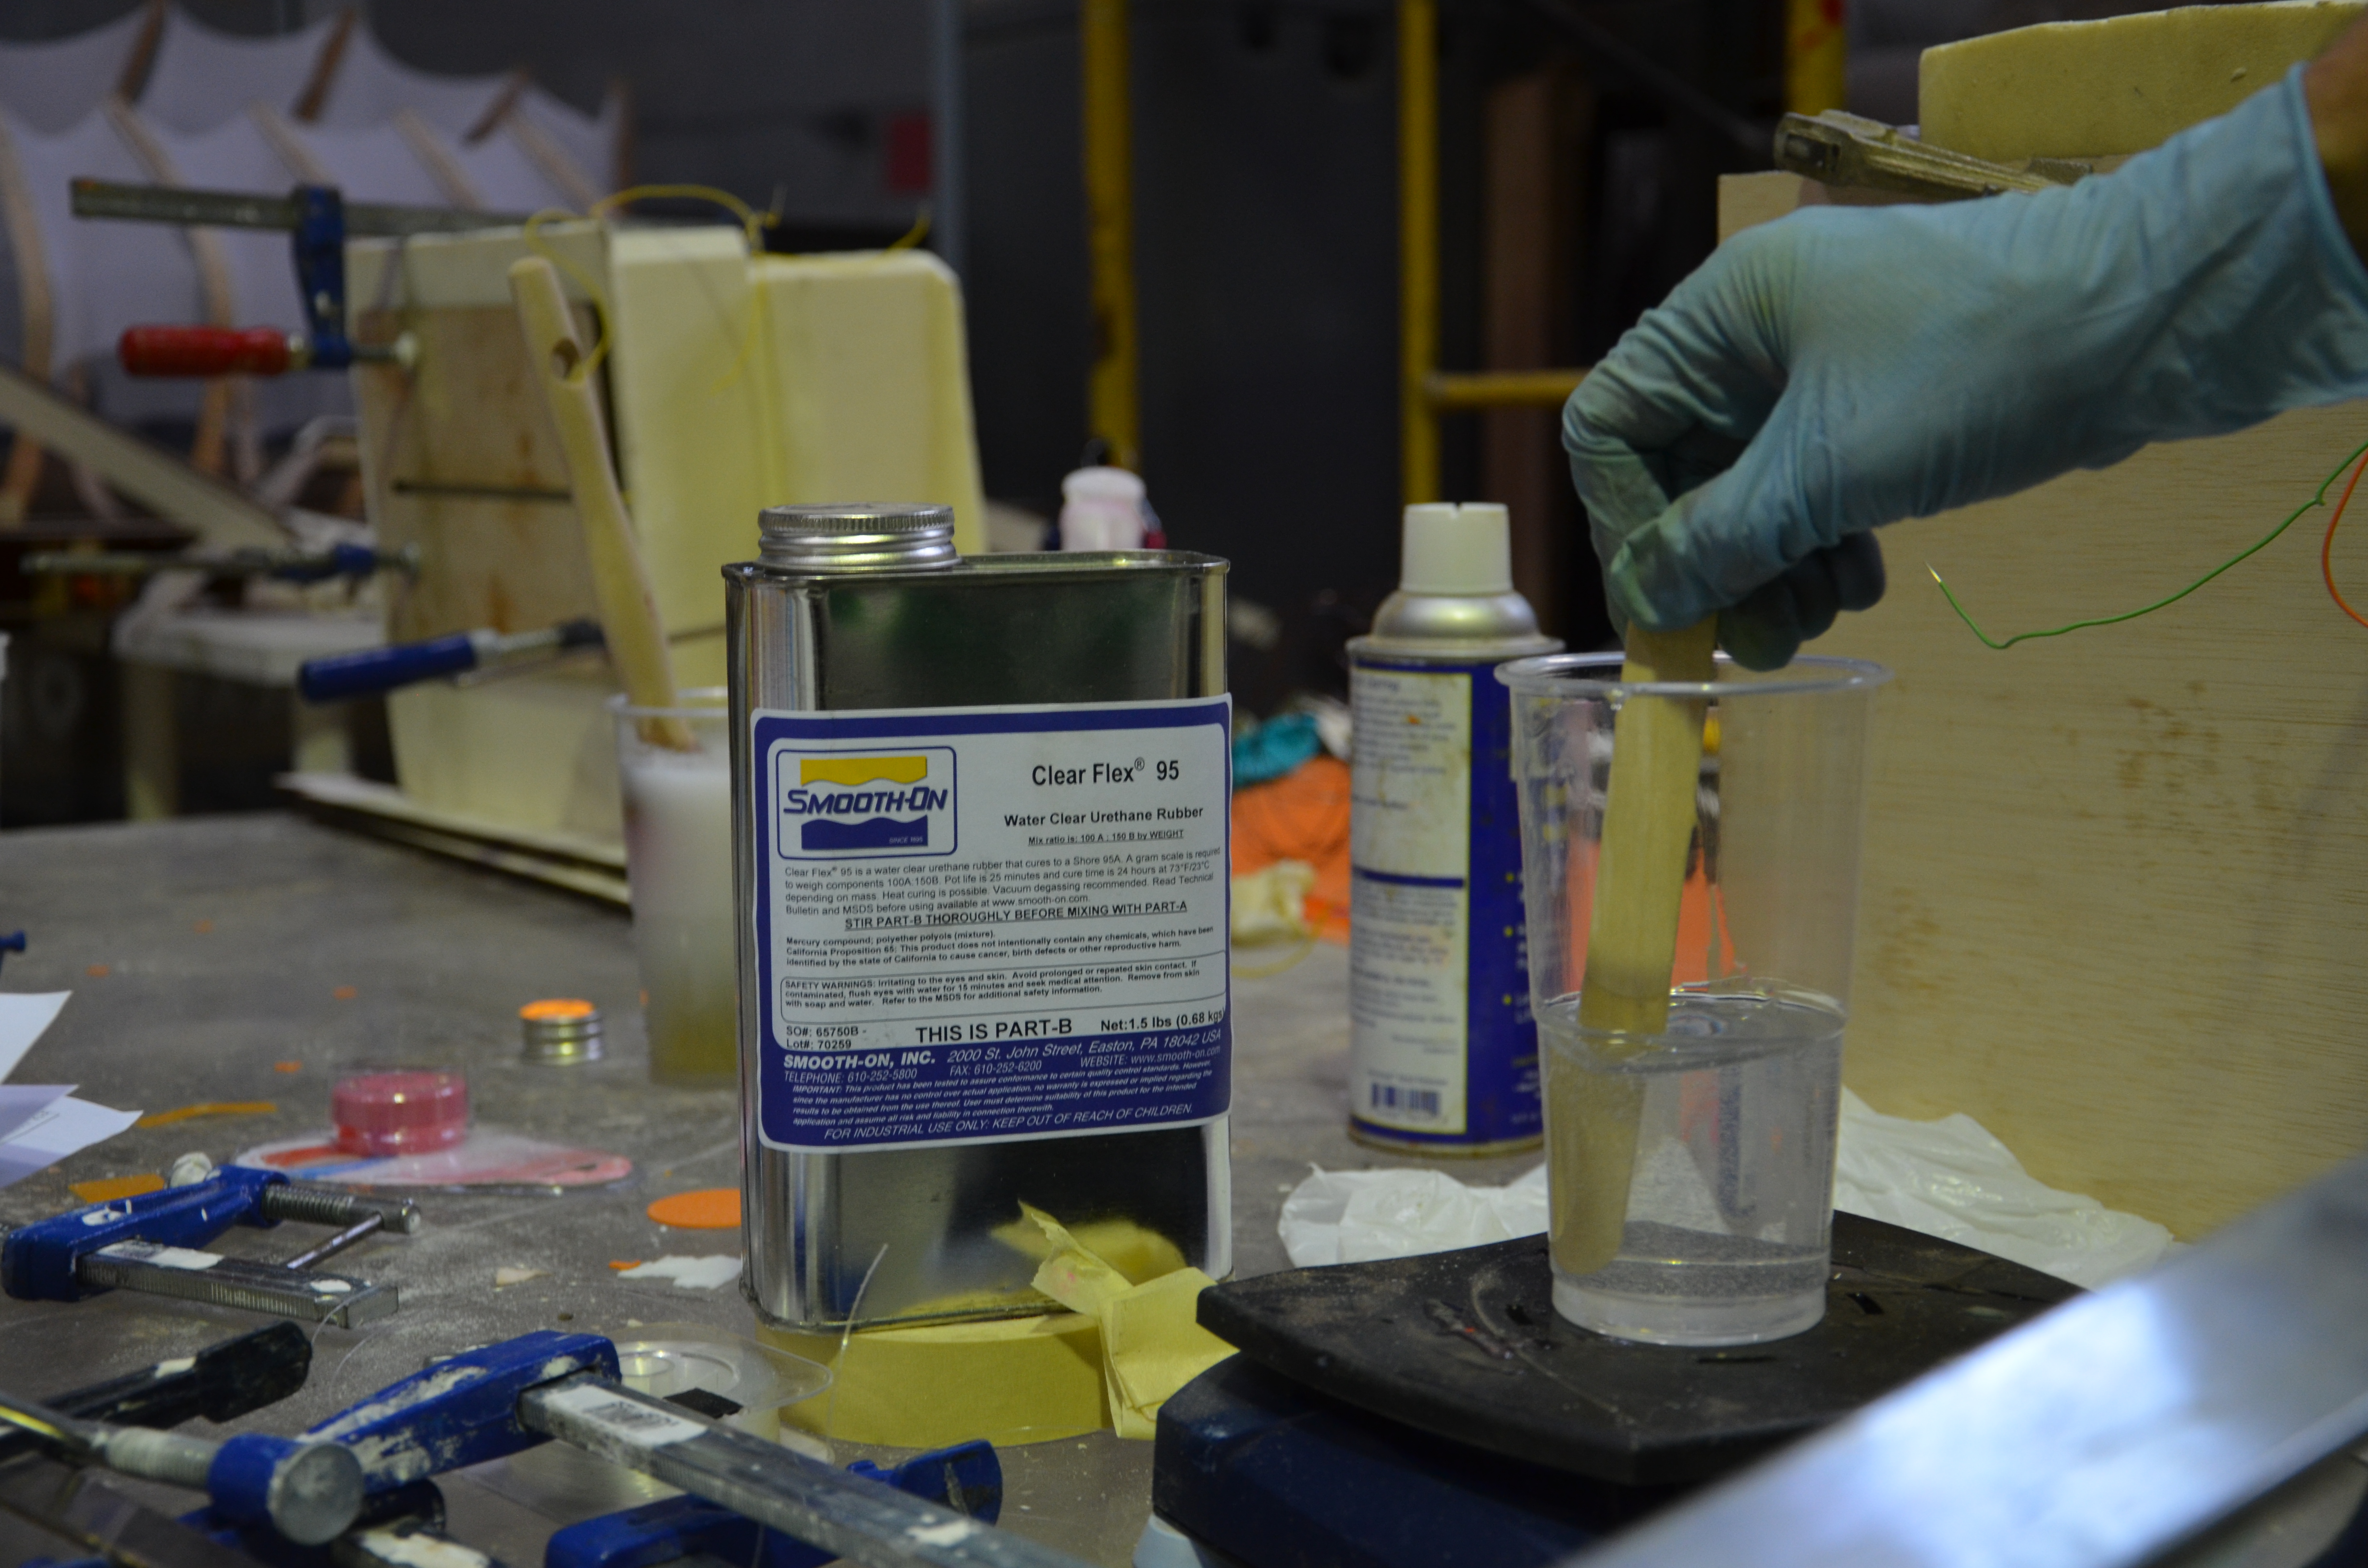
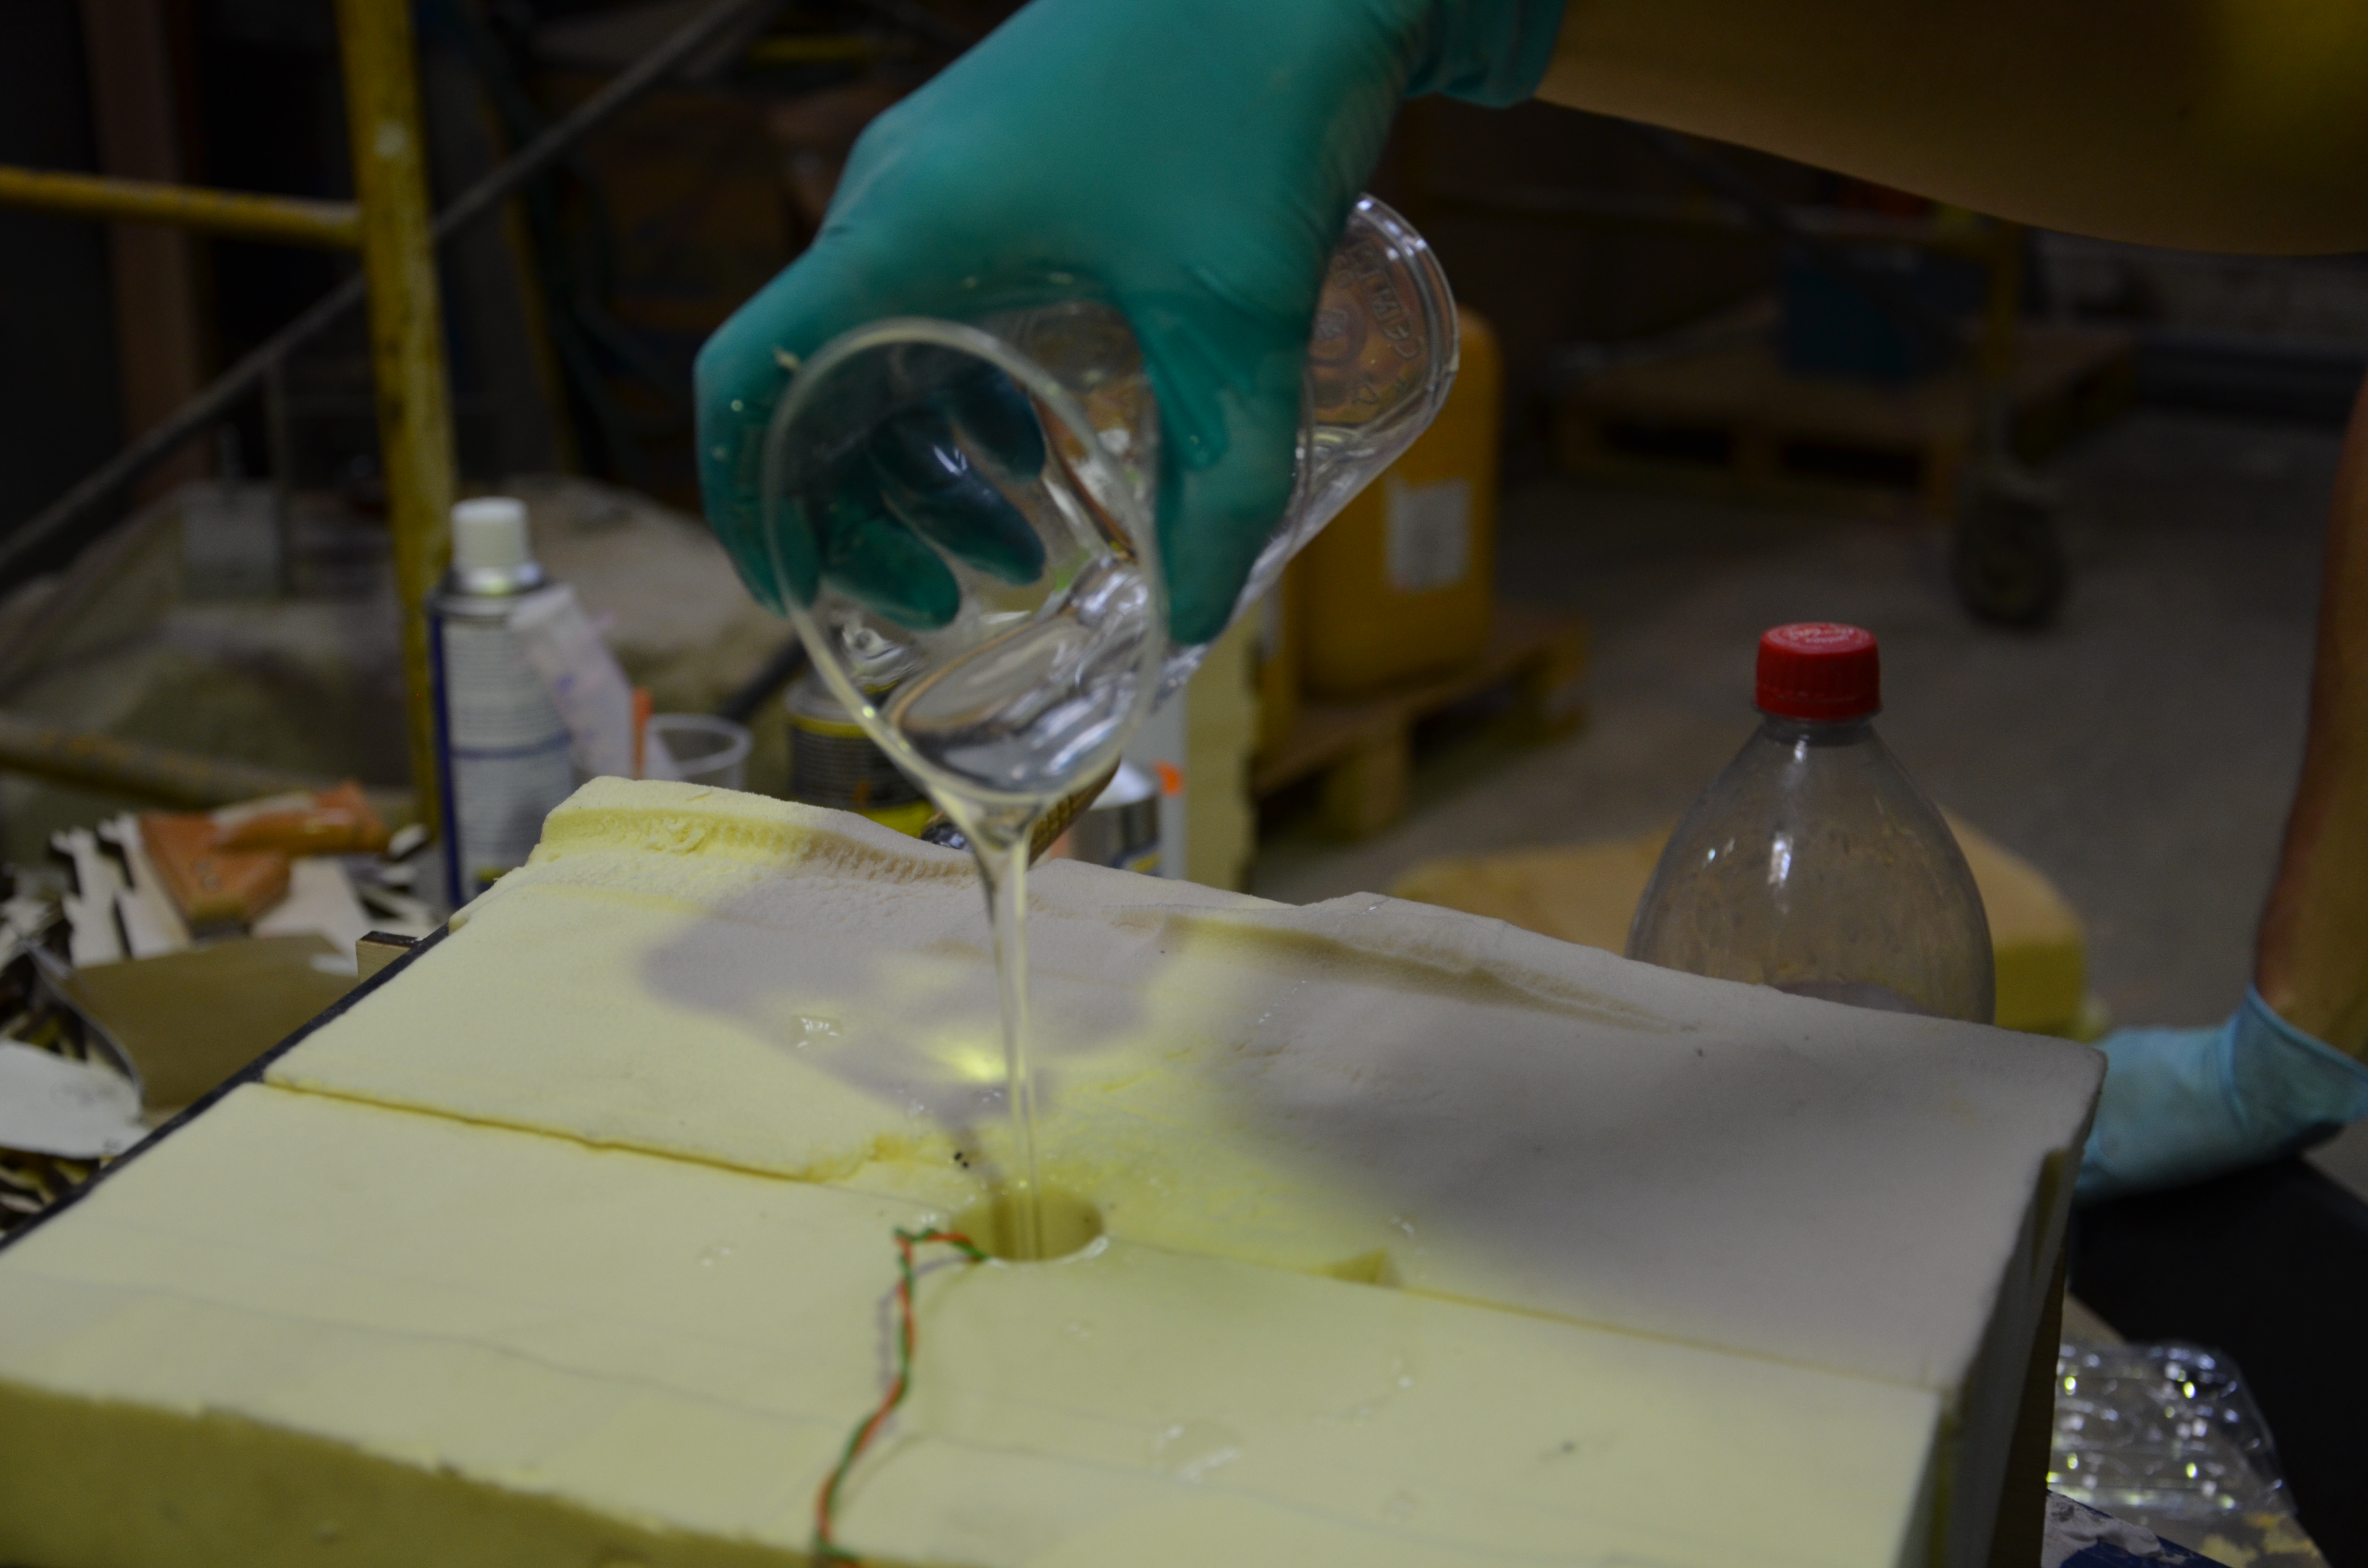
I used a transparent resin. These products are quite expensive. I used one box, which is around €30 – €60. This is also pretty nasty toxic stuff, so wearing gloves and a mask is required. This is how it works: the products comes in separate 2 liquids, which need to be mixed in the correct proportions:
The two halves of the mold should be tightened together.
You’ll need three holes: one to pour in the liquid, another one for air, and, if you’re making a lamp: a hole for the wires.
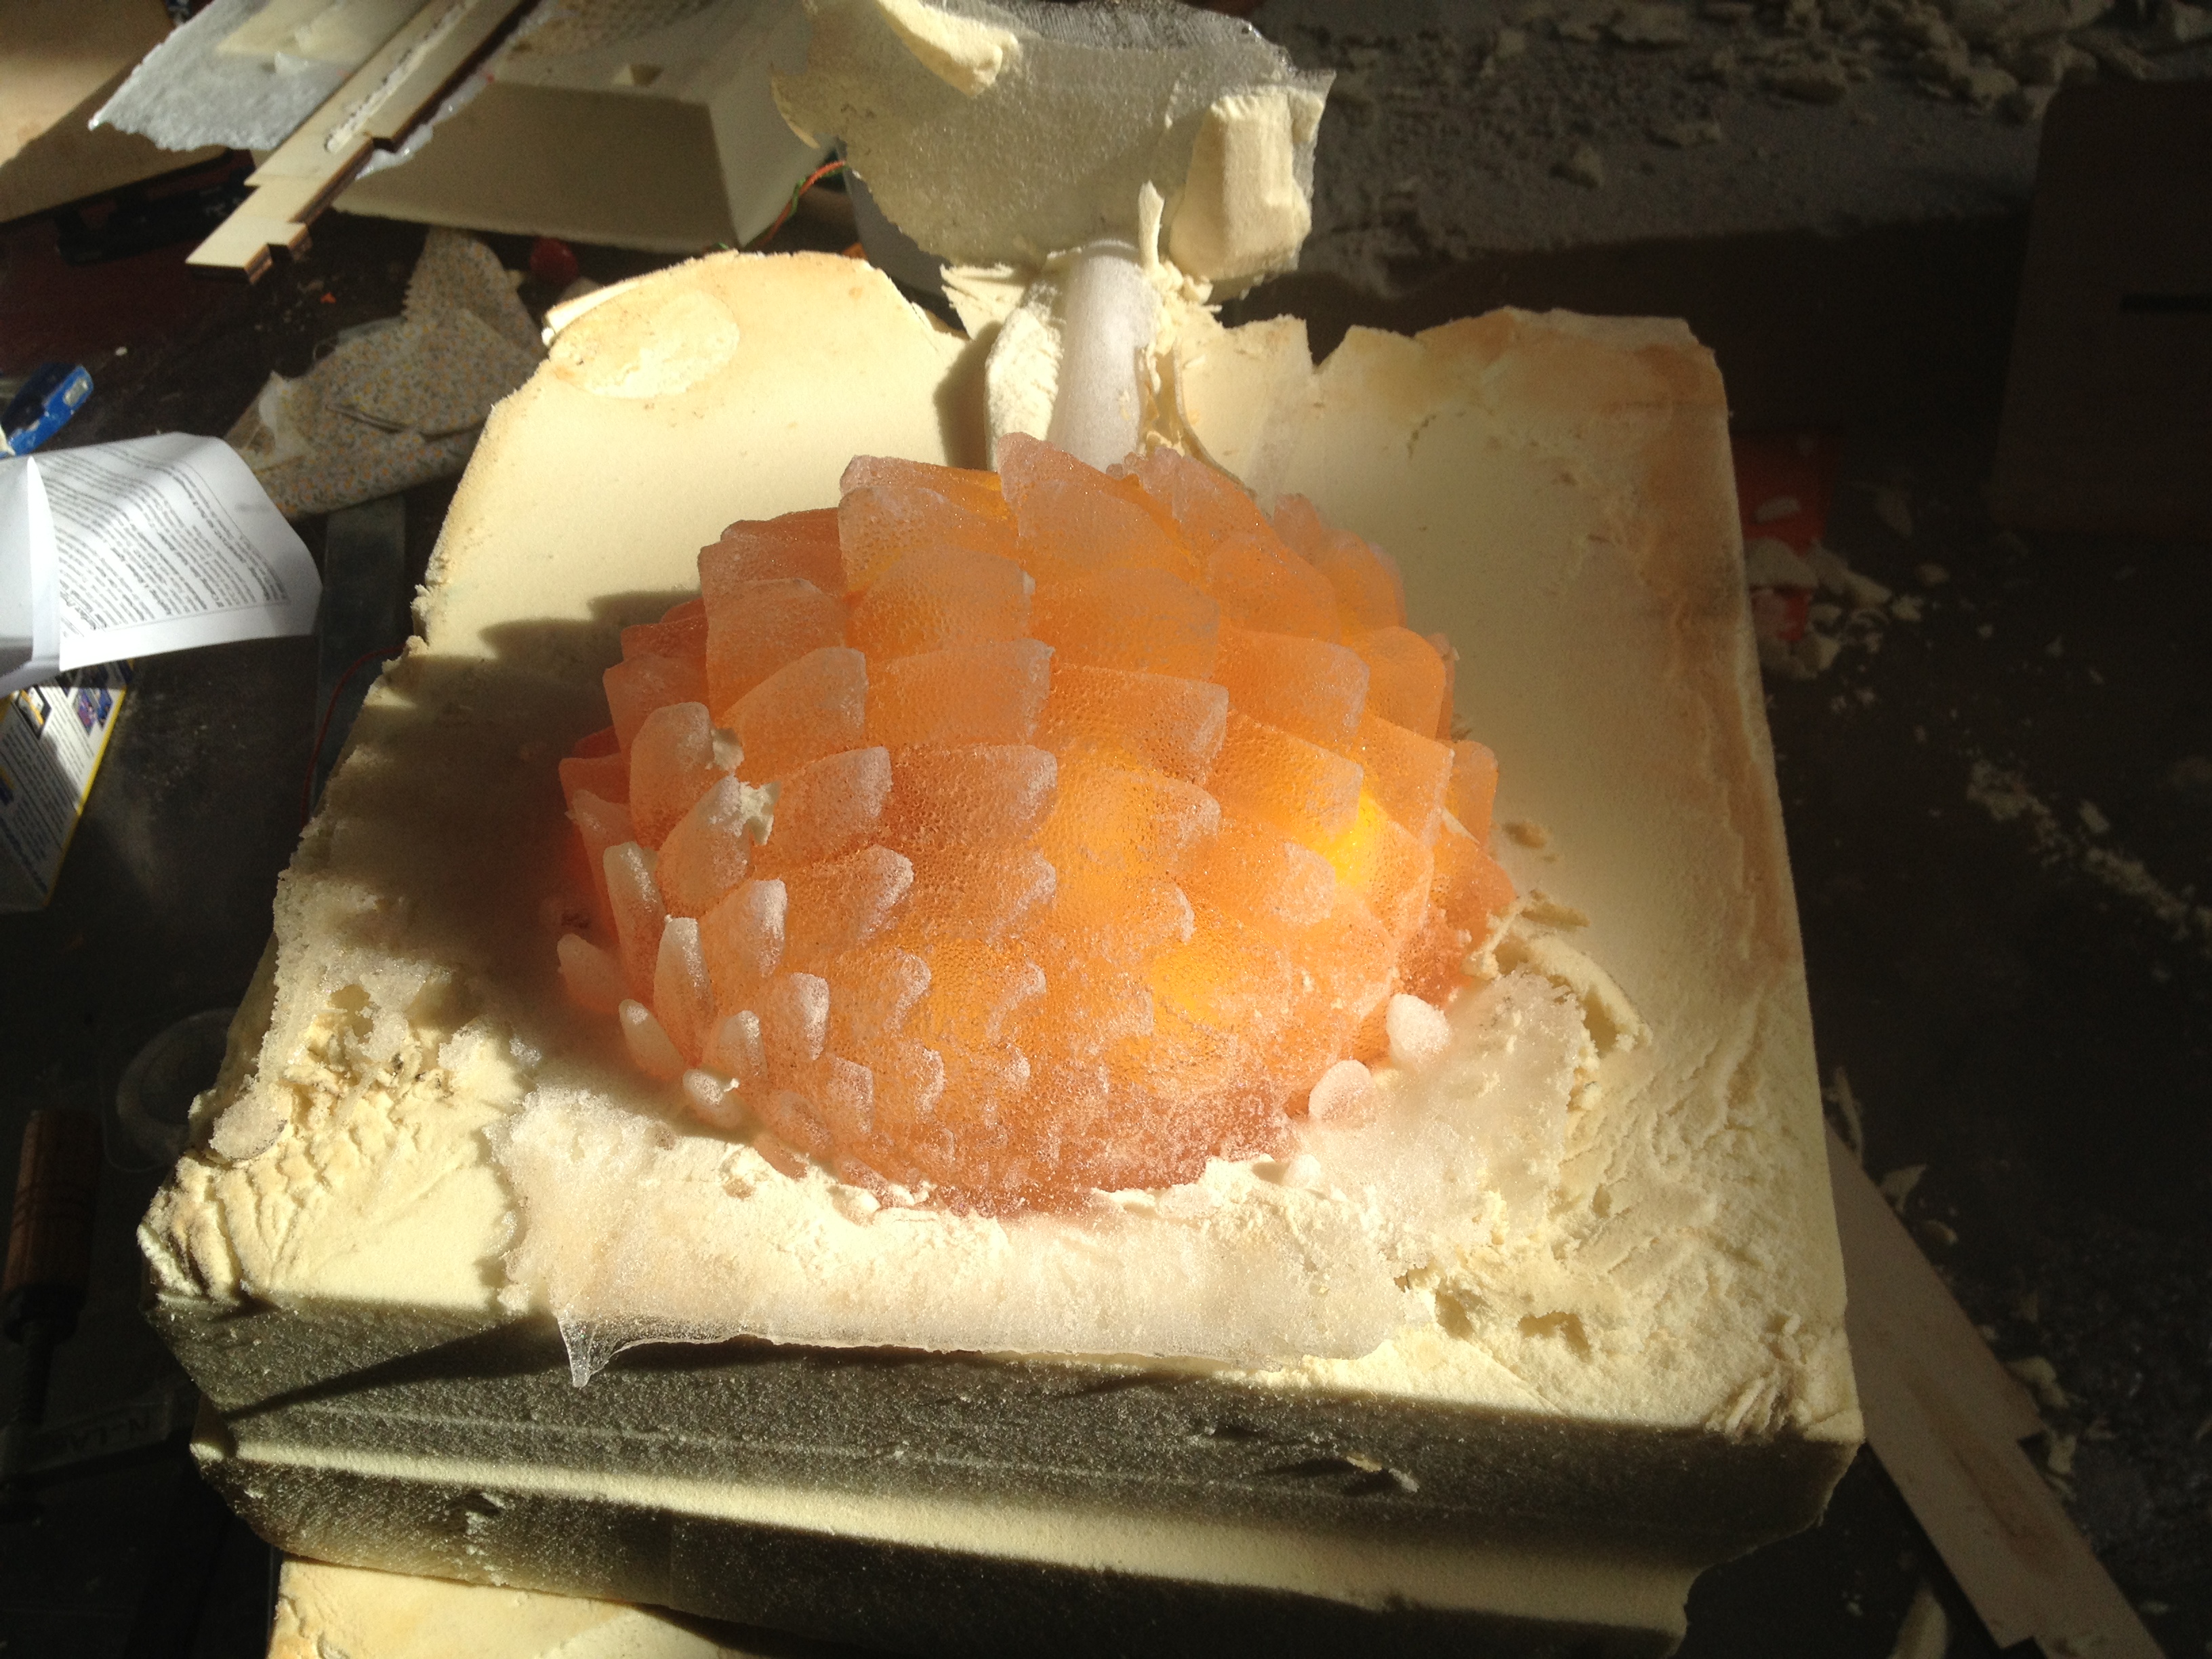
The resin needs time to harden, I my case 24 hours. My mold was not 100% tightened, which made it very hard to open the mold without destroying it:
After some effort I got it out of the mold:






One Trackback
New Online Casinos…
Grenade lamp…