Main steps to create a resin mould-resin object.
Drawing:
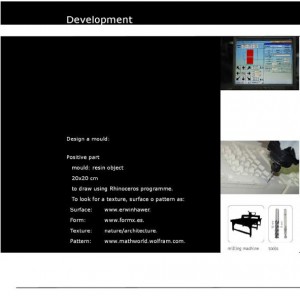
The object would contain a surface with texture, an extrussion or a pattern. It would represent a mathematical shape as a interesting effect. Rhinoceros programme would convert it in a fast way.
*www.formx.es
*www.erwinhawer.com
*www.mathworld.wolfram.com
Mould/mold:
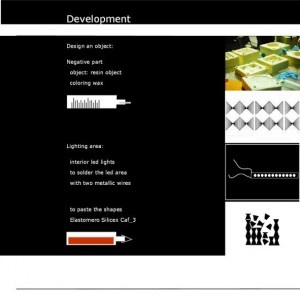
I would work with two shapes: a positive shape box and a negative shape object.
Machine milling:
The firts step would cheak materials you would engrave as well clear measurements for tools. In this way RhinoCAM would simulate the exact milling motion before the machine would start milling. A 12 mm lead and 3mm lead would be necessary to finish this mold. In other way, 14 hours would be necessary for milling before start.
Clean the box:
It would be an easy task using the air cleaner machine.
Lighting LEDs area:
I would use a 12cm LEDs. It would be necessary to weld some parts as two metallic wires. In the same way I would test the LEDs before using as well as I would keep testing after every step you finish. I would keep a battery in hand for necessary testings.
SmoothCast 327:
It would to use in several seals as would to dry in 2-4 hours.
*liquid vasilin
*gloves
*masks
Pour out the resin:
The resin would pour out the box. Now I would wait for the right time to open it, 14h.
To clean the shape:
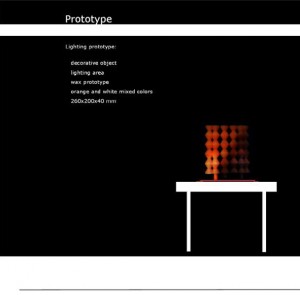
The negative shape would be the lighting shape.
