1.) Google Earth
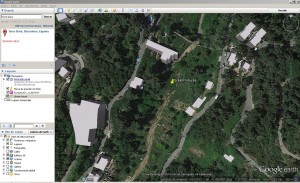
I found a location of my project in Google Earth. I created the point where my model exactly should be located and I saved the file as an image.
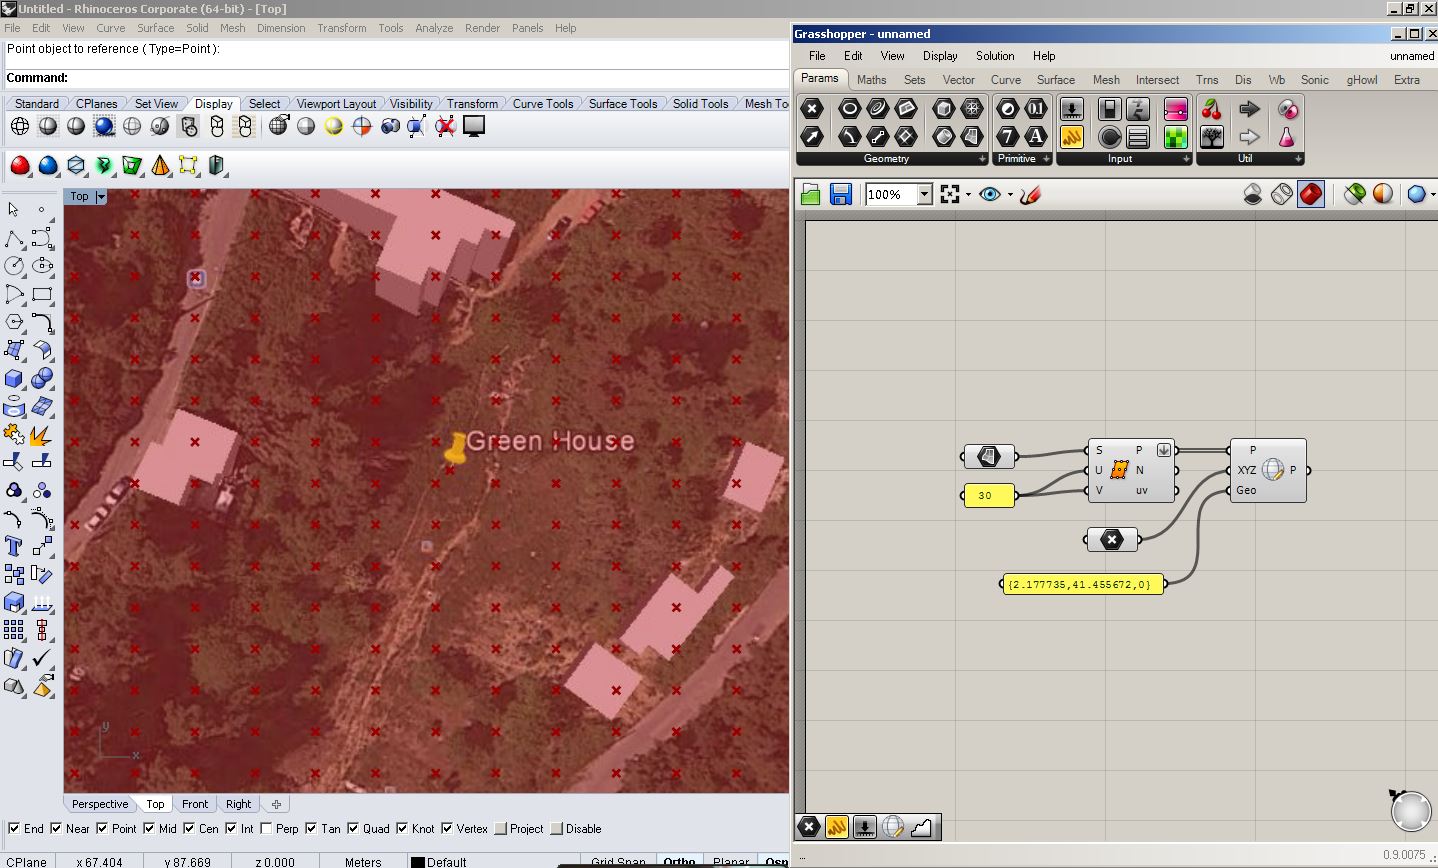
2.) Rhino & Grasshopper
I created a new file in Rhino 5, setting units in meters. I imported the image saved from Google Earth, creating a surface from it. I created a new Grasshopper file and divided the surface, creating 900 (30*30) points on it, then I flattened the panel.
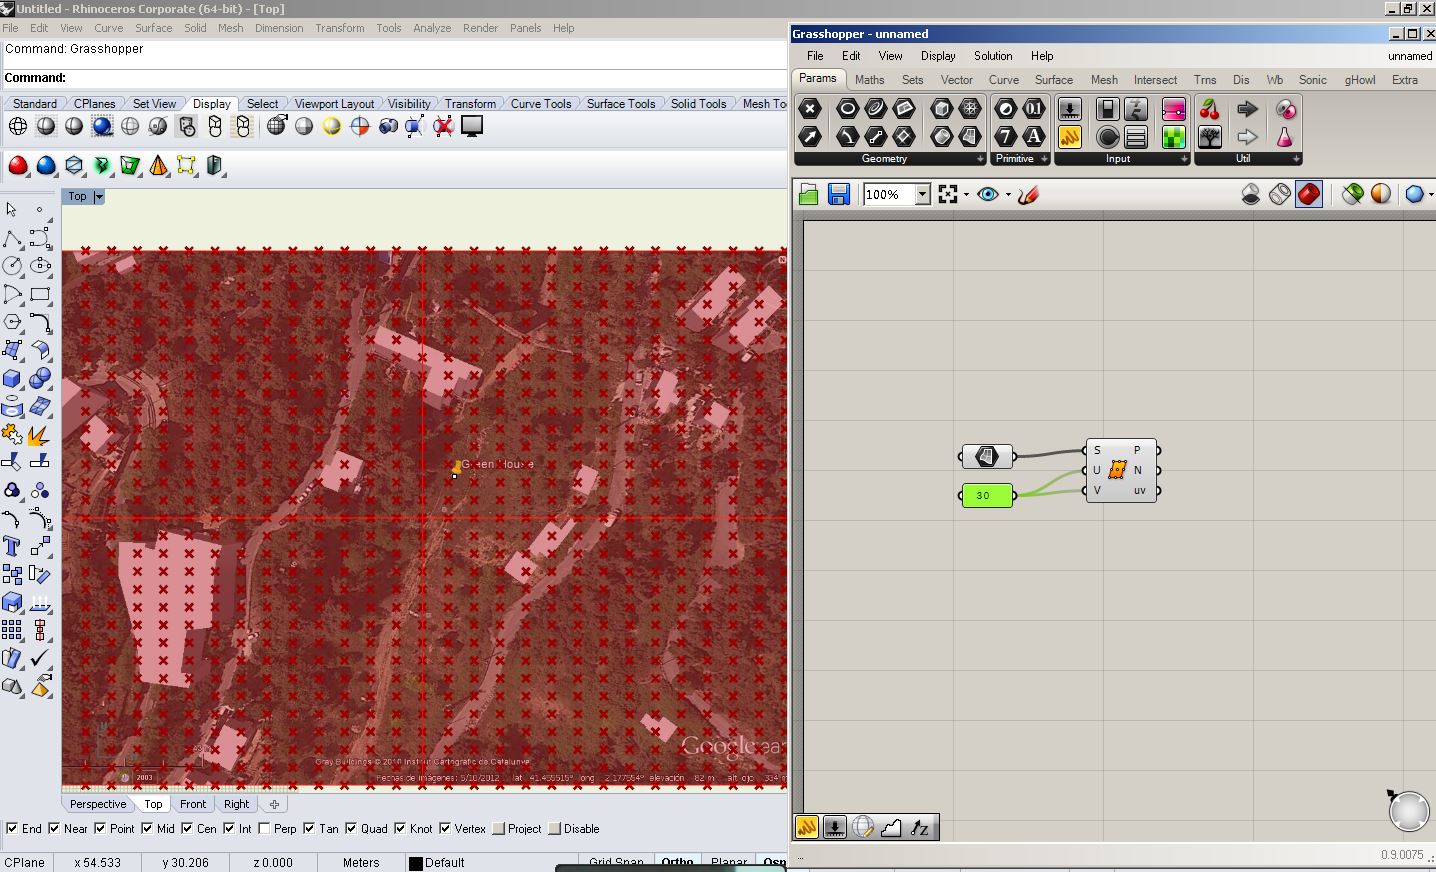
Using gHowl pluggin, I put XYZ to GEO panel, which enable coordination of maps XYZ from Rhino to Longitude, Latitude and Altitude, basing on Google data. I defined a point and its coordinates.
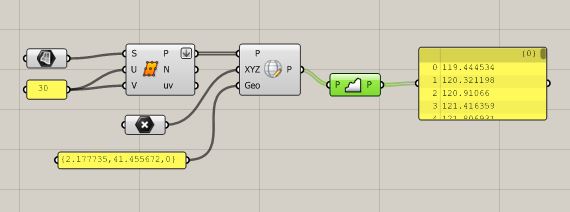
I got the elevation and connected it to the panel to see the obtained data. I saved the data as a .txt file., then using the panel Read File I set the path to .txt file
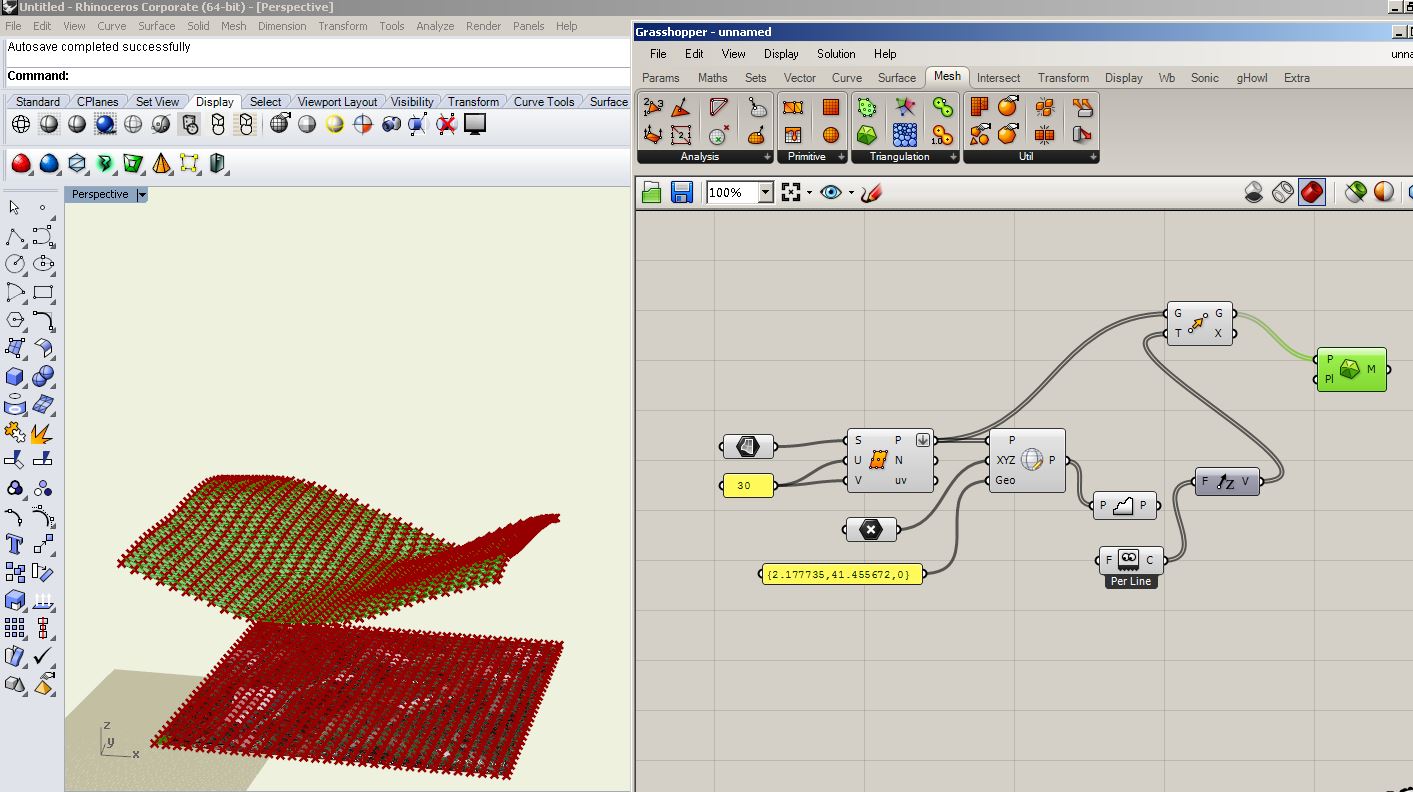
Base on this data I moved points (created previously from surface division) in Z axis, obtaining points of my real altitude of the terrain. Then I create a mesh from these points. I baked the mesh, saved Grasshopper file and closed it.
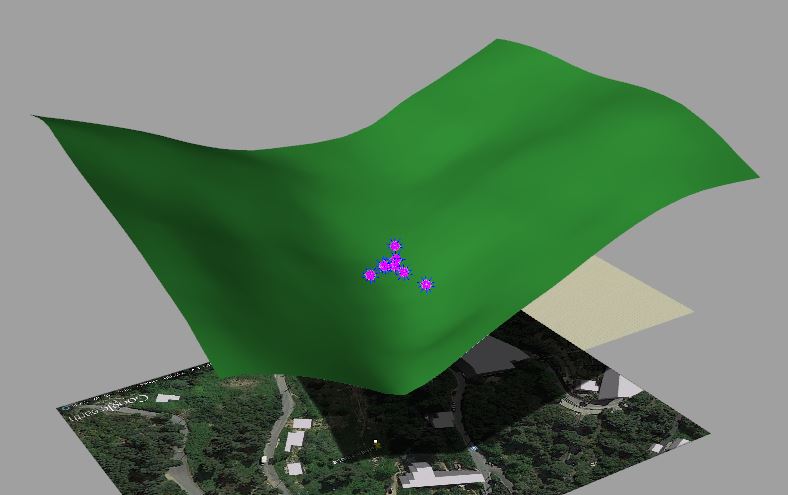
3.) Rhino
I imported the model of my project, which I made before (base on lines and pipe along the curve command). I located it on the terrain mesh in a proper place. I created a new material imitating fiberglass (white color, transparency and glossiness) and I assigned it to the model, then using commend Earth Anchor Point I assigned coordinates to the project. Finally I exported it as .kmz file .

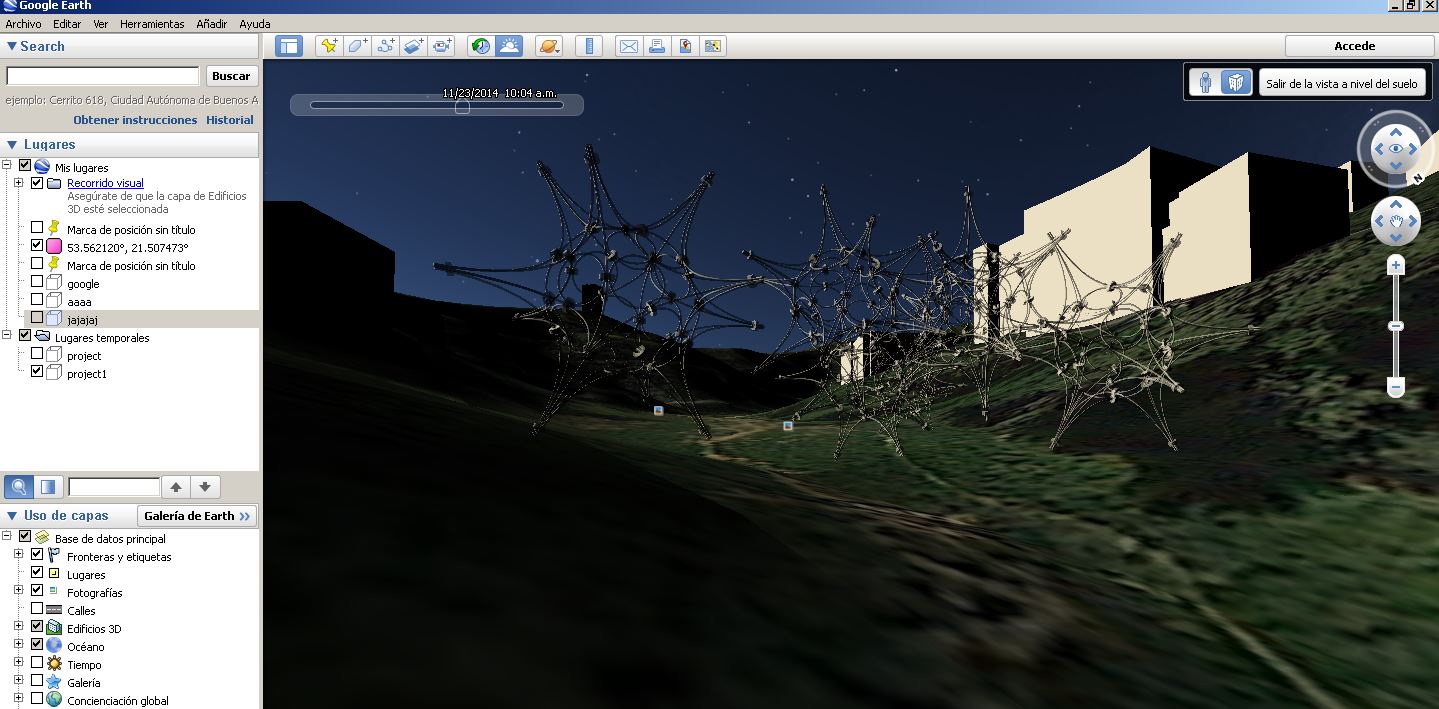
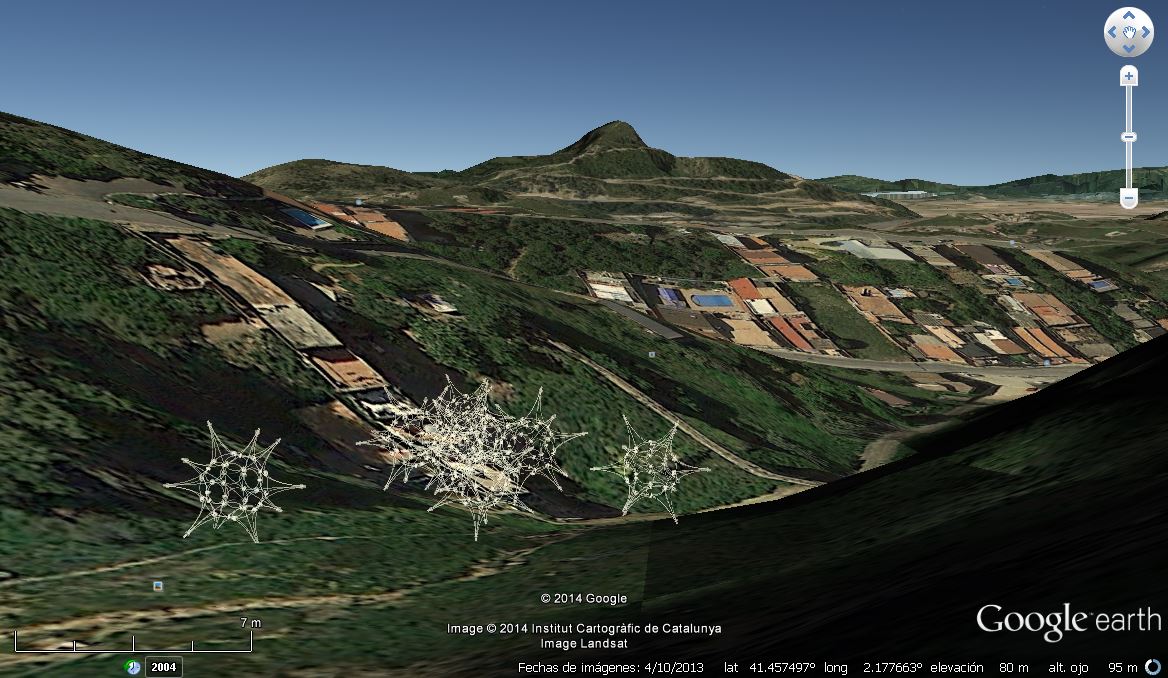
4.) Google Earth
I opened .kmz file exported previously from Rhino. It automatically set my model in proper location.