OK, so I have been developing the work around the live radio over the last month. When I say last “month”, you assume that I am now done with three radio projects instead of one, but unfortunately, that’s not quite the case. My main interest in this project is to create a complete system composed of sound transmitters and receivers that are mobile and work efficiently together.
I have been following the checklist I set for myself on the last post, which starts by shrinking the circuit. Before I start, I should tell you that I did a lot of miles in this project. Distance miles. Went to the airport twice to pick up my DHL shipments, where in theory I paid for a door to door delivery, then ended up skateboarding between airport terminals. ![]()
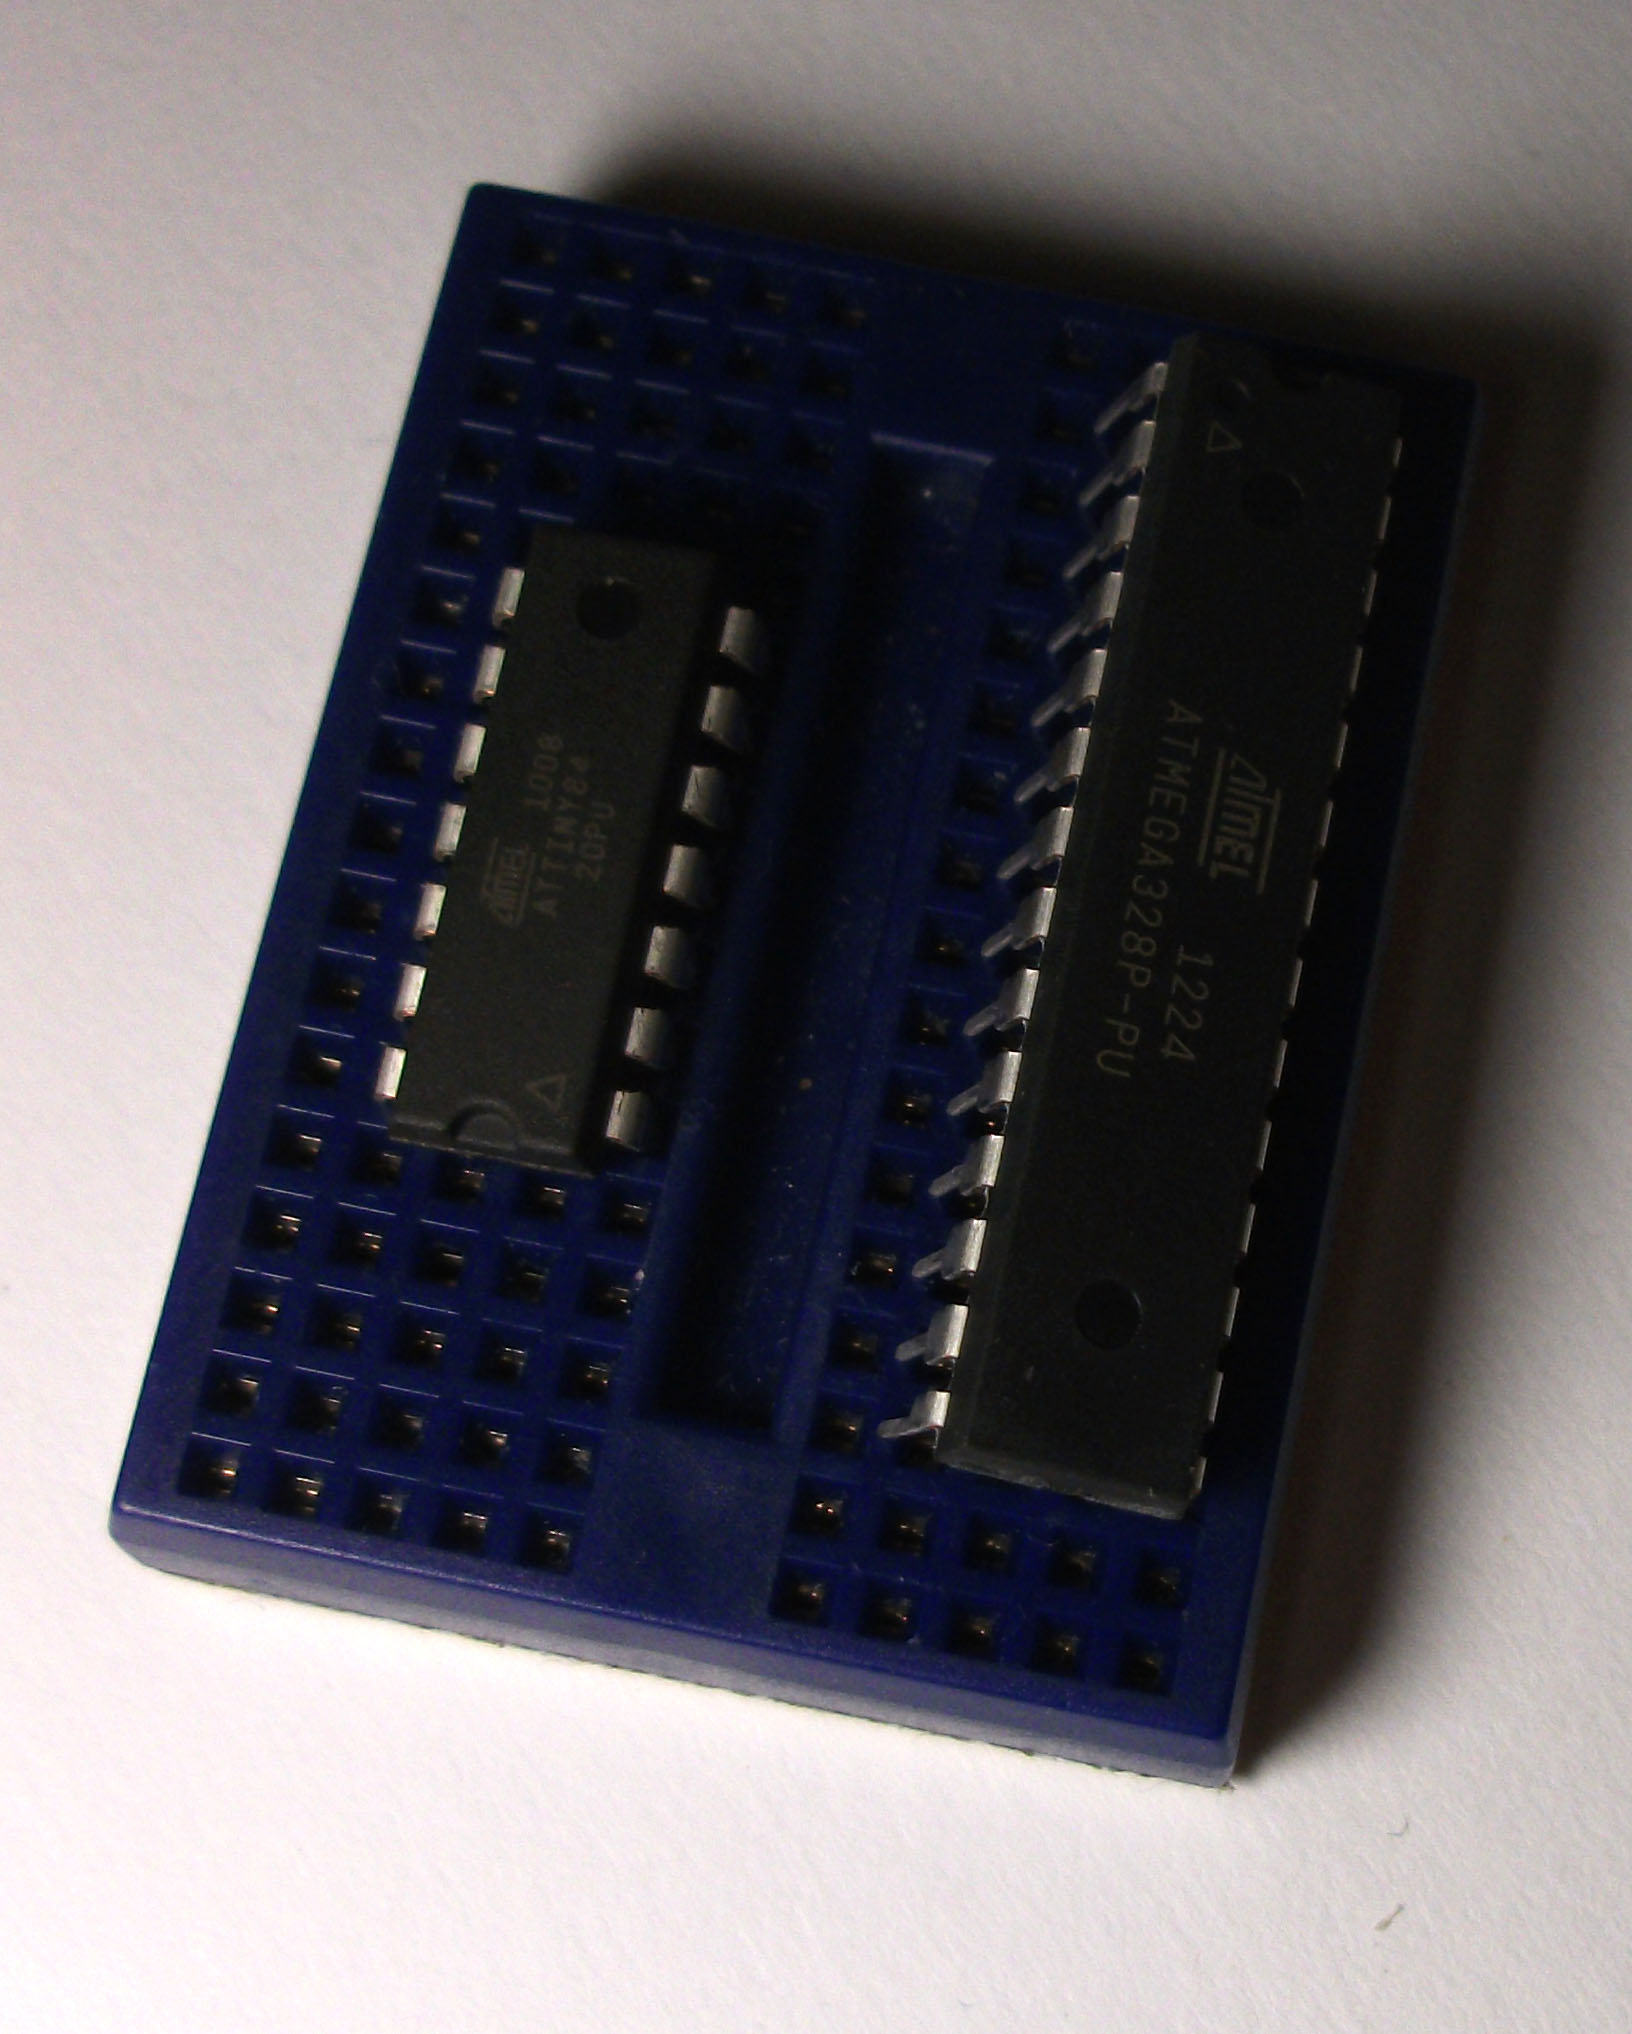
Back to shrinking the circuit, I ordered AtTiney84 from Farnell (and picked it up from UPS office in Hospitalet!). The pieces are really tiny as you see on the left of the right picture, but they don’t support all arduino functions, which is what I discovered after getting them. Of course! So my other alternative was to use the Atmega328P, which is the same chip of the arduino.

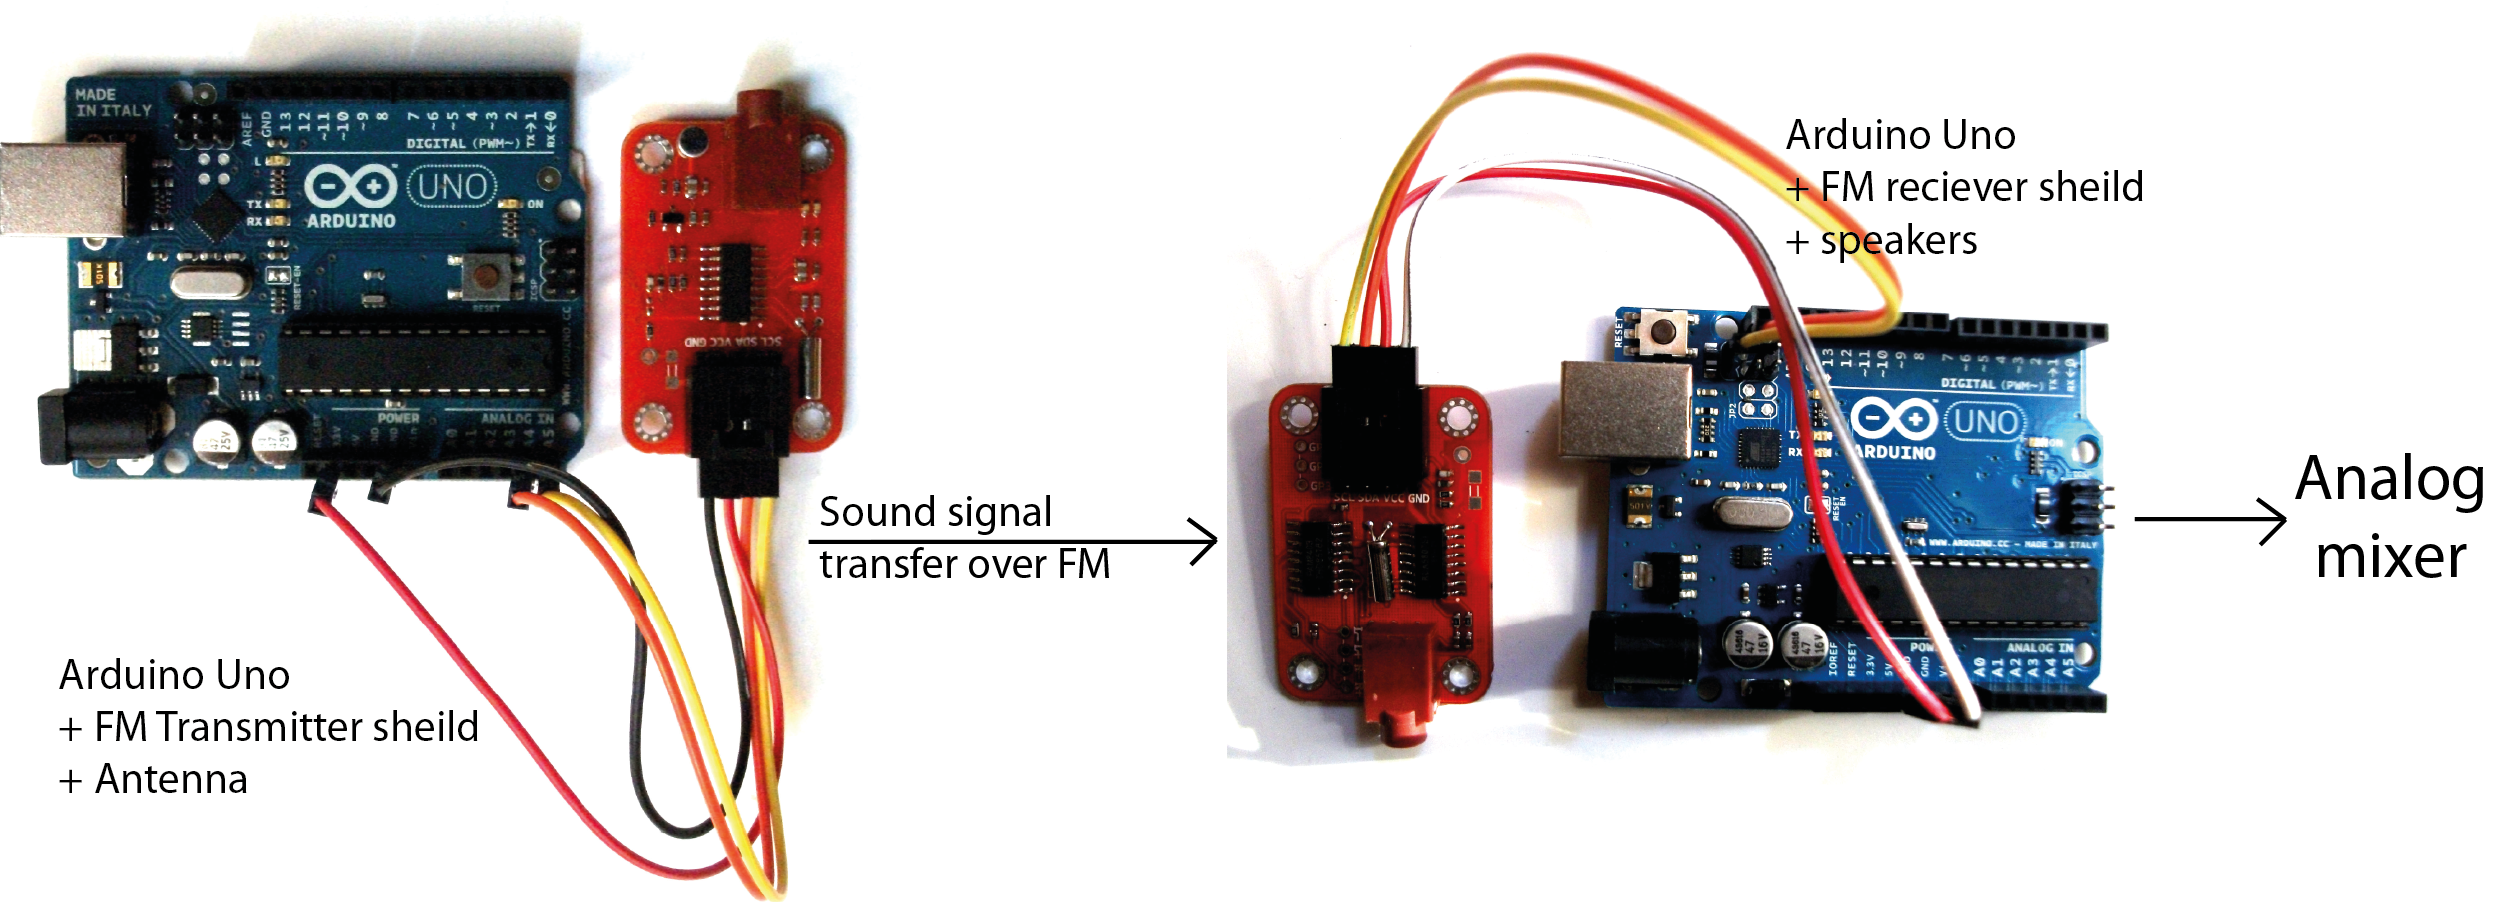
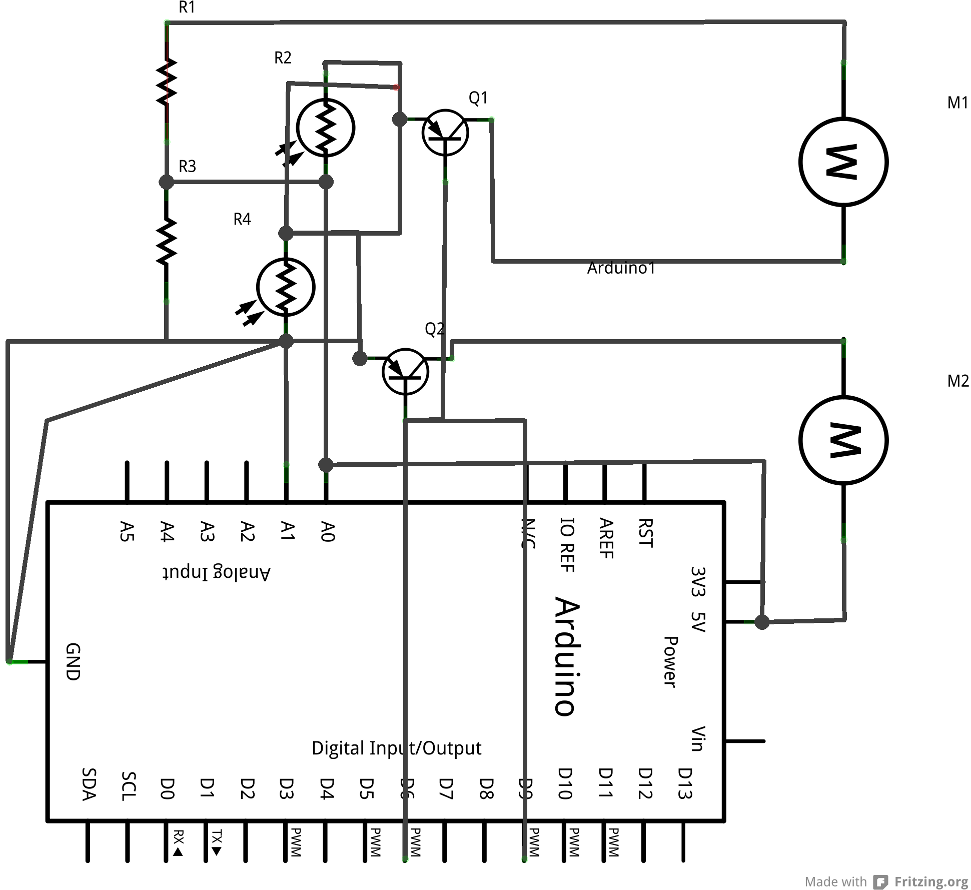
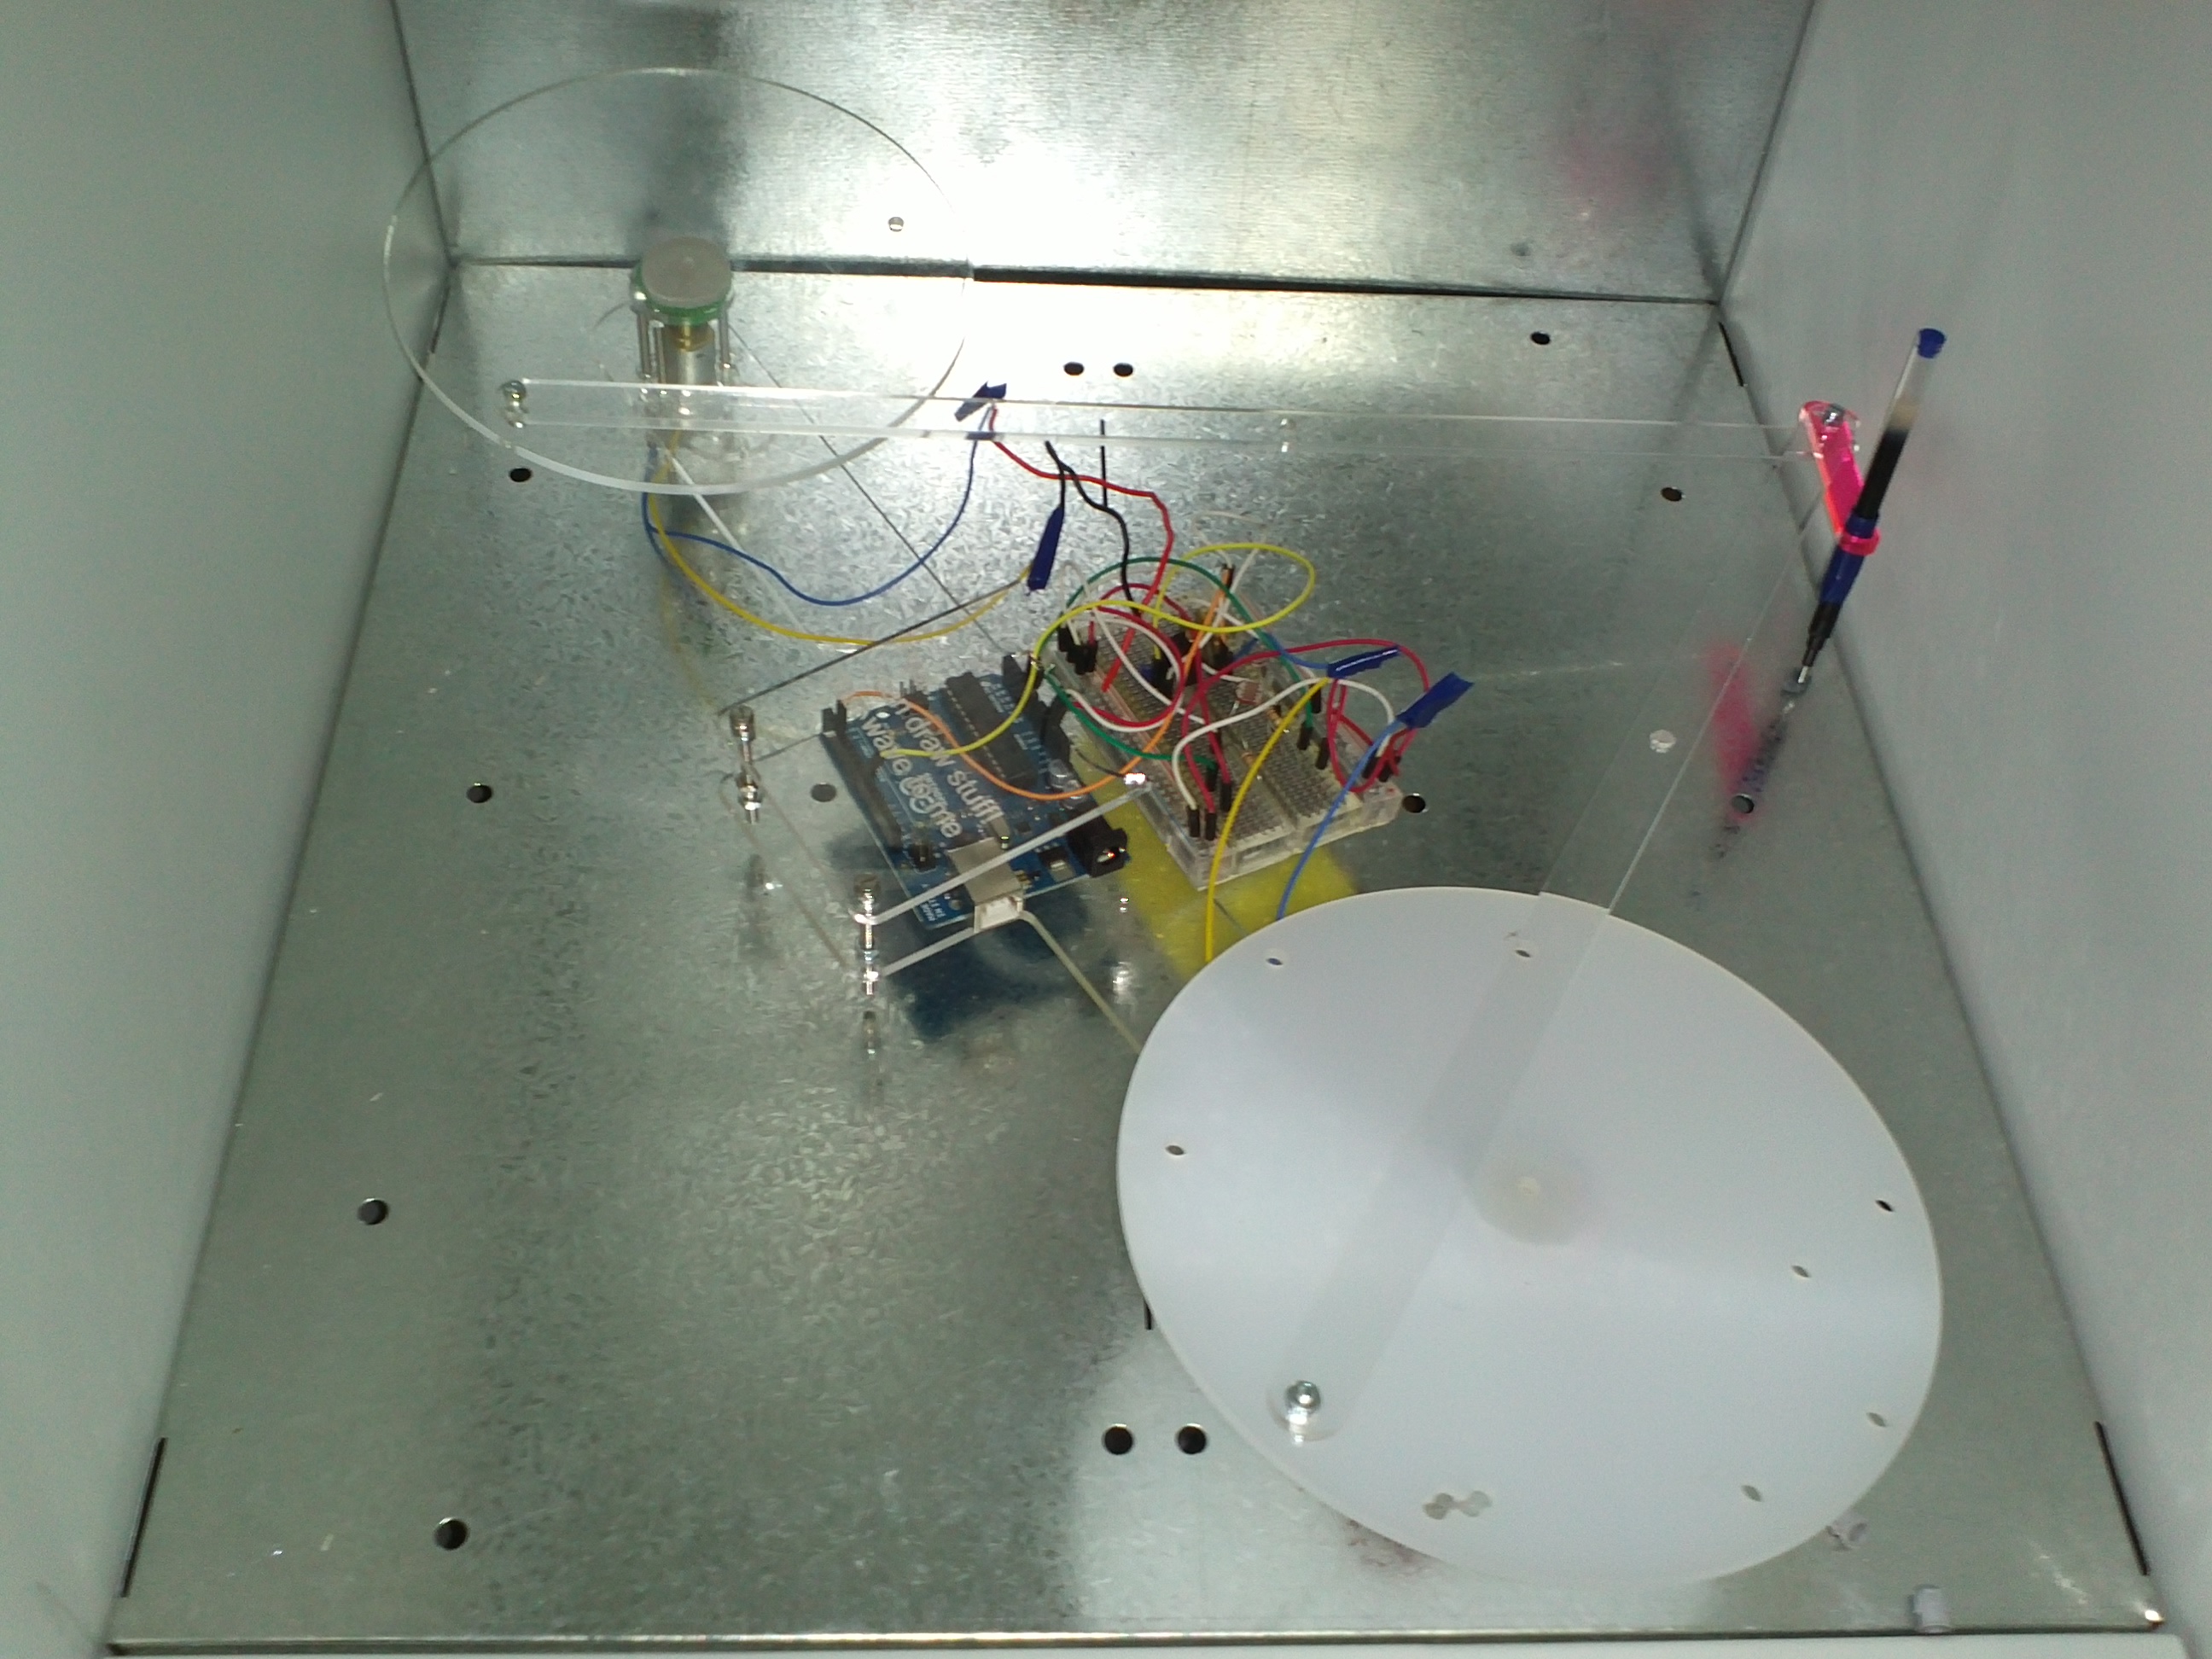
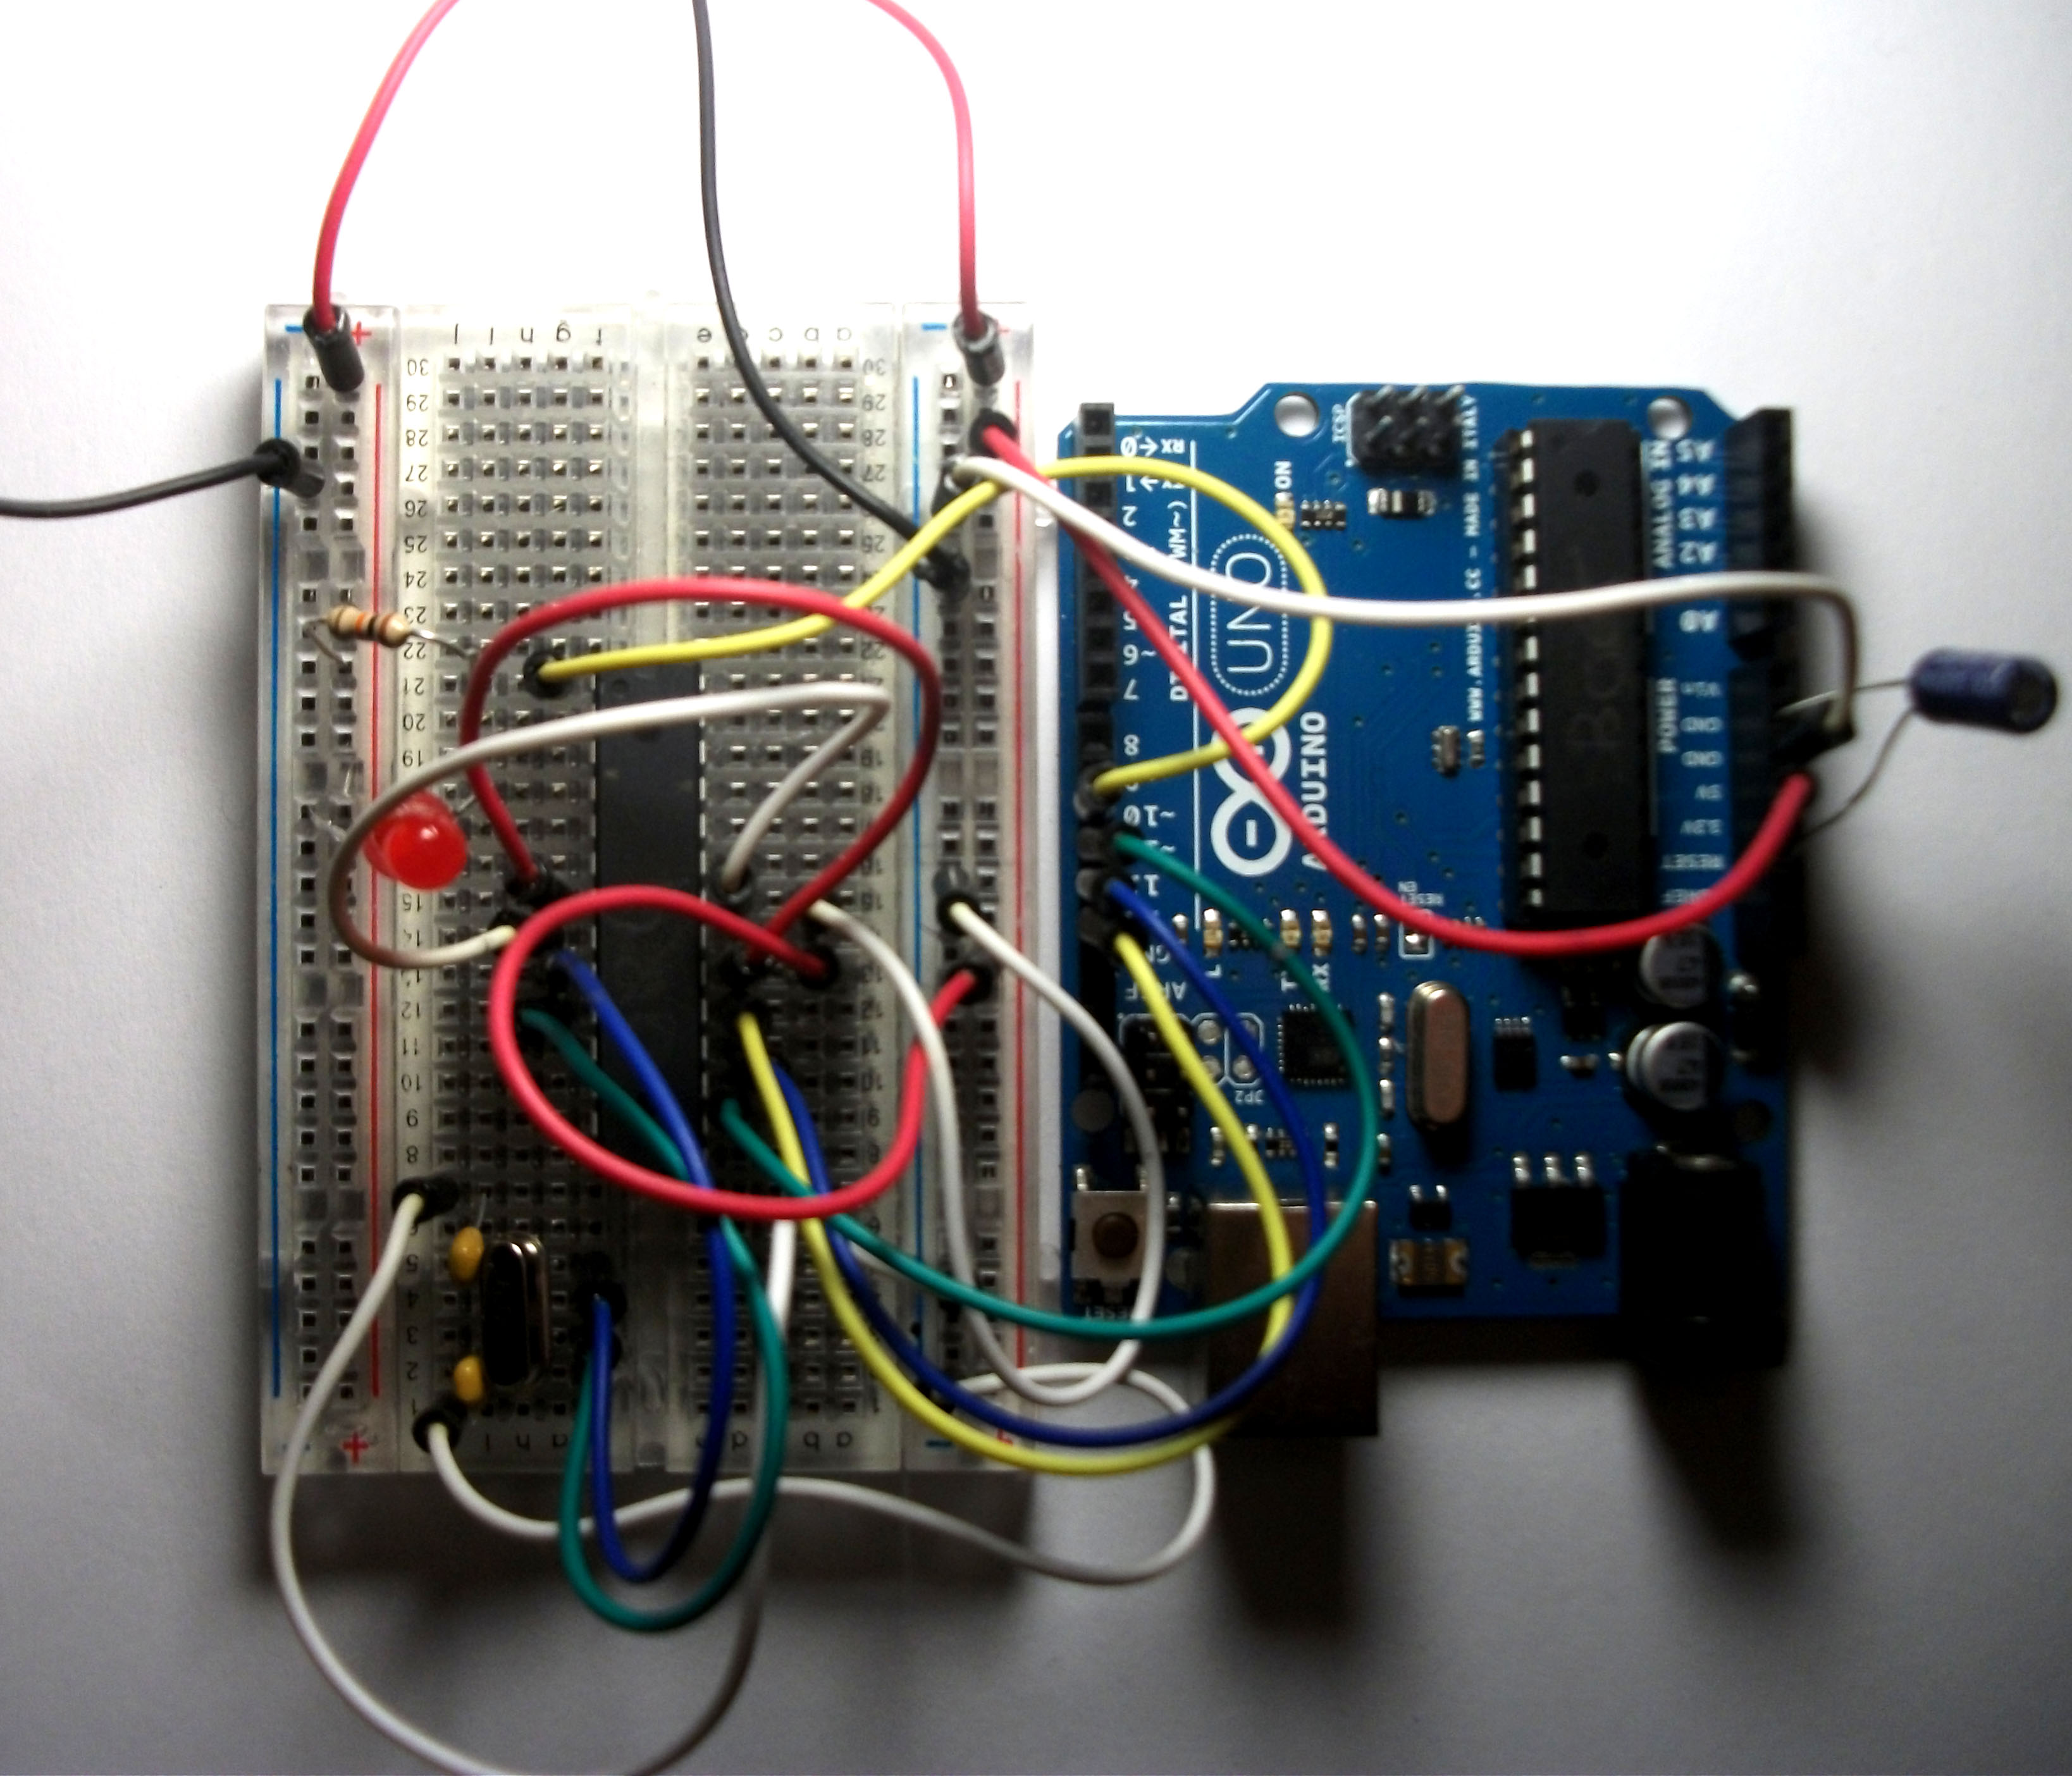
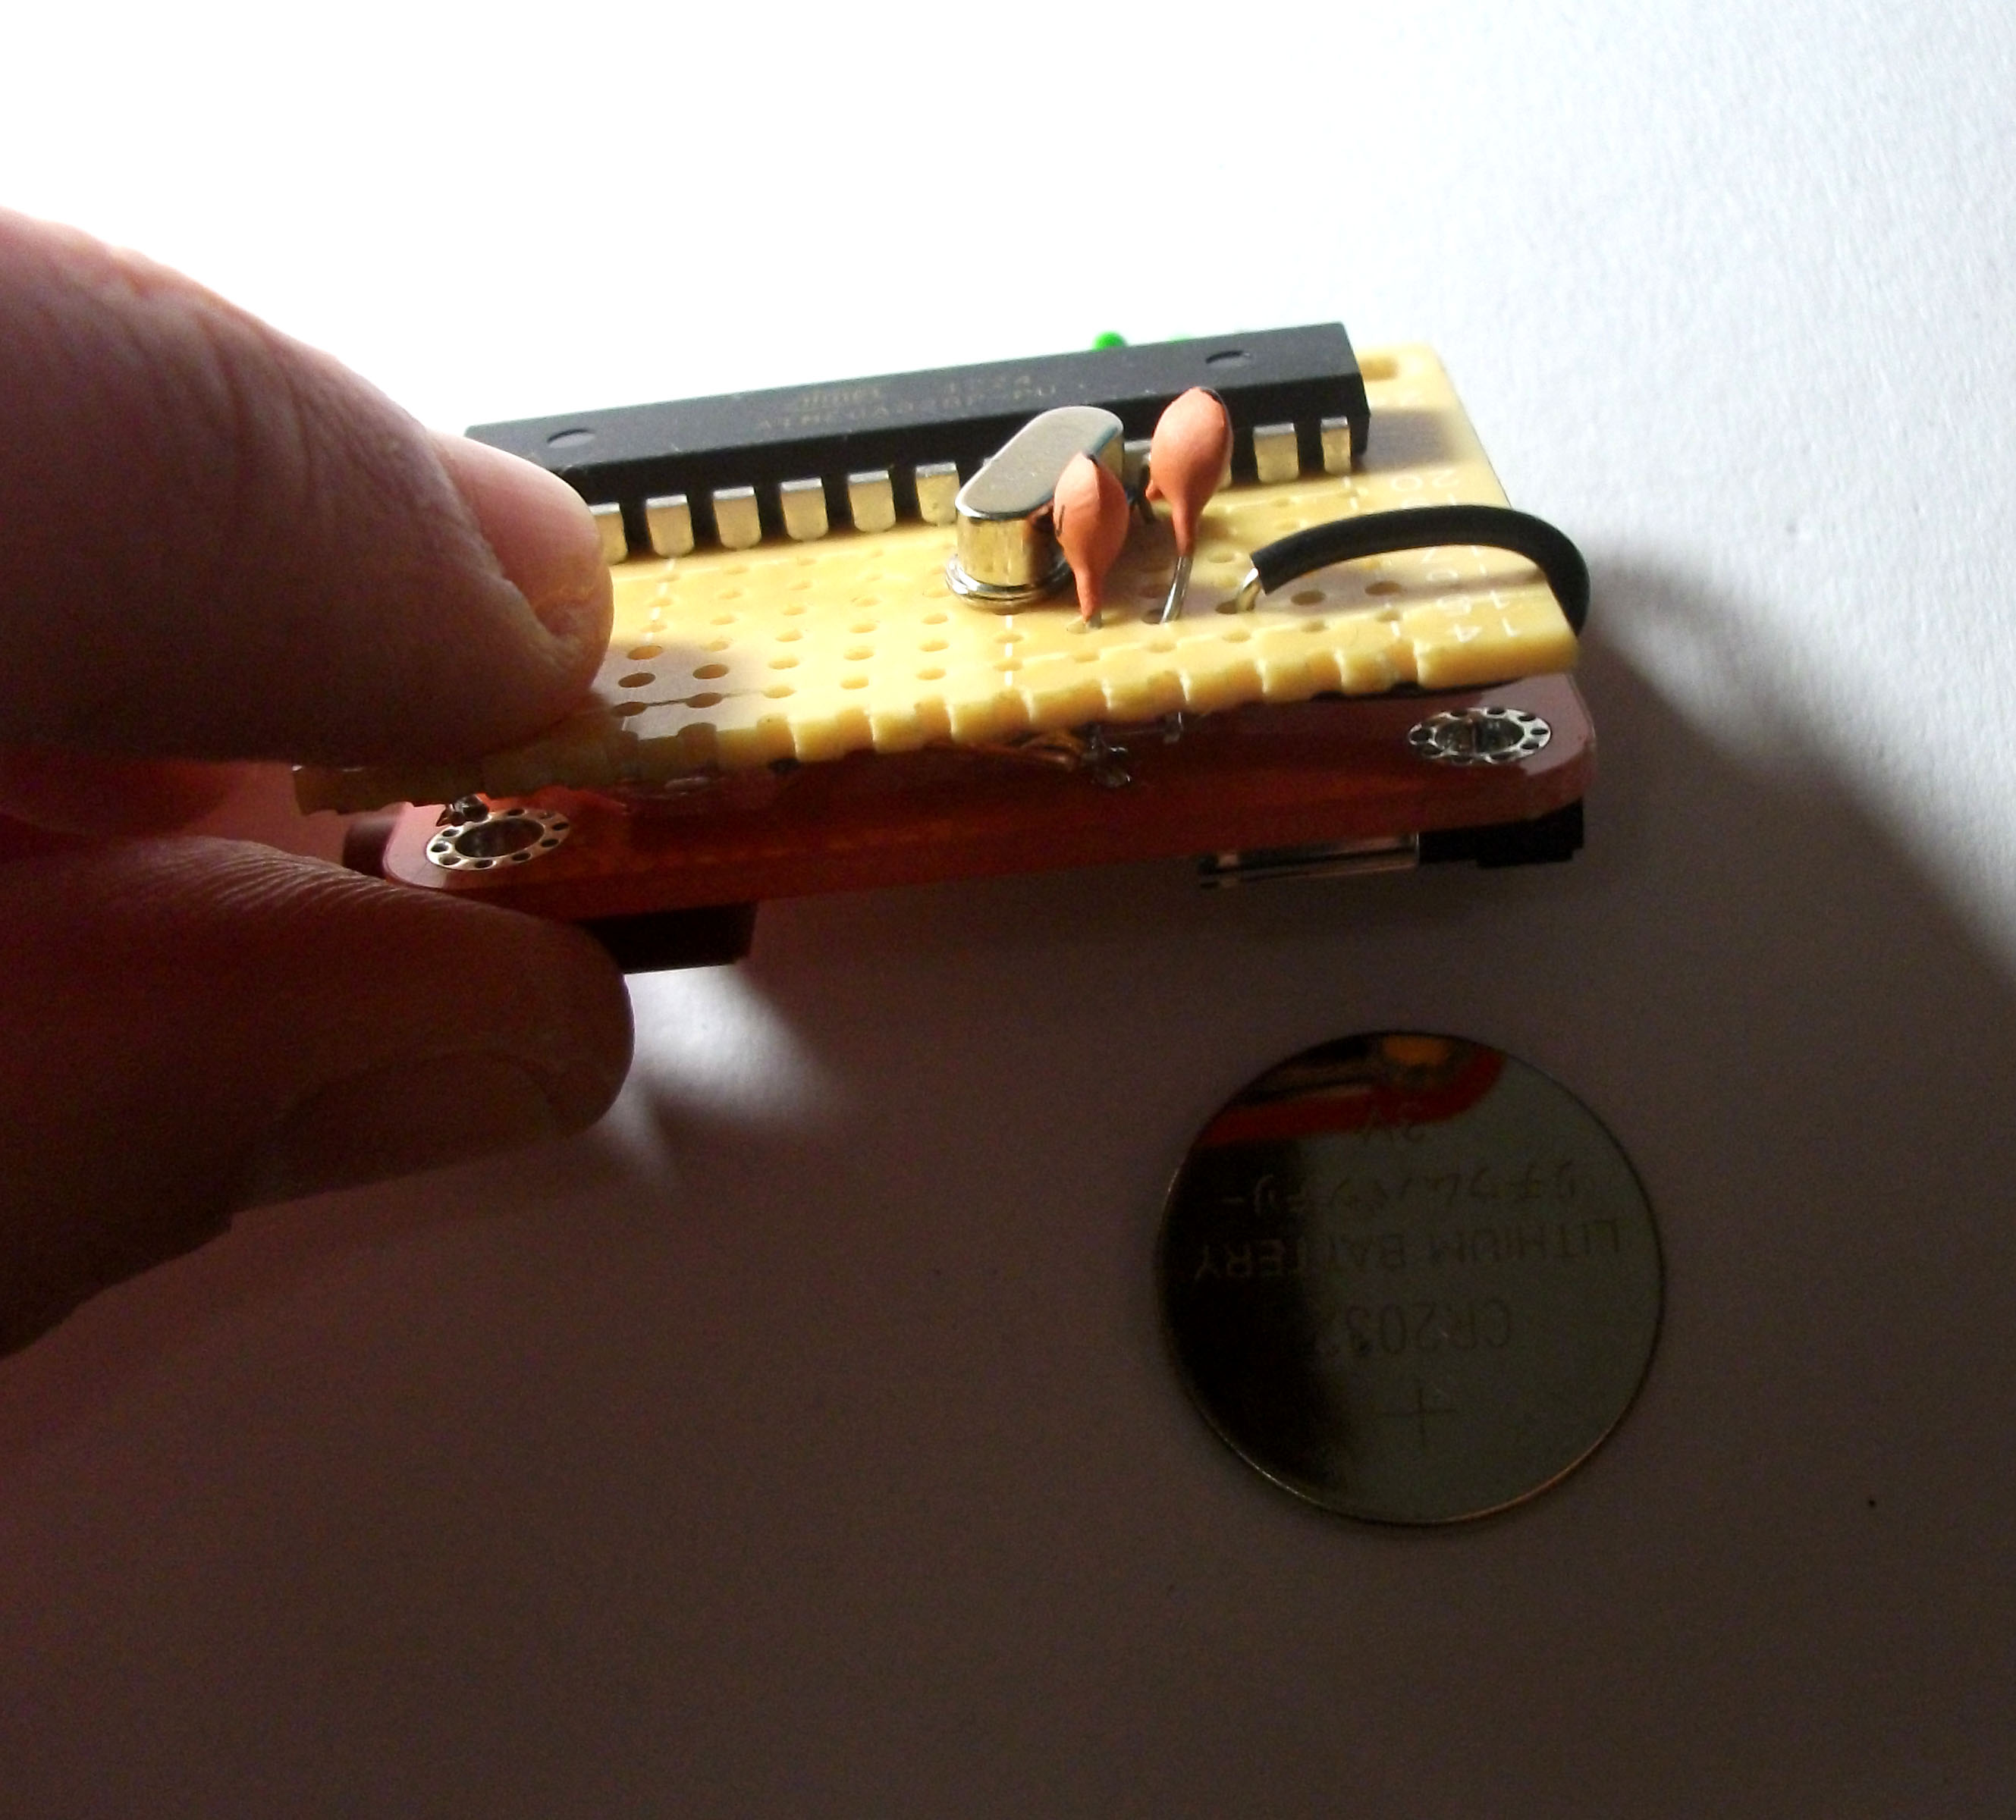 I don’t have enough expertise in any of these details, but the web is a blessing. Check MIT references here and and arduio pages. So, I burnt the bootloader for the new chips using 2 arduinos, then wired the chip on a breadboard and uploaded sketches using arduino as ISP. Those are very interesting and cheap methods (since we don’t use and external programmer) for programming the chips. Then I tested the transmission pieces with the receiver pieces and they work together perfectly. For a newbie, that was a lot of learning and loots of troubleshooting! But awesome, now I can save size and money (the chip is 2.5 EUR while an arduino is 25 EUR! –big difference) and run the piece independently using 2 (3V) batteries. So that operation is done and tested, I needed to complete soldering the standalone board with the FM shield, and pack this is a nice 3D printed casing.
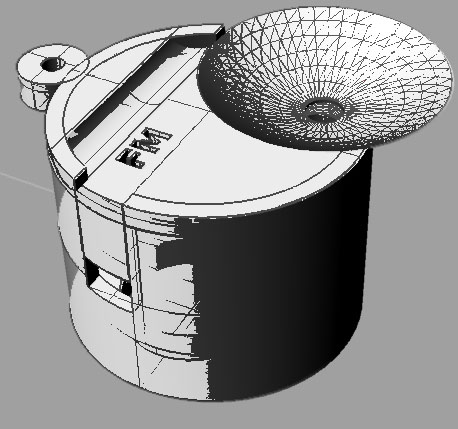
Quick render of the case

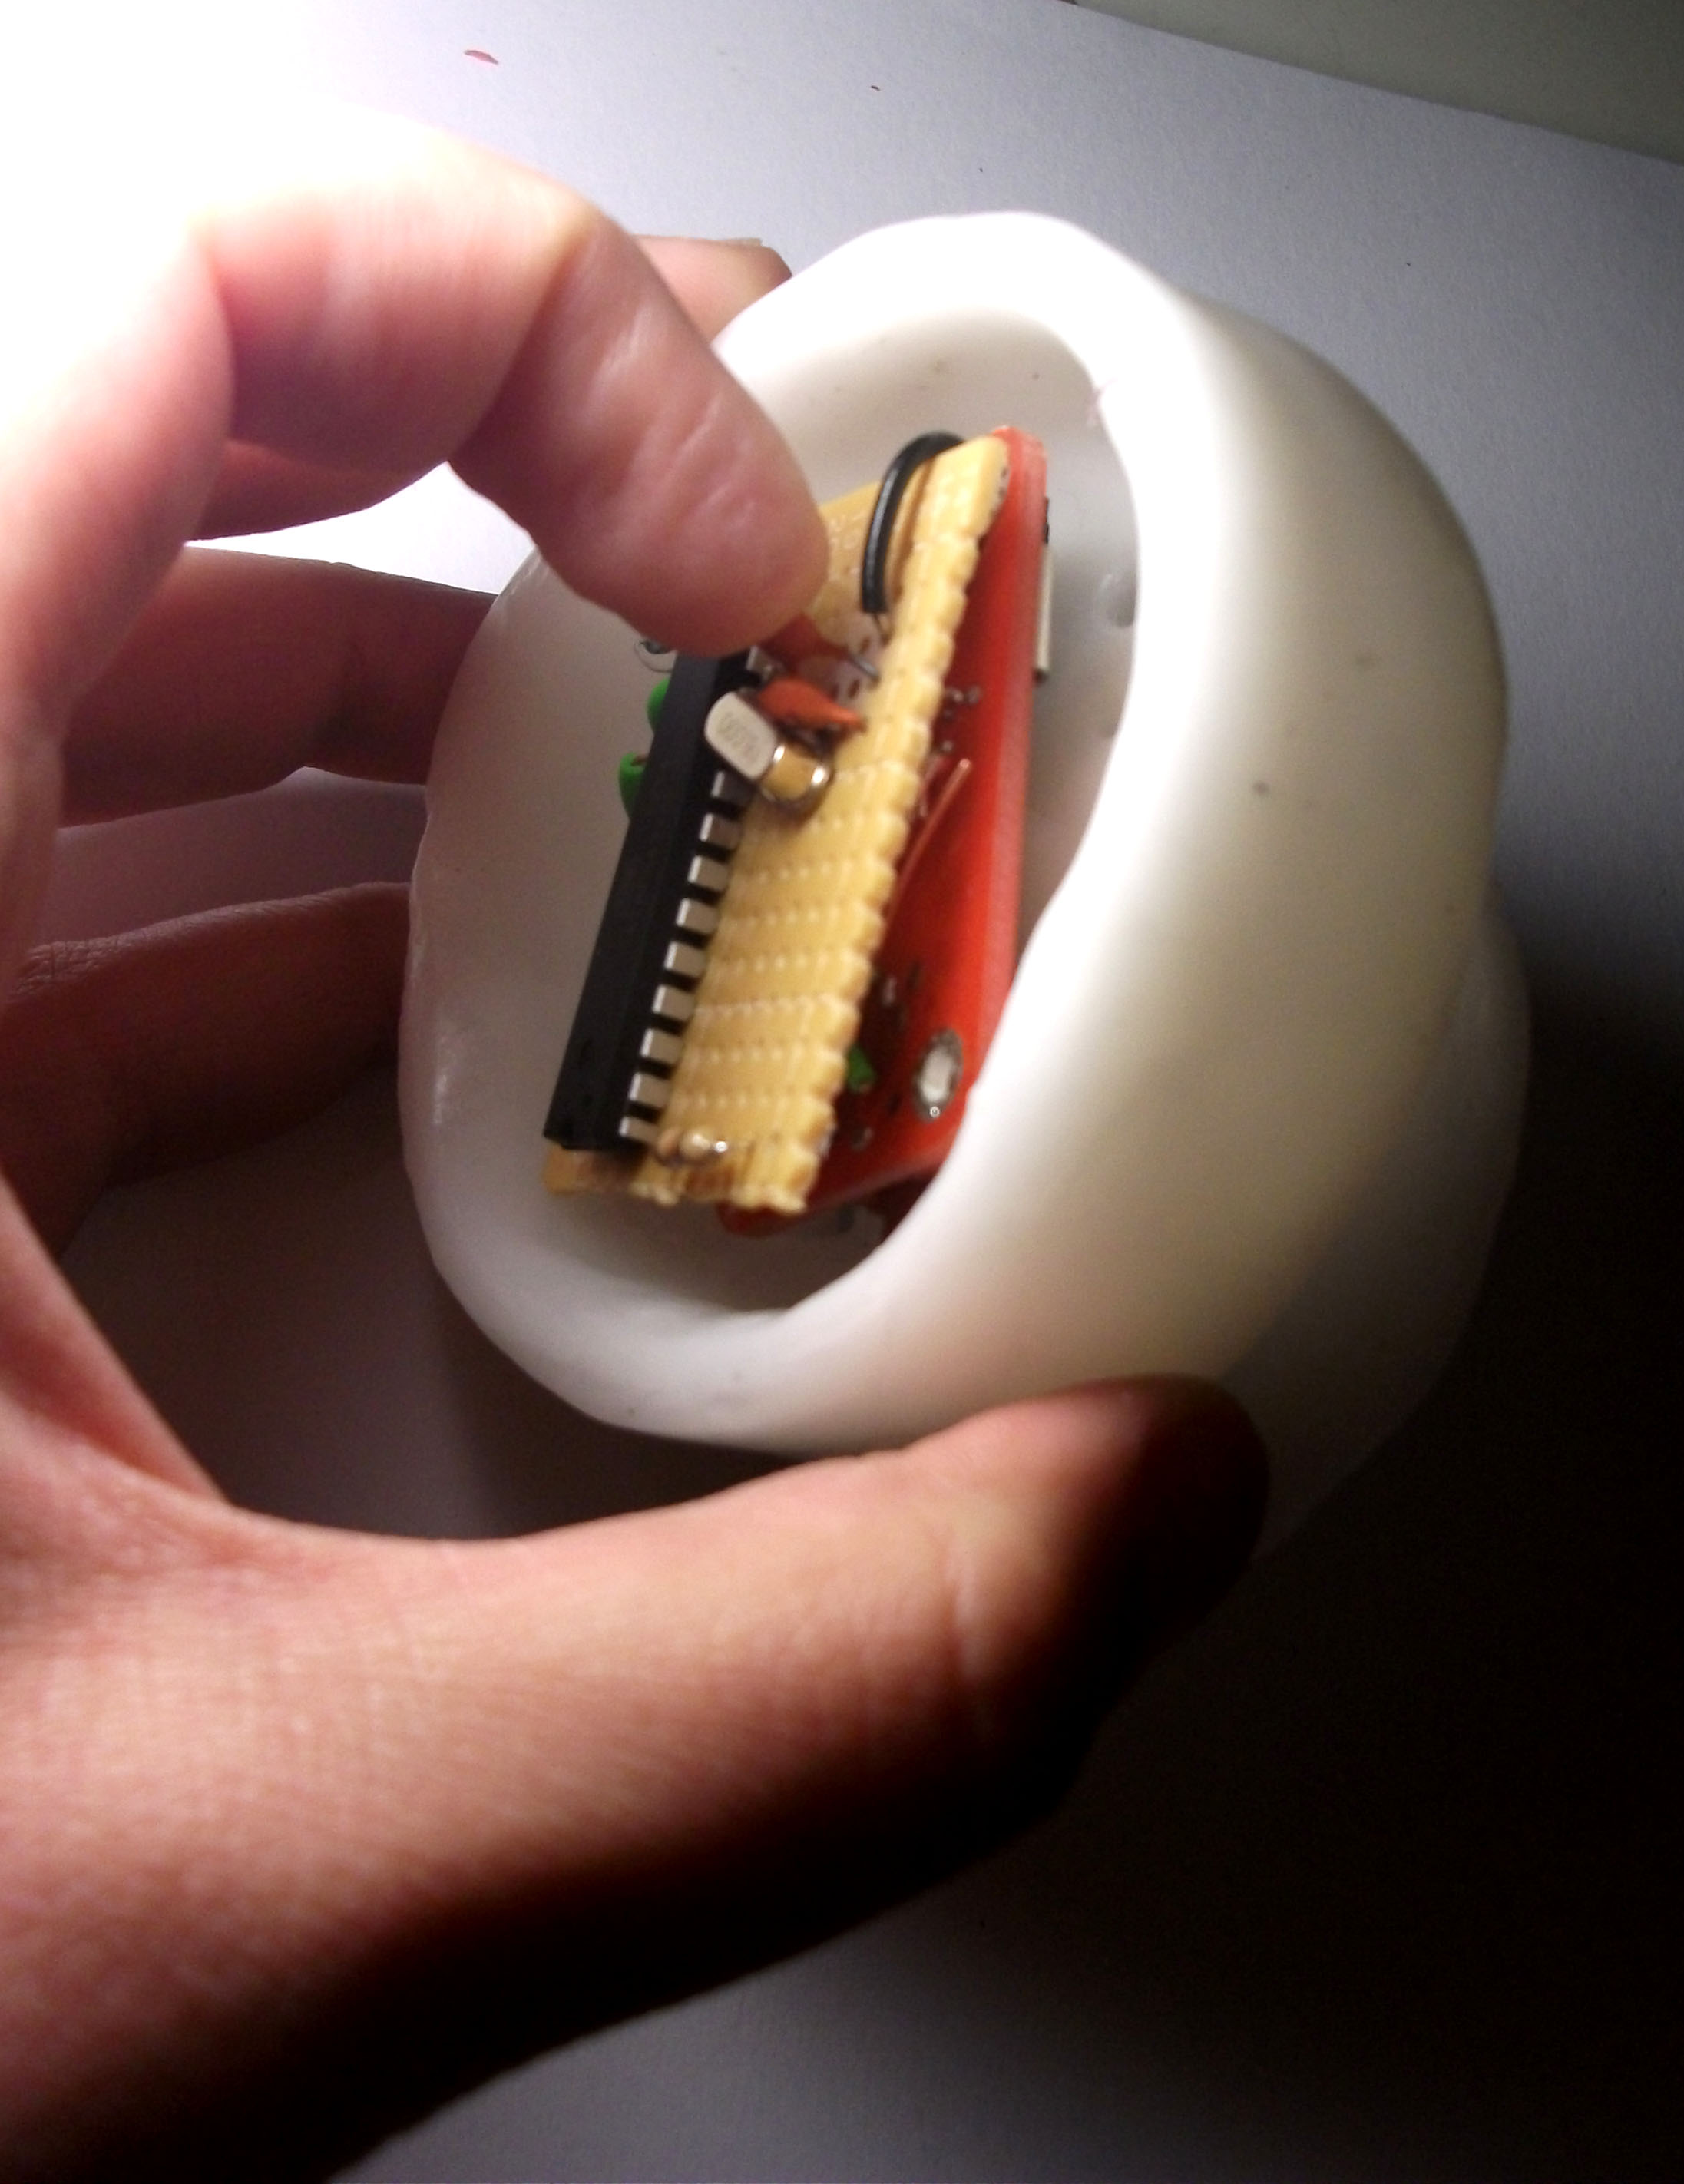
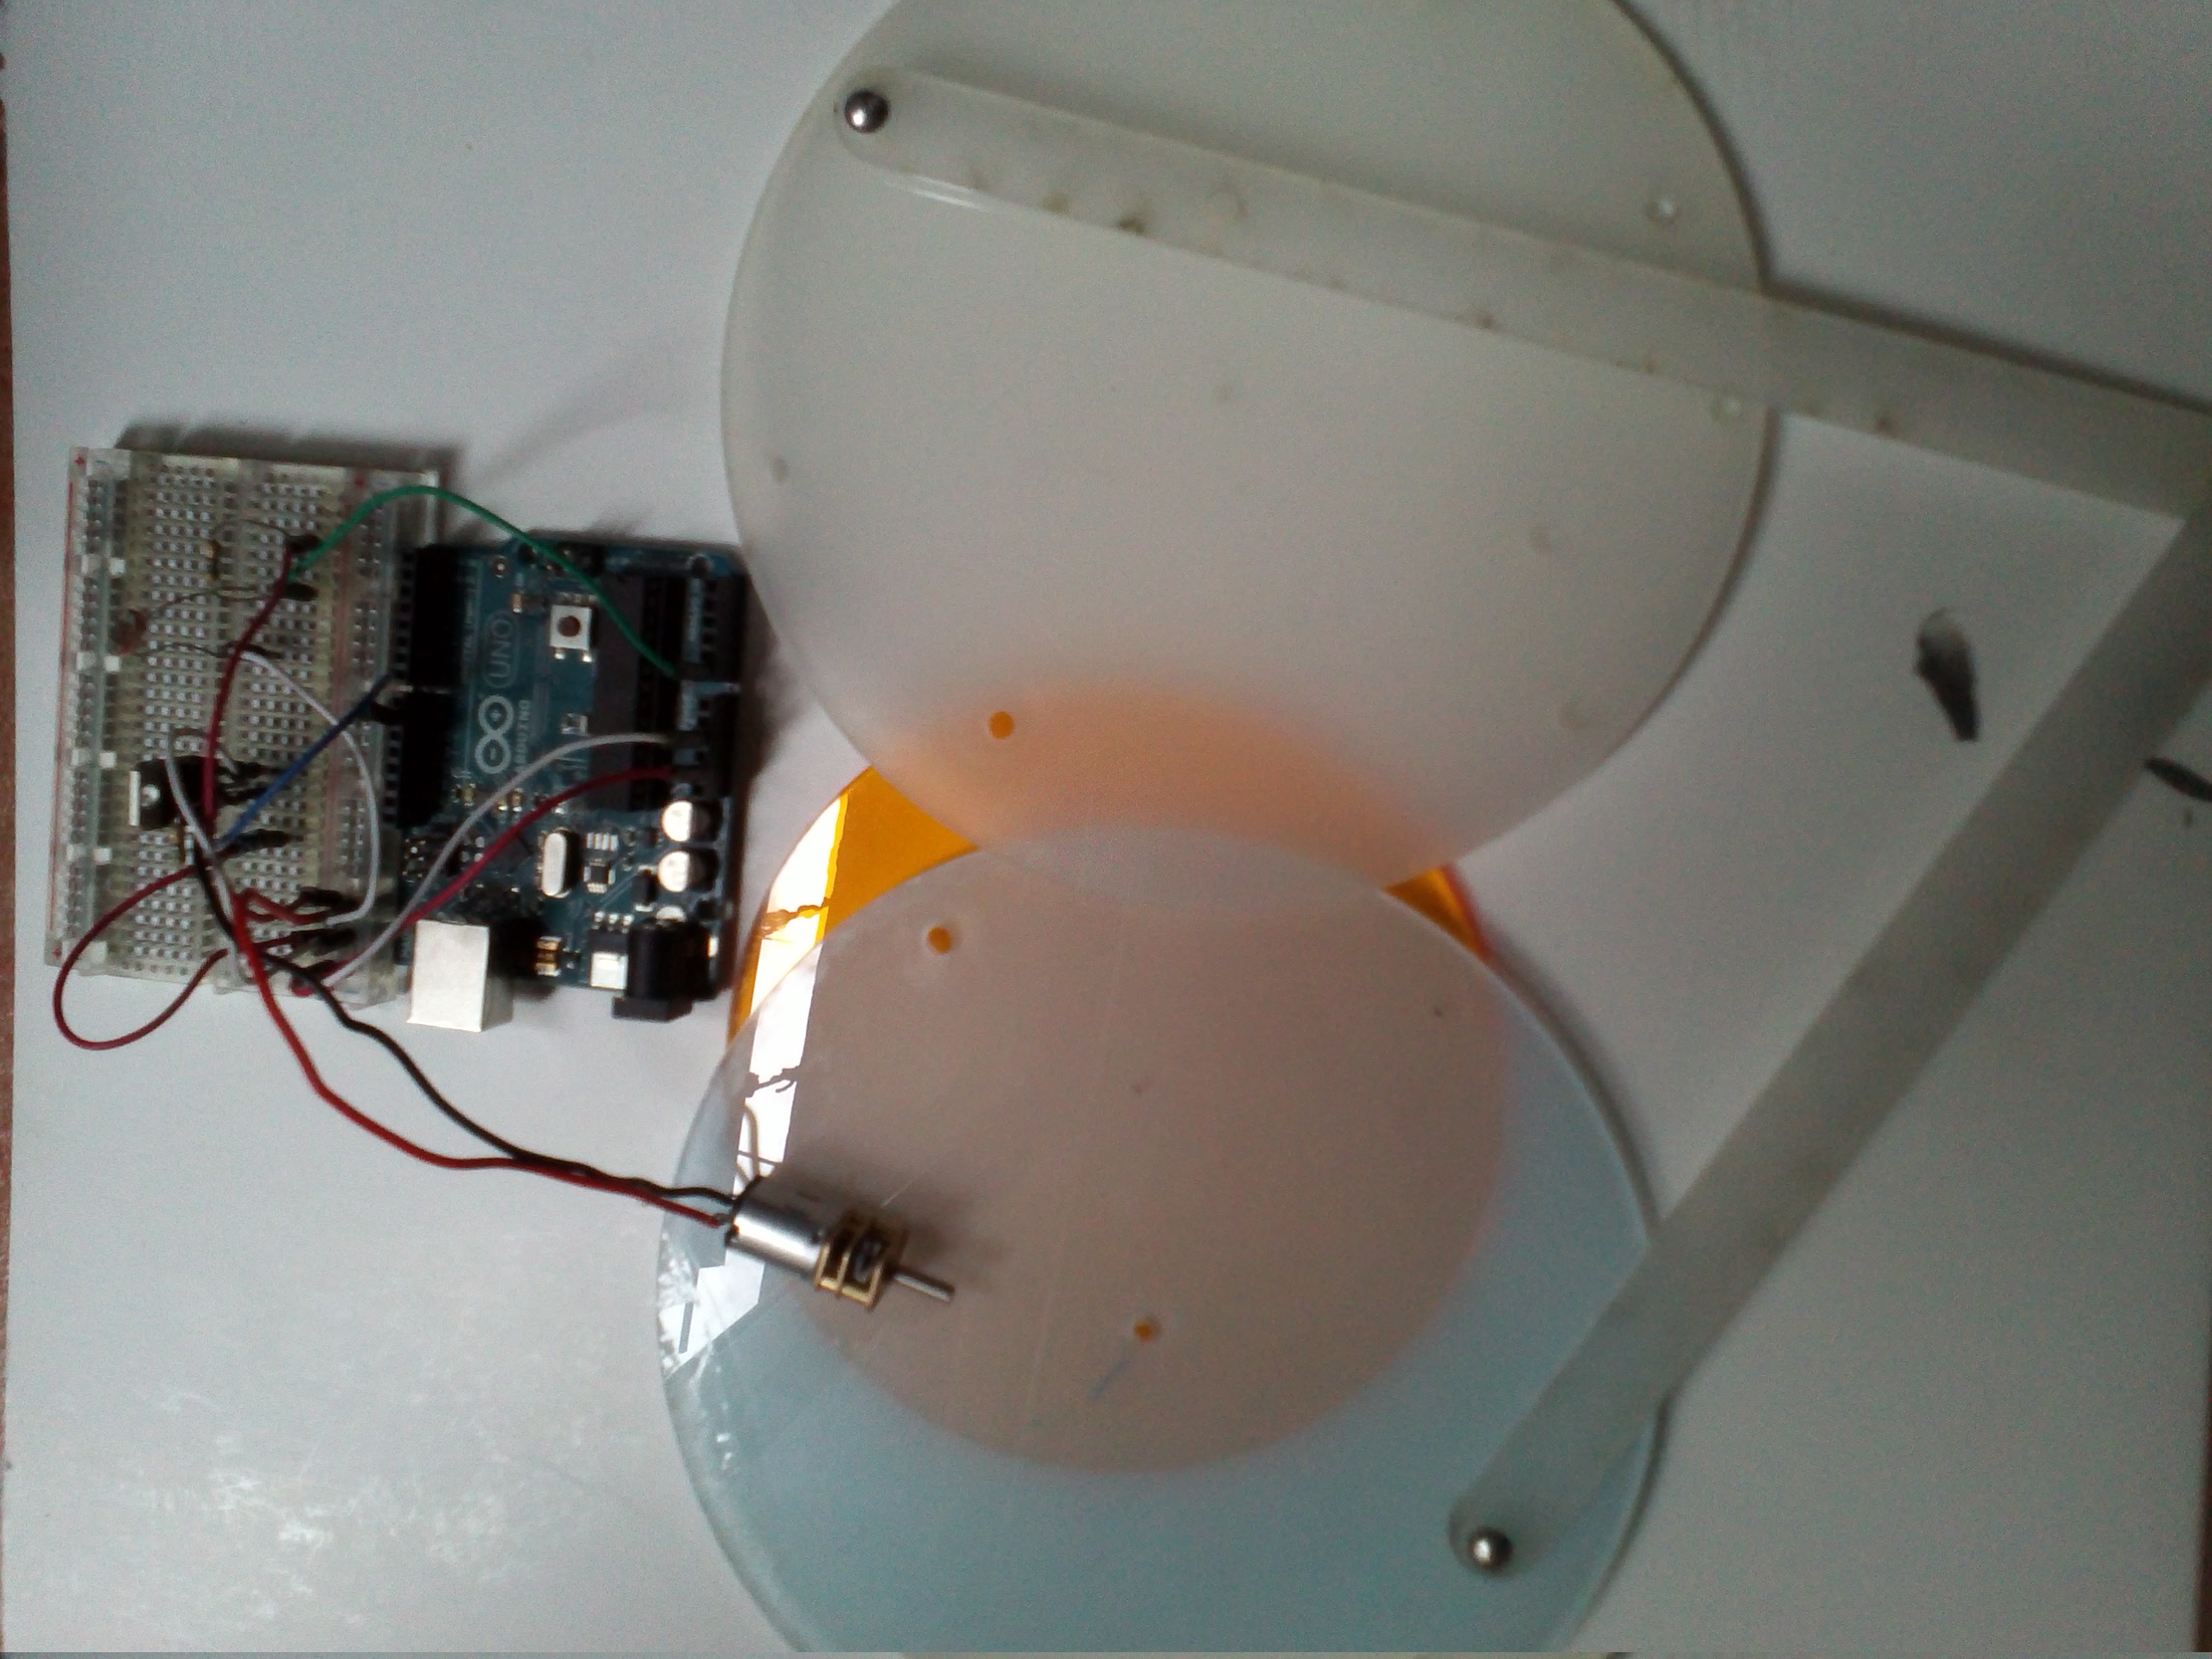
The printing thing took me over a couple of days of troubleshoot, and logistic problems, and other random stuff, so for the final presentation, realistically, I don’t think I will be able to finish those pieces (still need to solder the boards as well!), but I made a quick up mock up using polypropene, to give an idea of how this should look like notice the parabola at the microphone outlet, I would like to test this idea in the future using different geometries and materials.
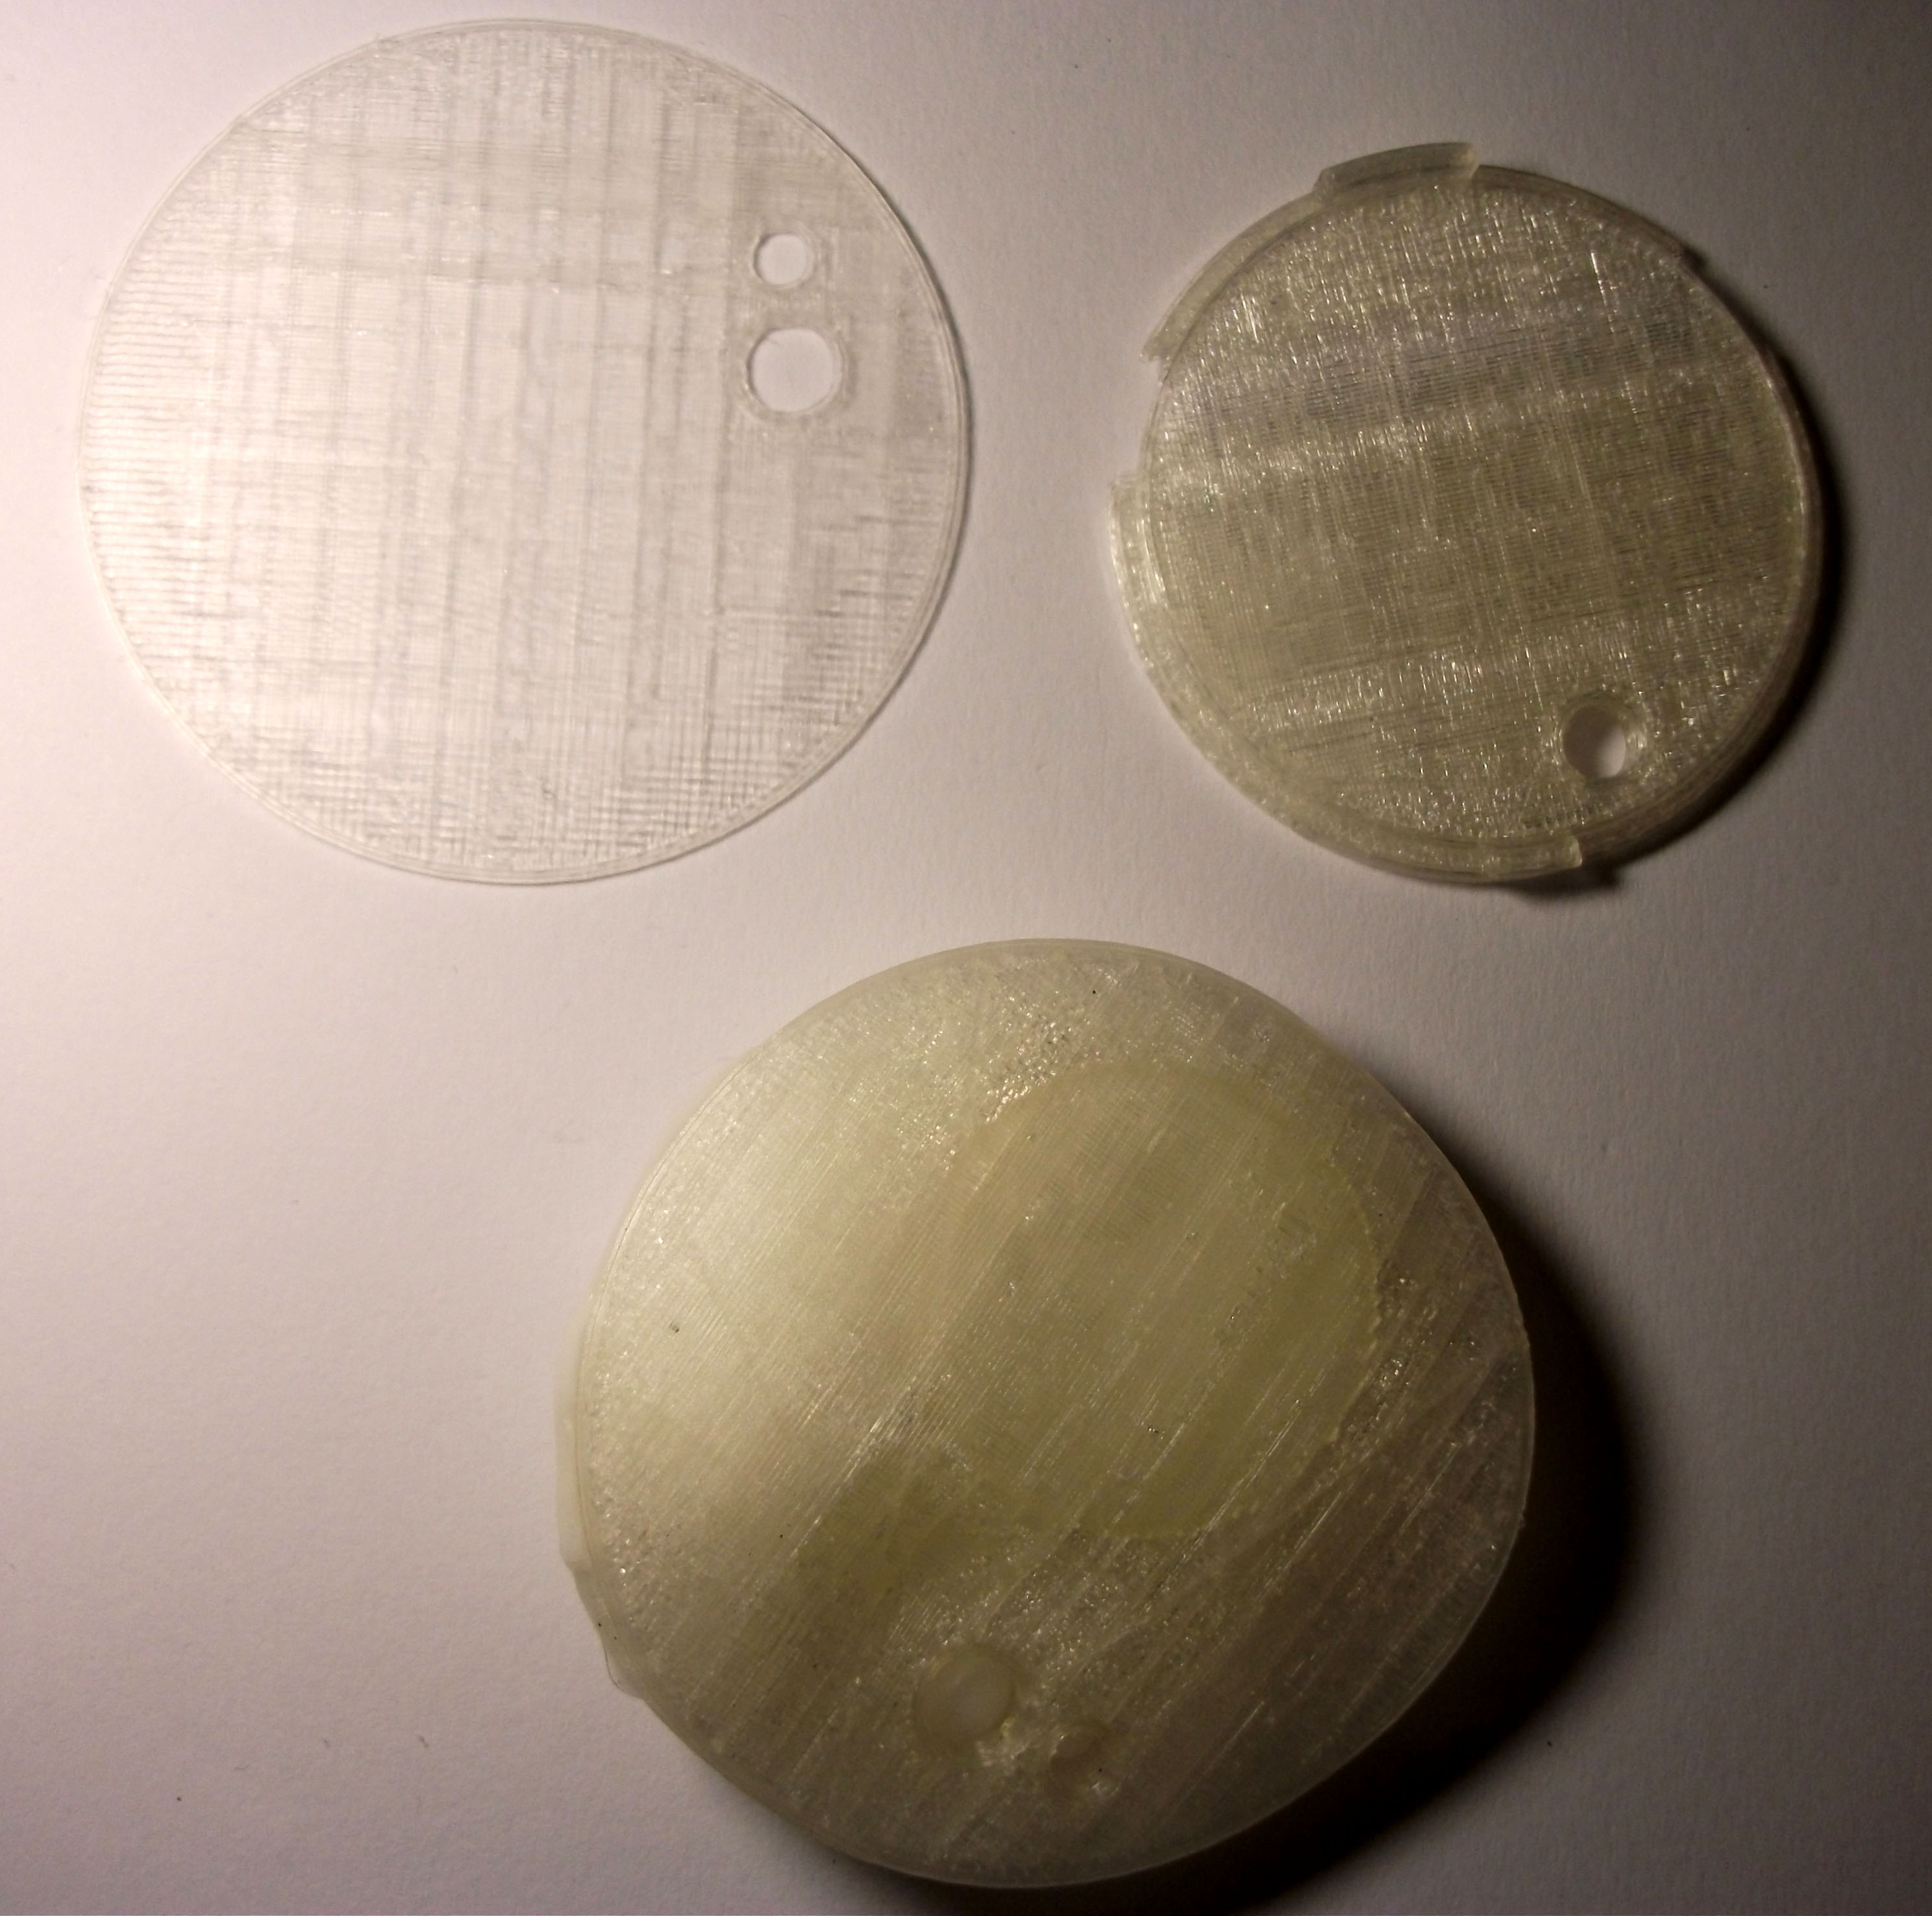
Unfinished 3d prints
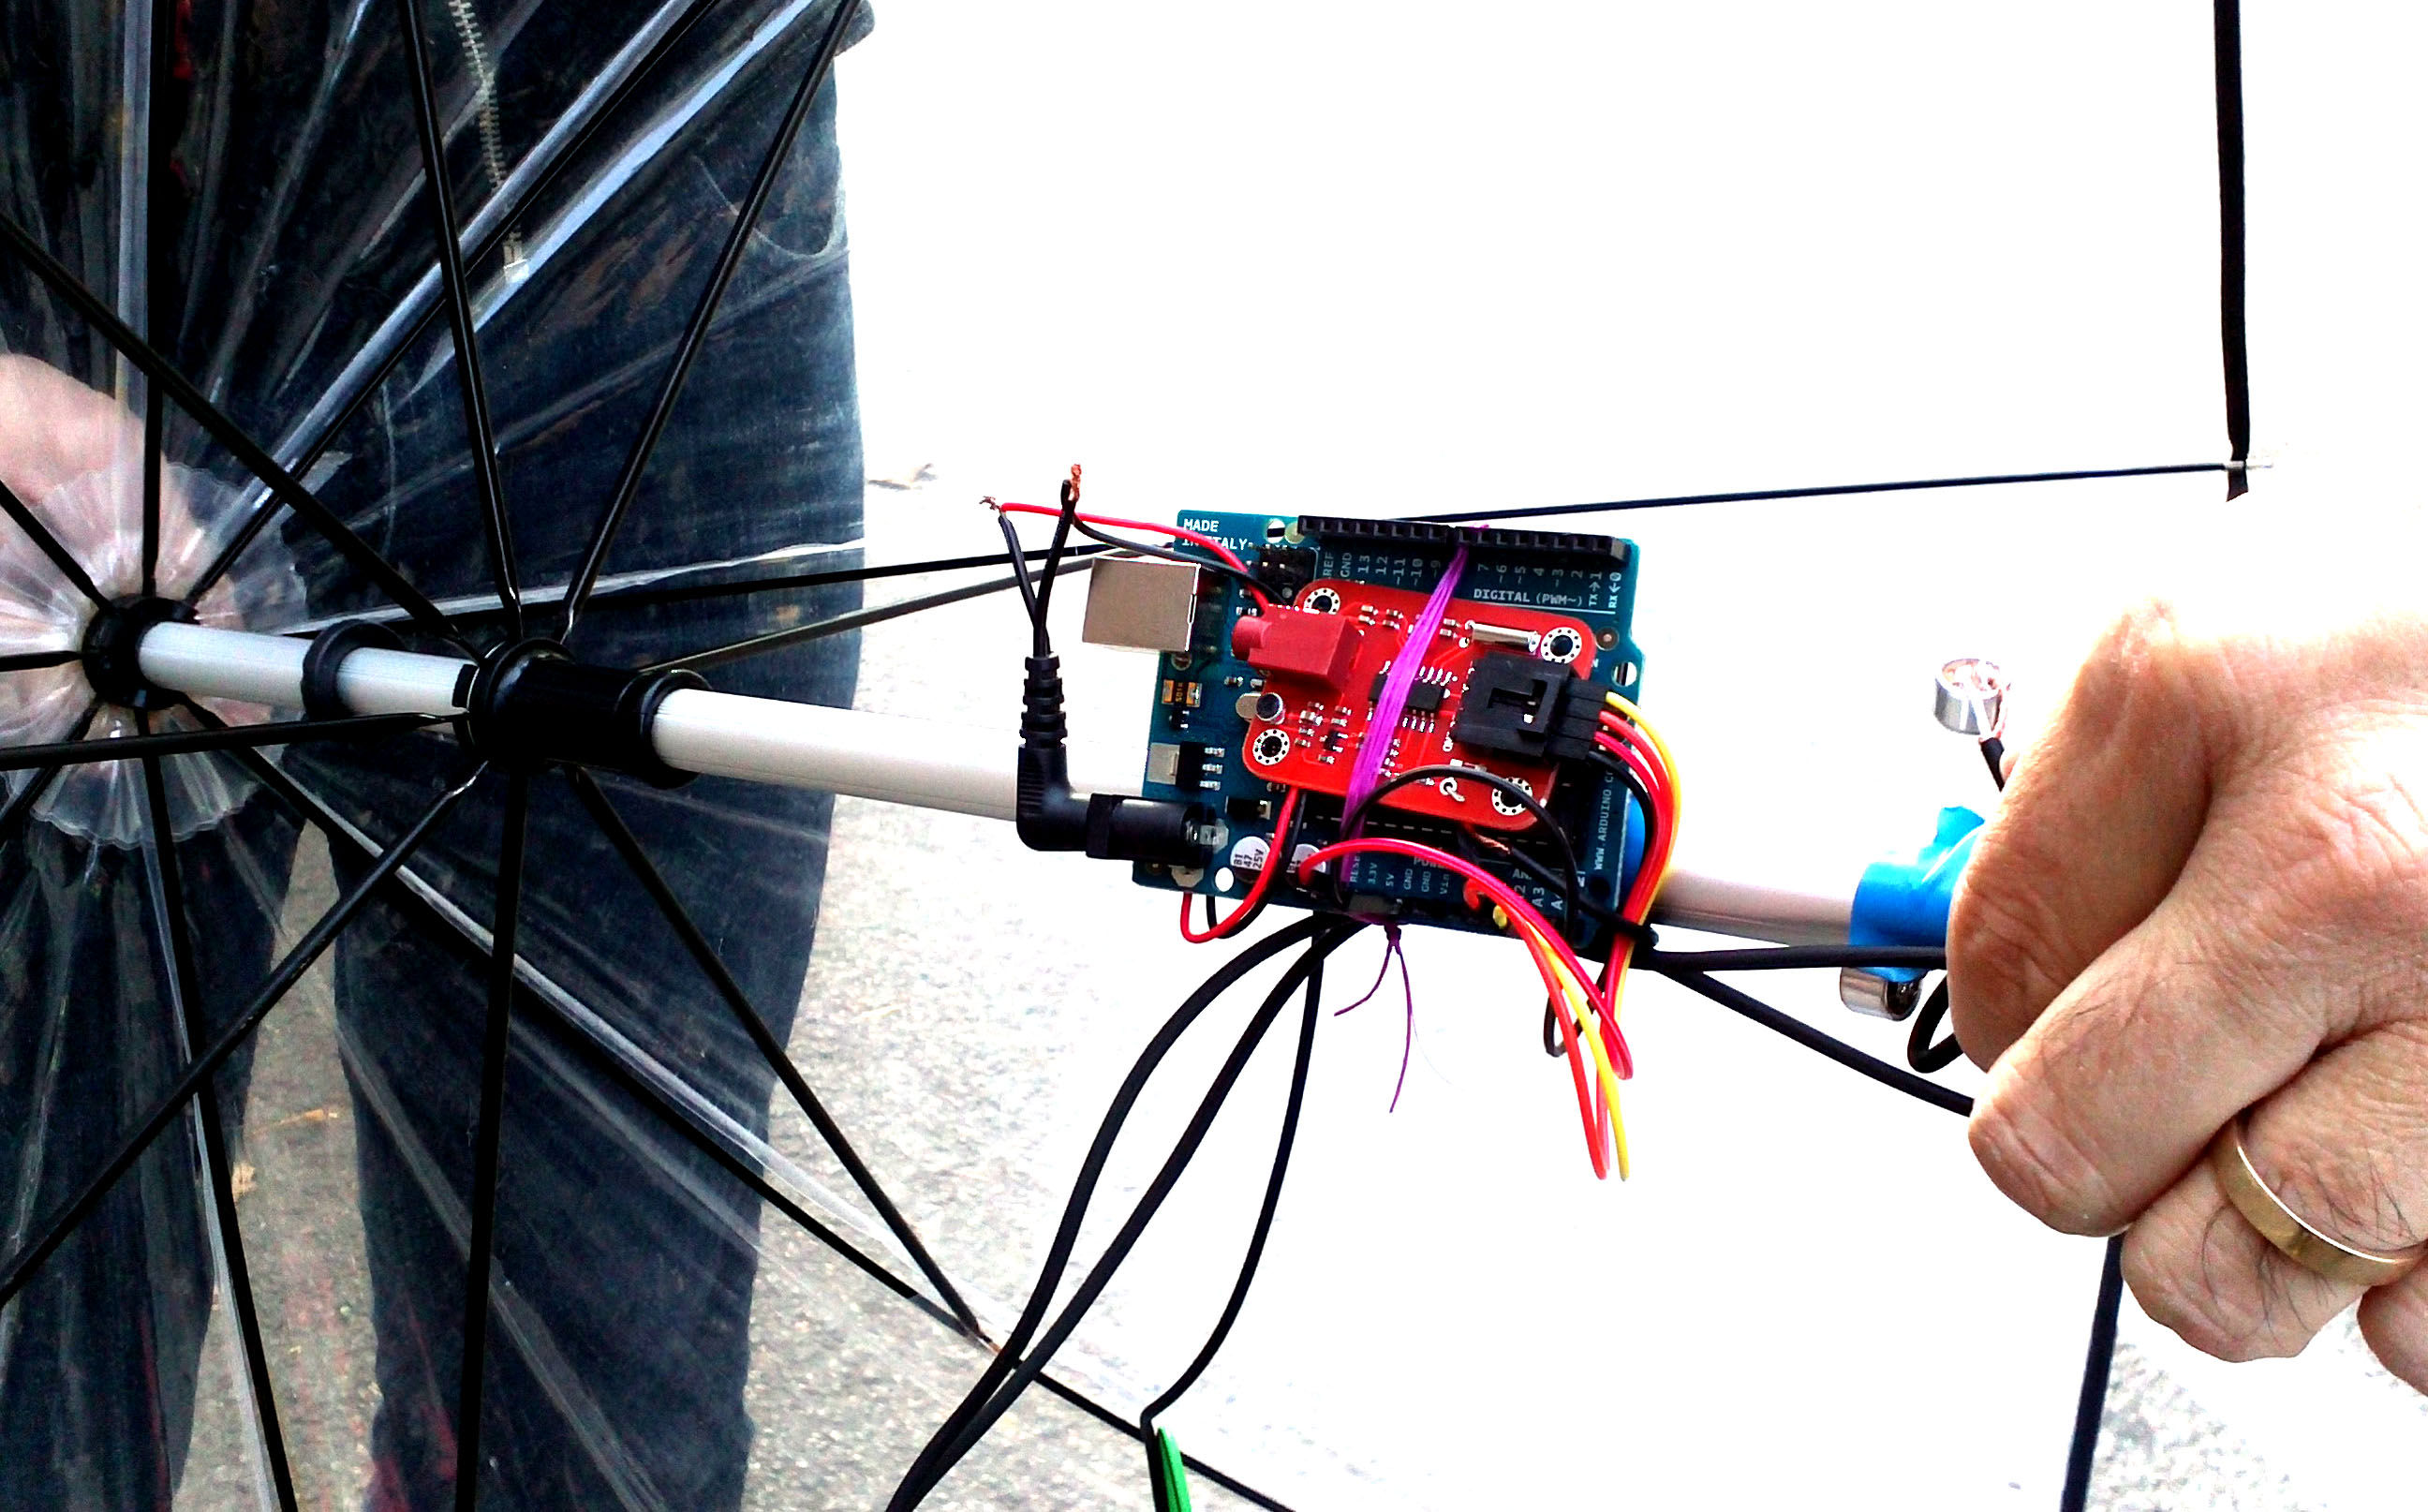
 So for the demo, I guess, I will build a unit for the receiver, and keep the transmission units arduino dependent, just to illustrate the idea. I would have loved to finish everything . . . but time is fast.

