Objective:
The third segment in the digital fabrication class is Milling. Milling is “the machining process of using rotary cutters to remove material.” (wikipedia) Milling is a tool that has a variety of options and can be used on multiple scales. Inspired by the city and the architecture of Barcelona, the prompt for the milling machine exercise was to design a hexagonal tile, 40mm deep with 144mm sides. Constraints for the top face of the tile allowed students to explore variations in the depth up to 7mm.
3D Model + RhinoCam:
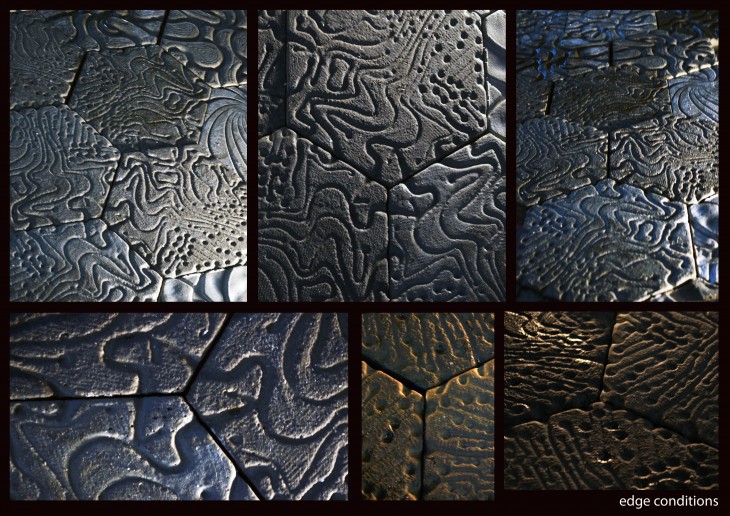
Students were encouraged to create a topography for the movement of water through a network of tiles. Each group’s tile had specific geometrical edge conditions where their tile would connect to their neighbours via the flow of water. Since each tile would be replicated, and each pair of edges had their own inlet/outlet parameters, it was important to trisect the hexagon to achieve cohesion within a set of 7 (of their own) tiles as well as within a tile network.
Inspiration
Fractal like shapes, reflectional symmetry, rotational symmetry, and self-similarity and the finite subdivision rule drove our initial design. Recursive subdivision is something that is widely used in tile making and milling but we wanted to tell a different story. Our group is comprised of engineers and architects and exploring “advanced” topics recently we have been exposed to and are interested in electronics.
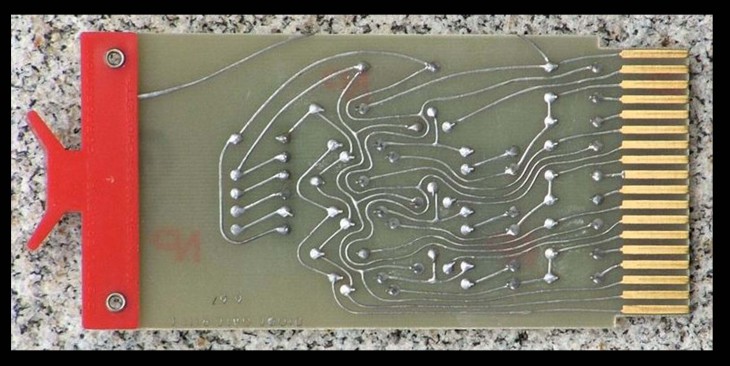
Printed Circuit boards (PCB) have been around since the 1850’s, metal rods connected large components mounted on wooden bases. Circuit boards are in all electronics and some of the most used components and have been around since the 1920’s. The first circuit boards were hand soldered, and the movement of the wire is that of “sweeping curves” denoting freehand design. Today, circuit boards are rectilinear, and “printed” on the surface on insulating boards. There are single-double-and multi layered boards made up of layers of printed circuits. The components are connected through plated and drilled holes to the appropriate circuit layer. This adds greater circuit simplicity and a beautiful geometry. Each board is unique, printed for its function and designed to perform each function within an allotted space.Our tile reflects the evolution of the circuit board.
Physical Model
Made from a high density polyurethane foam,Made from 50mm thick high density polyurethane foam the single mould was created using CNC Milling machine. Three different ball machines were used i.e. 3mm ball mill , 6mm ball mill , 12mm ball mill for creating different finishes . The mould was then applied with 4 coats of sealant at the time gap of every 20 min and let to dry completely. Once the sealant was dried out completely , a layer of Vaseline was applied to prevent the cement block from getting stuck to the foam.The next step was to pour the concrete mix with proportion of 800ml of cement , 2400 ml of aggregate and 480 ml of water and 100ml of accelerator and dry for 12 hours. The tile was then taken out and allowed to set for next few hours. The process was repeated and a total of 5 tiles were casted. The concrete tile was further processed with hot water to remove the vaseline and oil was applied to give a polished finish.


